Spiderman for Girls: Face Painting Tutorial

A few weeks ago we had a special guest come visit from Chicago. Chantal of Fanciful Faces stopped in to Silly Farm and guest starred in a YouTube tutorial for us!

Chantal will show us one of her popular festival faces, a spiderman face painting design for girls! This Spidey Girl is a quick and easy to create and girls love it! Want to paint it on a boy? Just switch the colors up! Instead of pink and purple, you can do red and blue!

For more tutorials by Chantal, check out her YouTube!

Cupcake Cutie: Face Painting Tutorial

Can’t see the video? Watch Cupcake Cutie on YouTube!

This birthday will be one they won’t forget. Face paint can go a long way in making a child’s birthday a memorable one.

2 Minute Spiderman for Young Kids | Face Painting Tutorial

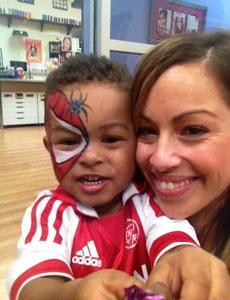
By now you should know that face painting younger kids can be a challenge. My son is almost 3 years old and still wiggles and squirms when I paint him. I was able to sit him down in the Silly Farm showroom and use him for a quick tutorial on face painting little kids a quick and easy Spiderman.

  1. I started using Wolfe White and outlined the eyes. We don’t want to fill over the eyes since he is a younger child and many children are not comfortable with objects near their eyes.
  2. Next, using a filbert brush we are going to fill in the rest of the shape using FAB Makeup Rage.
  3. Pink Power Stencils are very useful for those children that don’t want to sit still! Using a sponge and black face paint, we are going to sponge on the spider using the pink power stencil.
  4. Using a Gold Grip #3 Round Brush and Wolfe Black we are going to finish the details to the mask by outlining and connecting the lines to form a spider-web look.
  5. Last, but not least, we always want to add some glitter and in this case it is the Mama Clown Glitter Black Potion.

London's SpidermanVoila! A quick two minute Spiderman face painting design for younger children!
Don’t forget to check out the rest of my face painting tutorials and head over to Silly Farm Supplies for products! Subscribe to me on YouTube for more!
Happy Painting!

Wild Style Floral Mask – Face Painting Design

Here’s a graffiti inspired floral mask design by Silly Heather. Starting this face painting design off with a Silly Farm sponge, we start the base using a Hippie Rainbow Cake. Next we take our Wildflower Fairyfly Kit and a 3/4″ Flat Brush to create the floral design. Wolfe Black is used for the graffiti effects and outlines. The brush preferred is a Gold Grip #4 Round. Glitter makes everything better, especially the Magic Magenta Glitter.

Can’t see the video? Watch “Wild Style Floral Mask” on YouTube!

Test Drive: Glitter Powders

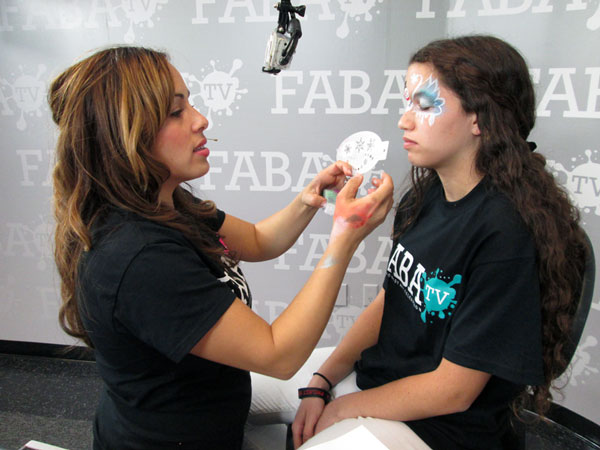
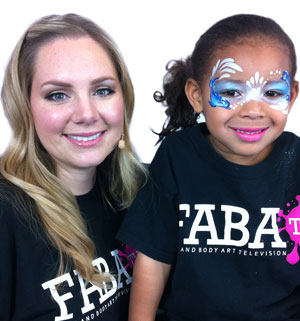
Face and Body Art Television - FabaTVFABAtv is face and body art television, a leader in the education of this fine art. Using state of the art technology, FABAtv is able to bring you classes in stunning High Definition videos straight to your smart phone, tablet, or other web-enabled device.

Where else is learning at your finger tips with hundreds of HD video classes from international makeup artists, face & body painters, airbrush artists and more!

Up until February 6th FABAtv is letting you watch ‘Magic of Glitter Powders’ absolutely free! Head over to their facebook page to find out how.


Test Drive FABAtv

Colorful Snow Leopard : Video Tutorial

Colorful Snow Leopard This fantastic feline design is quick and easy to pull off! Watch the video below for my tutorial on this leopard face painting. So what are you waiting for? Grab your Rainbow Cakes, a Bam stencil, and you’re already half way finished! This design is perfect for little girls, and just change the color scheme up and it fits boys was well!

Products Used

  • Moondance Rainbow CakeRainbow cakes are multi-colored containers of paint manufactured by Silly Farm. I started this feline face painting with one of the newer Silly Farm rainbow cakes, Moondance.

  • Pre-Cut Paradise Sponges These pre-cut paradise sponges are made out of high-density foam and are great for applying your arty brush cake or rainbow cake. Sponges are great to pair with stencils as well!

  • Gold Grip #4 Round Brush - at Silly Farm Supplies The Gold Grip brushes are a standard in face painting. These brushes are an excellent investment as the bristles last long and do not wear out as quick as other brands. This Gold Grip #4 Round is one of my favorite brushes.

  • Bad Ass Mini Stencil (BAMS) 1008 Cracks - at Silly Farm Supplies Bad Ass Mini Stencils are amazing stencils for face & body art, created by Andrea O’Donnell of Skincognito Makeup Art Studio & Supply. You can use these stencils for face painting or body art using a sponge, brush, or airbrush. The one I used is BAM 1008.

  • Wolfe Face Art & FX Aquacolor White - face paint at Silly FarmWolfe FX is a staple in the FABA industry. If you haven’t heard of this brand of face paint, I suggest you try some as soon as you can get your hands on it. Wolfe white & black is highly regarded as the best white & black for face painting.

  • Mama Clown White Fairy Dust Glitter Mama Clown’s world famous cosmetic glitter. This polyester glitter is safe for all your face & body art projects. White Fairy Dust just happens to be one of our best sellers.

Sticker Stencils for Face Painting

lea-reverse-star-stencilThe Tattooed Lady is back with some helpful tips & tricks for your next face painting gig! Have you ever arrived to an event only to realize you forgot your face painting stencils? Check out Léa’s unique fix for this dilemma.

Fortunately for Léa, missing her star shaped stencil wasn’t the end of the world. Realizing she had star shaped stickers, she improvised and was able to discover a new use out of those otherwise ordinary stickers.

Applying the sticker to the area where the stencil would have gone, Léa was able to create a negative star design using her new sticker stencil! A negative design is one without paint and where only skin is making up the area of the design.

Incorporating this newly found face painting skill, Léa has put together a tutorial on her reverse stencil technique! Head on over to The Tattooed Lady’s blog to watch the full tutorial and expand your face painting tricks!

[button type=”ambitious_button” url=”http://www.thetattooedlady.ca/blog/reverse-stencil-face-painting-with-stickers” target=”” ]Read more & Watch the Tutorial[/button]

Puff the Lil Dragon – Face Painting Design

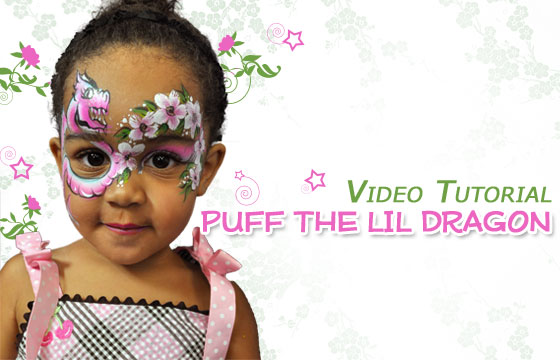
Puff the Lil Dragon Video Tutorial
In this quick tutorial I show you my girly spin on the popular dragon design. No longer are dragons just for boys! Girls can have fun with this design too! It’s also parent friendly and super fast when using an Arty Brush Cake and the ‘Flower Brush’. The ‘flower brush’ is our Silly Farm Signature Large Point brush, and it will help you create the fastest, easiest flowers ever!

I used the following products in this face painting tutorial.

FREE Class on Graffiti Eyes with Léa Selley

Lea Selley on FABAtv LIVE
Lea Selley - JanFABAtv.com is an online face & body art classroom at the palm of your hands. A first in the industry, FABAtv brings one-on-one classroom oriented teaching right to the comfort of your own home. All you need is a high-speed internet connection and a web-enabled device, and you have hundreds of classes on face painting, body painting, airbrush art, and more at your fingertips!

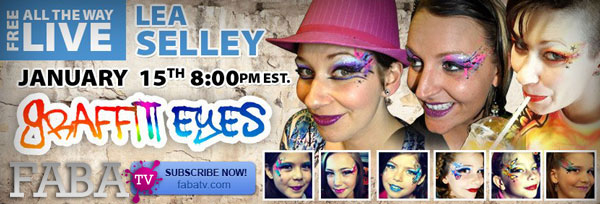
FABAtv premieres a FREE & LIVE class every month. Starting off 2013 with a bang, this month’s LIVE artist is Canadian face painting sensation Léa Selley! You might of seen some of her YouTube videos under her alias, The Tattooed Lady. Below is a sample tutorial of what Léa will be teaching in this upcoming class. Tune in to FABAtv LIVE at 8pm EST on Tuesday, January 15th and catch Graffiti Eyes with Léa Selley, only on FABAtv.com.

You can find Léa Selley on Facebook, or contact her through her website, www.thetattooedlady.ca. Read more about Léa and her class on The Tattooed Lady’s blog.

Graffiti Eye Tutorial

*This is not the LIVE class*

Like the tutorial? Buy the Graffiti Spatter Stencil from Léa and save time face painting!

Free Face Painting Class with Silly Heather

FABAtv Instructor Heather Green

FABAtv (Face and Body Art Television) is feeling the Holiday spirit this winter. If you’re a subscriber to FABAtv, you’ve probably seen the free face painting class they are offering this month. Unlike the usual free & live class that FABAtv hosts around the 15th every month, this is an actual studio-filmed-and-edited class.

Holly Jolly Christmas by Heather Green

The artist behind this free face painting class is Heather Green, aka Silly Heather. Many of you have know of Heather as the owner of Silly Farm Supplies and from her YouTube face painting tutorials. Her latest class is all about Christmas and Holiday designs. You can catch Heather’s free class, Holly Jolly Christmas, on fabatv.com throughout the month of December!

Rudolph Face Painting with Video Tutorial

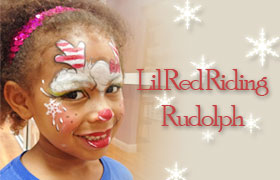
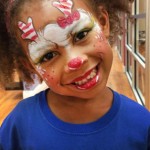
Lil Red Riding RudolphLia face painted as Rudolph

Lia volunteered to be my model for this Lil Red Riding Rudolph, my latest tutorial. This is a Rudolph the red nose reindeer inspired design and it’s a perfect face painting design for boys or girls around the Holidays. I will show you how to create this design step-by-step in my video tutorial below.

Products Used

Happy Hippie Face Painting Video Tutorial

Happy Hippie Face Painting Tutorial
I hope everyone had an amazing Thanksgiving this weekend, however you spent it( with or without family and friends). For those that worked Black Friday and Small Business Saturday, I hope you’re getting some well deserved rest. I wasn’t able to push this tutorial out before Thanksgiving, but I’m here now and delivering it today.

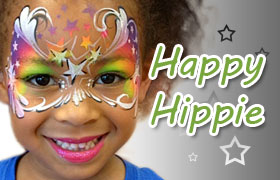
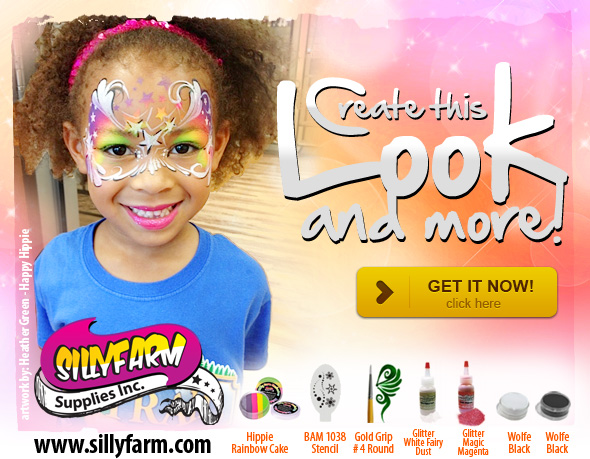
This is Heather’s latest face painting tutorial, aptly named ‘Happy Hippie’ for it’s free flowing nature. This is a quick 3-5 minute design that pops without spending too much time on detail.

Heather started this design with the brand new, Silly Farm Exclusive Hippie Rainbow Cake. Using a sponge and the BAM 1038 stencil, she started the base on the forehead and then filled around the eyes with just the sponge.

Next, Heather used an Athena #10 Filbert brush and Wolfe White to hand paint a couple more stars and add some strokes above and below the eyes.

Heather then dabbed her sponge in Wolfe White and using the BAM 1038 stencil again, dabs some stars over the Rainbow Cake base on each side.

Next, Heather takes her Gold Grip #4 round brush loaded with Wolfe White and adds some more details around the design.

Depending if you have the time or not, Heather used a Gold Grip #2 brush loaded with Wolfe Black to outline parts of the design.

Finally, Heather added some ‘lipstick’ and some Magic Magenta & White Fairy Dust glitter for the finished design.

The tutorial is below, along with the products used. You can visit Silly Farm’s Create This Look section to see all the products used in each design.

[button type=”button_solid_light” url=”http://www.sillyfarm.com/store/index.php?p=catalog&parent=975&pg=1″ target=”on” ]I want to Create This Look[/button]

Happy Hippie: Create This Look

Thanksgiving Turkey Face Painting

FABAtv Instructor Lisa Joy Young
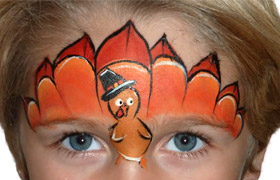
Thanksgiving Turkey Face PaintHalloween has passed and Thanksgiving is upon us. I haven’t really seen many Thanksgiving themed face painting designs, so I thought I would share one. This creative turkey how-to was painted by Lisa Joy Young, and she has a bunch more face painting tutorials up on her YouTube channel. Lisa is also a FABAtv instructor and has a couple online classes for you to expand your brush. If you haven’t experienced FABAtv, tune in on November 14th for a free LIVE body painting class with master artist, Mark Reid.

‘Dueling Dragons’ Face Painting Tutorial

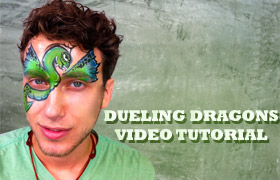
Dueling Dragons Video TutorialThis is a design I did earlier in the year using the Silly Farm exclusive Fairy Fly kits. Fairy Fly kits are one of the newest additions to the Silly Farm multi-colored cake collection.

I created this dragon design on Andrew with a minimum amount of products. Below are the products I used, along with a link to the products on Silly Farm.

  1. Dueling Dragons Fairy Fly Kit
  2. Gold Grip Round #3 Brush
  3. Kryolan Flat #12 Brush
  4. Pink Silly Farm Sponges

Witch Hat – Face Painting Tutorial

Face Painter Lisa Joy YoungWe’re sure some of you will recognize this tutorial. Lisa Joy Young’s youtube has quickly spread through-out the face painting world as one of the go-to channels for design ideas and tutorials. If you can’t get enough of Lisa from her Youtube tutorials, don’t forget that she is a FABAtv Instructor and has two classes out and more on the way!

Here’s one of her latest tutorials, a witch hat with spider webs in the background. This is a great design that can be used on kids or adults for your next Halloween gig!


Lisa Joy Young on FABAtv

Autumn Eyes – Face Painting Tutorial

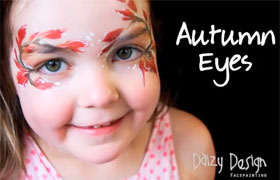
Autumn Eyes - Post ThumbnailThis tutorial caught our eyes here at Silly Farm. Our New Zealand fans might recognize some of the work from Daizy Design. This appropriately named design, Autumn Eyes, comes at the right time for everyone in the norther hemisphere. Halloween is around the corner and Thanksgiving will soon be following. Time to practice those fall designs!

[clear]
Did I mention that the painter responsible for this tutorial, Christy, is a new FaBAIC 2013 instructor?

Christy, AKA Daizy, has been making tutorials on the reg. You can check out her youtube for more face painting tutorials, and give her facebook page a like while you’re at it.

Zombie Skin Special Effect Tutorial

Silly Farm Zombie

[clear]
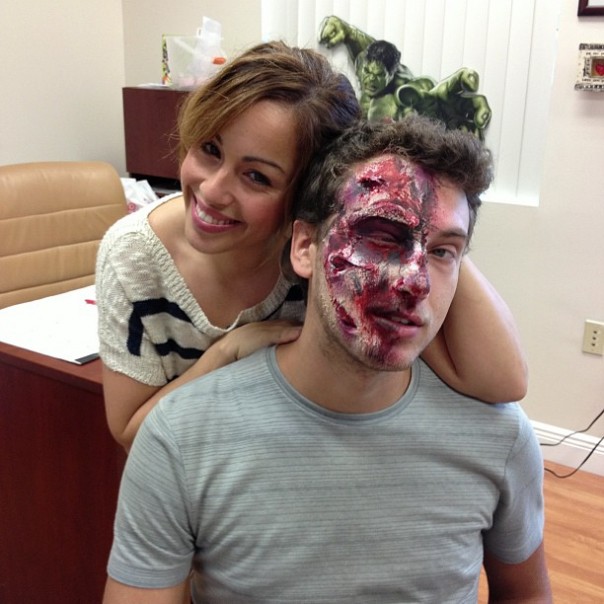
The Halloween season is upon us and many gore filled nights lay ahead of us face and body artists! This gory zombie design is perfect for teens and adults that want to be transformed into the living dead for a night of fun.

I started with tearing my tissue/toilet paper into smaller pieces and applying them to the face using Spirit Gum. The spirit gum dries relatively quick. Right after that, I used the zombie skin and brushed in around the edges of the tissues, where the skin was still showing. Don’t just coat it nice and smooth, give it some texture! After the zombie skin dried, I took my FAB makeup and applied black to the eye socket then used my plum(burgundy) paints to give it a bruised look. I applied more color, judging where to apply it based on how the skin should look when it’s torn or bruised. I applied my Mehron 3D Blood Gel in areas that I wanted the blood to pop more or to look like it’s dripping. Finally I used my stipple sponge with my stage blood to give the final effects of bruised and scraped skin oozing blood.

Dark Bat – Face Painting Video Tutorial

The Dark Bat Face Painting
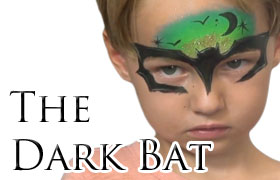
Everyone always asks for more boy designs, so we’re dedicated October to boy designs! This is a quick batman inspired face painting mask that I created and can be done in a quick 3-5 minutes. Add your own variations or copy it line to line!

The model requested that I didn’t paint over his eyes so I created the mask around his eyes without making him close his eyes during the process.
[clear]

  • I start off laying down background color with my rainbow cake, and then painted the mask on top and around his eyes.
  • I added the details, some tiny bats and a moon.
  • I finished the design off with a little glitter and VOILA! A fast and simple design geared towards all ages!

Dark Bat & DragontalesWatch the Dark Bat tutorial on Youtube.
Want the tutorial for this other design? Find out how to create the ‘Dragontales’ design!

‘DragonTales’ Face Painting Video Tutorial

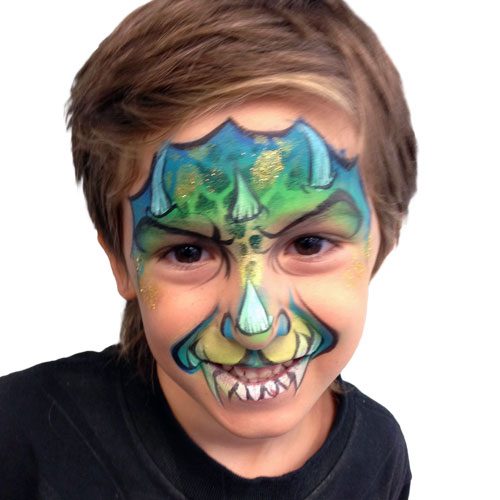
Dragontales Face Painting TutorialEveryone has been asking for more face painting designs you can use on boys. This is a cute, dinosaur inspired design that is sure to please the boys. This design can be done within 3-5 minutes and is perfect for when the boys want something mean and green!

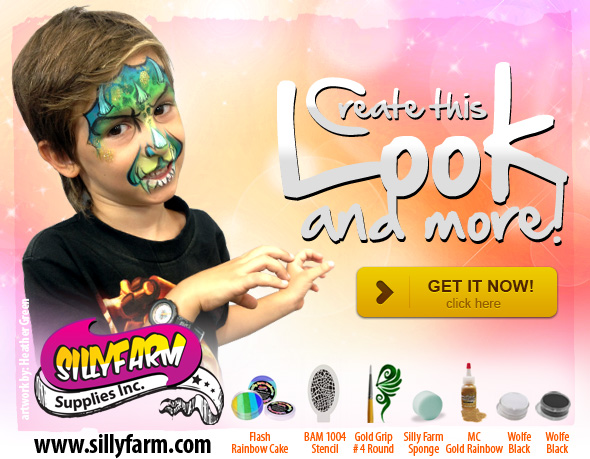
Create this Look!
[clear]

I started by sponging on my base coat using my Flash Rainbow Cake, available at Silly Farm Supplies. Some quick edge work with a brush while still using my Flash Rainbow Cake allowed me to detail the forehead more and add my dinosaur shape. Next I used my BAM Stencil #1004 for some quick detail, and then I started to outline the teeth and horns in white using a Gold Grip #4. I added some depth by bringing out the eyebrows more and was able to quickly add more depth by outlining the design with Wolfe Black. I’ll add some gold on my sponge and use my Bam Stencil again to place some spots. Of course I always need glitter, so I’ll use my finger and dab some Mama Clown Rainbow Glitter on. Ta-da!

Create this Look - Dragontales Face Painting

Floral Shimmer Mask: Face Painting Video Tutorial

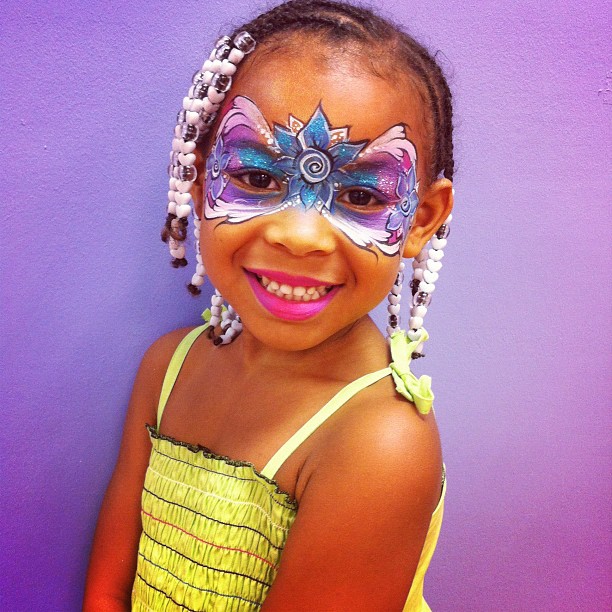
My latest face painting video tutorial! This is a floral mask design that I can put together in under 5 minutes(3 on a good day), but the video is longer because I am going to walk you guys through it. Check out the video below, and don’t forget to like and share it! Leave a comment and tell me what kind of tutorials and designs you would like to see next!

Liamari Floral Shimmer Mask

Faba Review: Arty Brush Cakes, Rainbow Cakes, Fairy Fly Kits

In this product review video, Silly Heather goes over the differences between Arty Brush Cakes, Rainbow Cakes, and Fairy Fly Kits. She talks about key points and benefits from the different types, and demonstrates how to properly load and use your brush with each product.

Arty Brush Cake FireRainbow Cake Pixie PieFairy Fly Kit Rose Bud Overview

Click the image thumbnails to be taken to the product page.


Watch Faba Review: ABC’s, RC’s, and FairyFly Kits on Youtube.
Like, Share, and Leave a comment telling us which product you love the most!

4th of July Face Painting Ideas

Summer is upon us and one of our busiest days is around the corner. The 4th of July is a big deal for face painters considering there are events and fairs being held all over the place. It’s time to get some creative juices flowing and narrow down some good face painting designs for the 4th.
Below are some face painting videos with some great 4th of July designs. For more face painting videos and tutorials, make sure to check out Silly Heather’s Youtube Channel.

Silly Heather’s latest video tutorial – Face Painting 4th of July Fireworks – Watch on Youtube

4th of July Face Painting Tutorial Crown by Lisa Joy Young – Watch on Youtube

4th of July Face Painting Eye Design by Silly Heather – Watch on Youtube

4th of July Face Painting Mask by Silly Heather – Watch on Youtube

Quick 4th of July Stars Face Painting by Silly Heather – Watch on Youtube

Is there Money in the Air? Airbrush Investing 101

Pashur Airbrushing
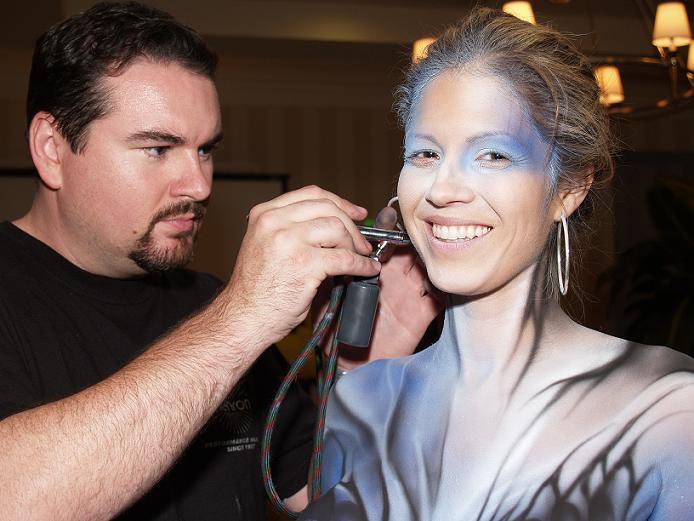
Have you been considering buying an airbrush system, then you look at the price tag and you just about faint? Or have you been doing research and you feel lost in a sea of products? Well hopefully I can help you to decide if there is money in the air for you or if you should stick to your paint brushes.

“Airbrushing is no doubt awesome”

With one airbrush you can paint a mural, paint nails, spray tattoos, decorate a cake, tan a body, paint a car, paint a body, paint a face, and the list goes on. The main difference between painting a cake and painting a person, is the type of paint you will use. So on a big scale, airbrushing is versatile and can be extremely practical. On the flip side, the one thing you will need to consider before investing in any system is that Airbrushing involves using and taking care of equipment.

Airbrush equipment requires maintenance, setup, and take down. When we face paint we open and close our kits and can be set up in 5 minutes. After your gig you go home and clean your brushes and sponges and leave your kit until you need it again. With airbrushing, you will need to clean, unassemble your guns and blast caps, and store them where they won’t rust or get ruined. Airbrush equipment is just that, equipment. You will need airbrush guns, hoses, bottles and blast caps, an air source (either a compressor or CO2 thank), a manifold, paint/ink and a set up. Silly Farm Supplies carries a wide variety of airbrush supplies and equipment.

It takes me about 20 minutes to set up and 20 minutes takes down when I am doing an airbrush job. The thought of equipment scares some people. When I first started airbrushing and my guns clogged and my CO2 tank froze, I was almost in tears. Once you learn the basics of equipment, then airbrushing is like riding a bike.
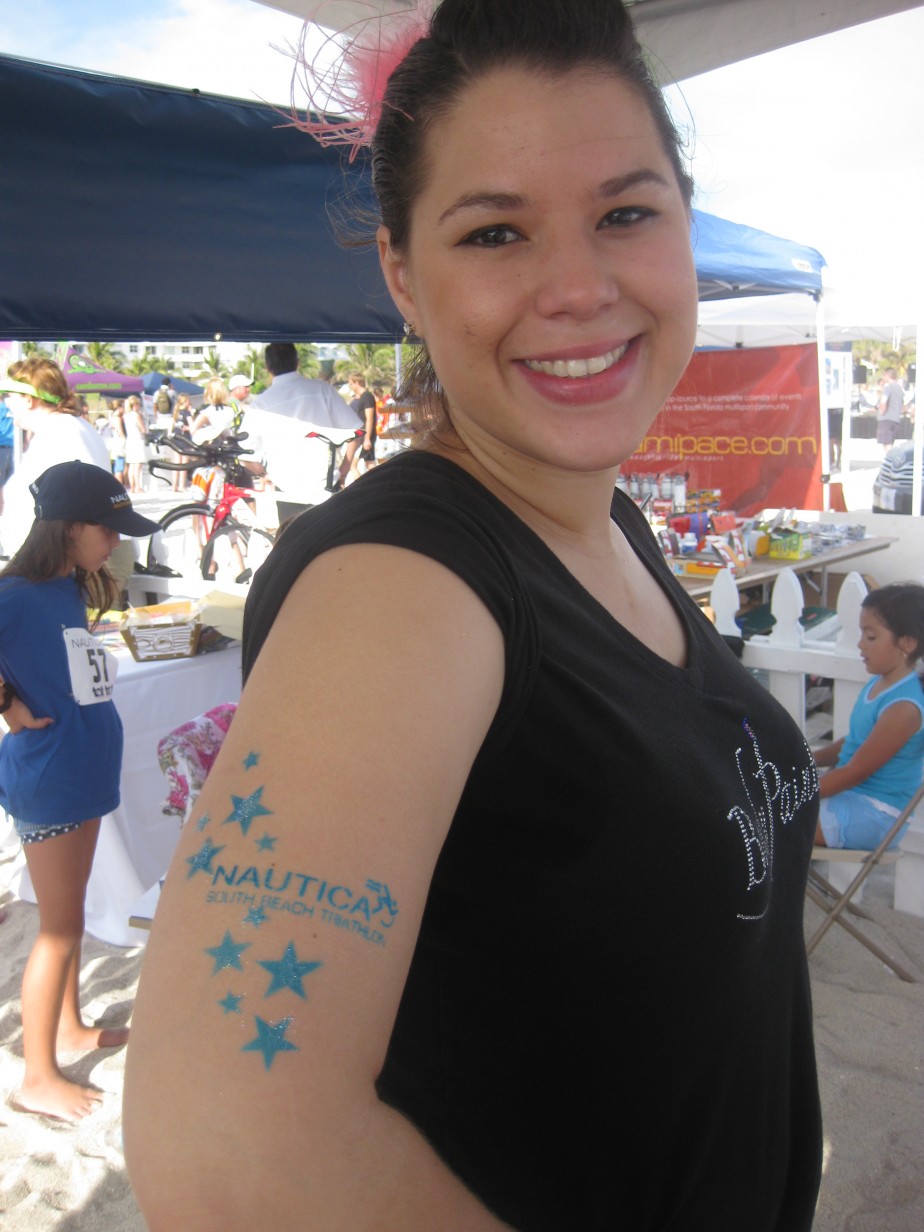
Glori with Airbrush Tattoo

I live in sunny south Florida and our summers are miserably hot. The face painting business dies off during the summer because face paint sweats right off. I started airbrushing because, depending on the paint you are using, tattoos can be waterproof. They are a great sell for adults, teens, and for water events. I also find that they are excellent for breaking into the Quince and Bar/Bat Mitzvah market. Teens aren’t always into face painting, but they love tattoos. I also charge more for Airbrush Tattoos because they involve more set up and maintenance.

So if you ask my professional opinion, Yes I think airbrushing is worth it. You can do more volume and you don’t have to be a skilled artist to airbrush because it involves stencils instead of free hand ability. However, It will only be rewarding if you are willing to invest the time in learning maintenance, troubleshooting, and willing to clean your equipment after each use. Otherwise, I can almost guarantee you will get frustrated and I will see your system for sale on craigslist.

“What do I need to get started and what’s the difference between brands and guns?”

I will cover the basics of airbrushing and in my next blog article I will go further into airbrush brands, and break down the differences between CO2 Tanks and a Compressor.
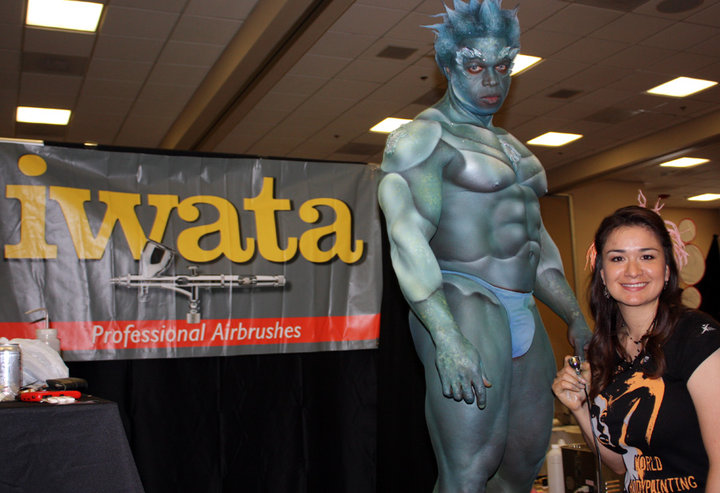
Lymari Airbrushing

If you are planning on offering just black or single color tattoos then you can start off small with one gun and a small compressor. If you are a color junkie like myself then you will want to consider starting off with multiple guns so you can offer variety. As a rule of thumb you will want one gun per color. As the paint flows through your airbrush, paint remains inside the barrel, and if you are switching colors you will need to clean out the paint before you change colors. You can do this by spraying alcohol through the gun in between colors, but cleaning guns in between colors can be time consuming and if you are doing a tattoo with three colors, it’s not easy to clean colors and still hold the stencil in place. If you are using multiple guns then you will need a larger air source, either a compressor or CO2 tank, and you will need a manifold so you can run several airbrush guns simultaneously.

I know it seems like a lot, but it’s not. Once you get the gist of it, it’s quite simple. Having multiple guns means you can run several colors and you can work faster. You cannot just lay your airbrushes on a table like we do with face paints, they will slip off, the hoses will tangle, and generally cause more frustration. You will need some sort of holster or case to hold your supplies into place. Silly Farm Supplies carries several cases and holsters for airbrushing.

When considering airbrush compressors, you will want a compressor that has an automatic shut off control and one that is light weight. Some of the compressors you can purchase at a hardware store are loud and the motor continuously runs. You want to look for a quiet, lightweight compressor, and preferably one made for airbrushing. Silly Farm Supplies carries several airbrush compressors, all made by top brands and exclusively for airbrushing.

“Typically airbrush face and body artists use two kinds of paint”

Water based make up or alcohol based tattoo ink. Ink is waterproof and make up is not, since it is water based. For airbrush face painting I suggest make up, for tattoos I recommend ink. Ink has alcohol in it, so I avoid using it on the face as it can be hard to get off, especially for children. Make up is very similar to our face paint, the difference is it’s in the liquid form and typically contains a little bit of silicone to make it dry faster.

Top feed or bottle feed brushes? Both serve a purpose, so ask yourself are you looking to do volume or will you be doing make up/ body painting. If you are going to be doing a day of tattoos it makes sense to have a bottle feed airbrush because you will have to reload the brush faster. So, having a bottom feed brush really is beneficial when you are doing airbrush tanning, airbrush tattoos, large areas of body art, or airbrush face painting then you will most likely use a bottom feed brush. For airbrush make up, fine details, t shirts, cake decorating, and nails you will like using a top feed brush because you can use minimal amount of paint at a time.

To sum it up, airbrushing can be a great addition to your services. You can expand into new avenues of business, you can save money by tanning yourself, and you can put your teenager or spouse to work as an airbrush artist because you don’t have to be a Picasso to be able to airbrush. If you need more info please feel free to contact me anytime at Heather@sillyfarm.com. My next blog will discuss the different brands and pricing of airbrushes and the pro’s and con’s of compressors and CO2 tanks.
Happy Painting! -Silly Heather
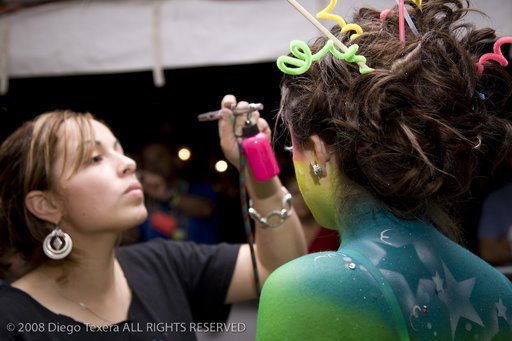
Heather Airbrushing

Resources:
Silly Farm Supplies carries a wide variety of airbrush supplies and equipment, you can find all of our airbrush items here.
FabaTV offers online classes for everything face and body art. Take an intro to airbrush class from a experienced professional right fom the comfort of your own home.