Zombie Love – Special Effects Tutorial

Zombie Love - Special Effects Tutorial
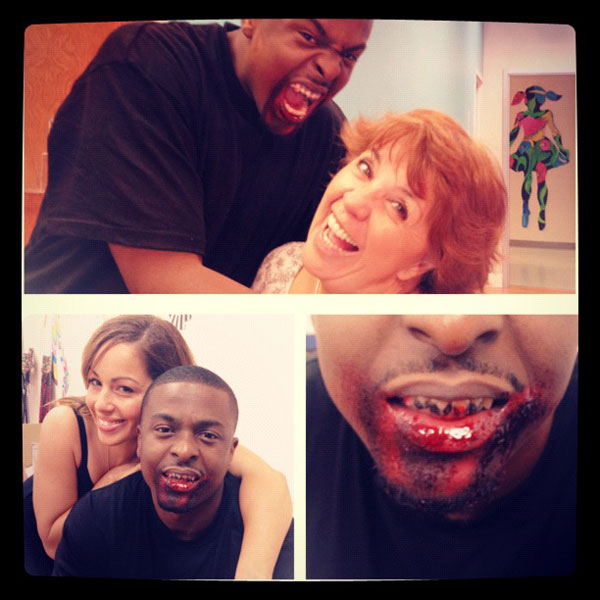
Keeping in theme with the month, here’s another Halloween inspired design. This is a quick, 2-3 minute zombie teeth design using Mehron Tooth FX, Wolfe Face Art & FX’s black & red, a stipple sponge, and some fake blood. My model today is my hubby, Henry! This is a great technique to pair with another design, as it compliments the character and brings it to life even more. Check out my last zombie tutorial you can use this with!
[clear]

  1. Clean the zombie, werewolf, or whatever fanged horror monster’s teeth and make sure they are dry. Make sure their lips don’t touch the Tooth FX for at least 20 seconds once applied.
  2. Apply the mehron tooth fx on their teeth. Remember you are blacking out the teeth to create a sharp, fanged tooth appearance.
  3. Next, apply some wolfe red and black to give a stained blood appearance.
  4. I finished this quick design using a stipple sponge and dabbing some fake, stage blood around the lips, chin, and even on the teeth for some fresh looking blood effects.

It looks like our zombie just had his first bite!
Share with us your creations that you used this technique with. We’d love to see your pictures! Post them to our facebook page or send us a tweet!
Henry's Zombie Teeth

Zombie Skin Special Effect Tutorial

Silly Farm Zombie

[clear]
The Halloween season is upon us and many gore filled nights lay ahead of us face and body artists! This gory zombie design is perfect for teens and adults that want to be transformed into the living dead for a night of fun.

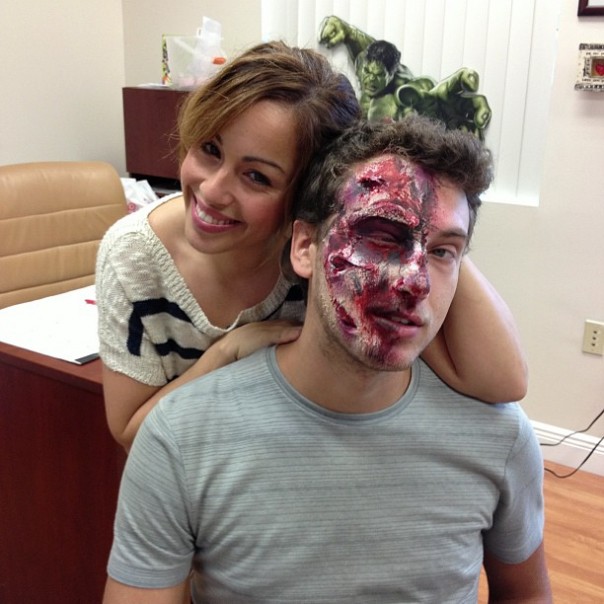
I started with tearing my tissue/toilet paper into smaller pieces and applying them to the face using Spirit Gum. The spirit gum dries relatively quick. Right after that, I used the zombie skin and brushed in around the edges of the tissues, where the skin was still showing. Don’t just coat it nice and smooth, give it some texture! After the zombie skin dried, I took my FAB makeup and applied black to the eye socket then used my plum(burgundy) paints to give it a bruised look. I applied more color, judging where to apply it based on how the skin should look when it’s torn or bruised. I applied my Mehron 3D Blood Gel in areas that I wanted the blood to pop more or to look like it’s dripping. Finally I used my stipple sponge with my stage blood to give the final effects of bruised and scraped skin oozing blood.