By Ilea Wakelin
When I first saw these style of boards my first thought was “why didn’t I think of that?!” and my next thought was “I must have them!”
Training Tried & Tested boards, and other similar style boards are plastic sheets with a static face, arm, or other body part drawn on one side, that you can use to practice on, or use to display your work at events. After getting my hands on these boards, here are some things I have found while using them.
For this article I will be using the Sally-Ann Lynch TT&T Boards, which can be purchased at SillyFarm.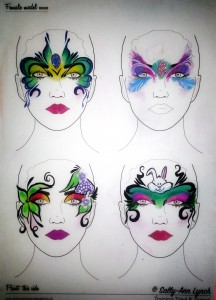
Cleaning
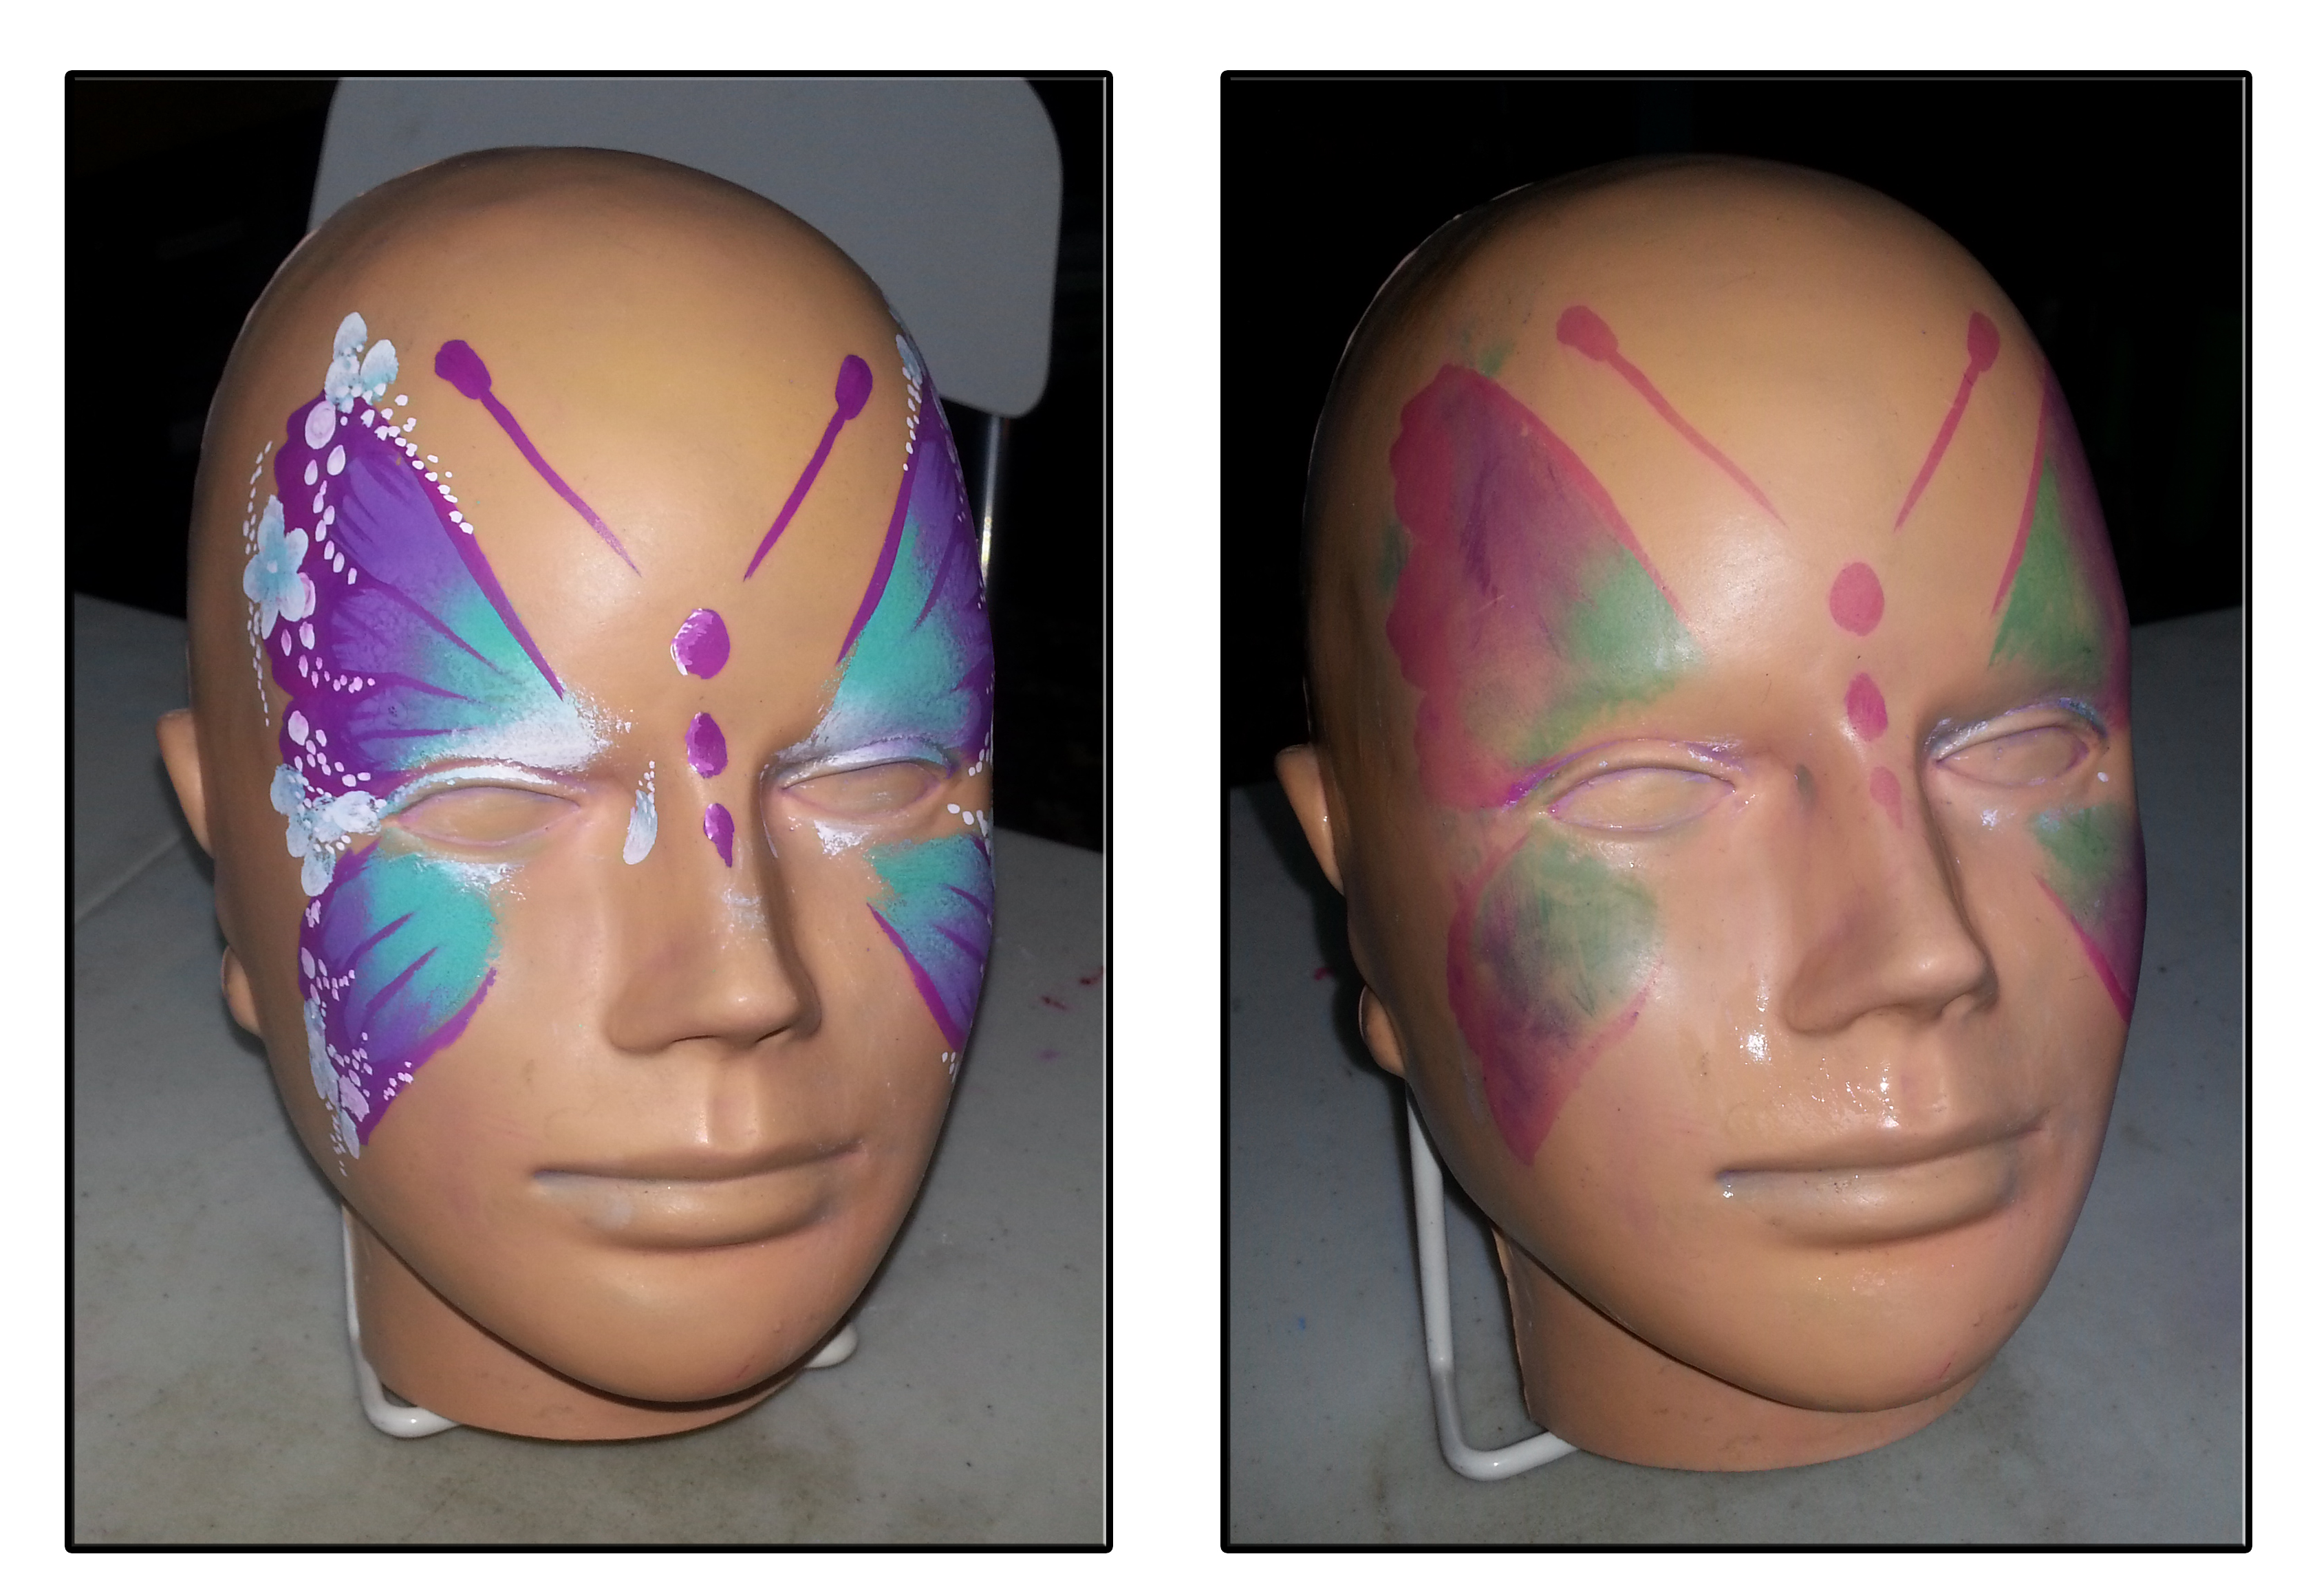
First of all these boards are SO easy to clean! I can’t stress enough how awesome this single point is. I have a pro-face practice head at home but I find myself not using it because how hard to clean it is! You have to use a 70% alcohol combined with a Mr. Clean Magic Eraser with a lot of elbow grease just to make a dent in the stains. It’s such a chore to clean I don’t use it anymore.
Don’t get me wrong, you CAN clean those stains, it’s just more time a work than my lazy butt prefers. The Proface is an AWESOME tool if you want to work with something that actually has curves. For that kind of practice, it is only surpassed by actual skin and real faces. But cleaning is just…. ugg.
Not so with these boards. They wipe fairly clean with soap and water, or even a wet wipe. and an awesome tip for any stains, TOOTHPASTE! Not kidding.
Transport & Storage
The boards also have a very minimal ‘memory’, so after a day with some books on the corners they are flat.
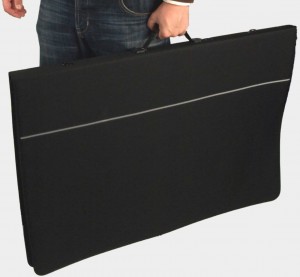
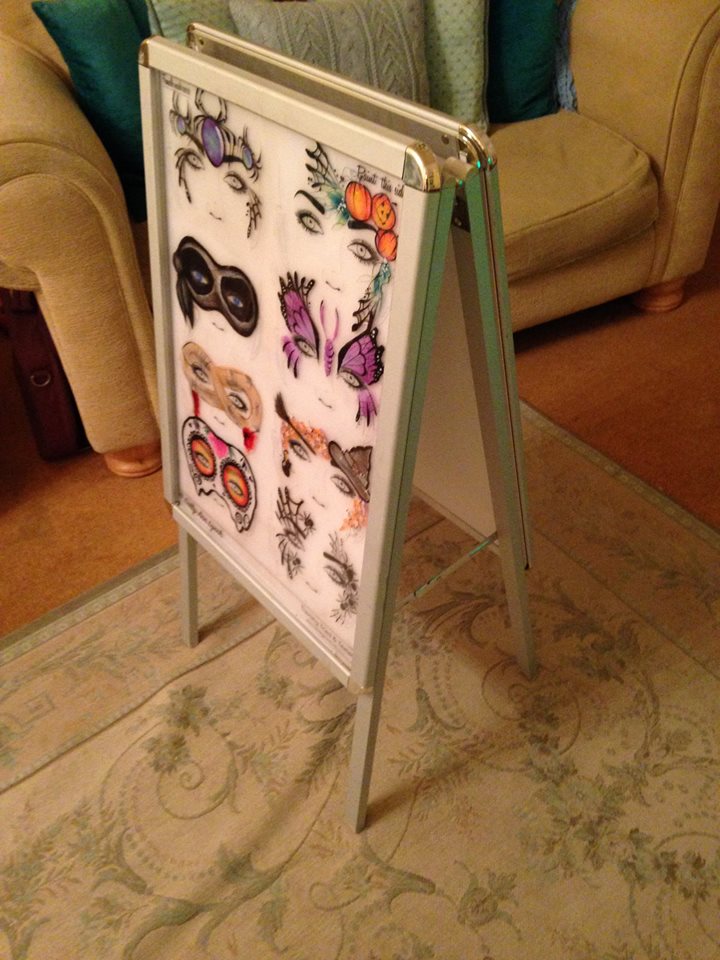
If you plan on bringing them to gigs you’ll want something to safely transport them in. They like to be babied a little if you have painted work on them, and obviously you want to take care of them so they don’t get damaged, so investing in a large portfolio case is a good idea, or you could also frame them with some perspex clip picture frames.
Product Application
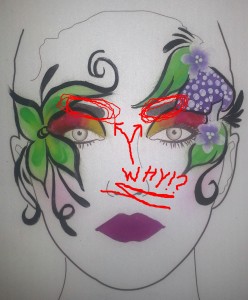
 Paint: I have to say, I thought it would be harder to paint on these then it was. They aren’t exactly like skin, so there is a bit of a learning curve where you have to figure out what consistency the board likes verses skin. However, I picked it up pretty fast. When it comes down to it the boards are still plastic so they are a tiny bit slippery at first, and rigid as they don’t bounce back or partially absorb the moisture in the paint like skin does. The best way to paint on them is to use less paint on your brush then you normally would and apply a bit on the dry side. You’ll get better results that way.
Powder: As for powders, they are pretty good too. Being honest, i don’t really use powders that much, so I always find them to be finicky any way, BUT they did stick to the board well enough just like paint. If you are a real starblends fan, then I suggest getting a smaller single face practice sheet to start with and see how you like it for this product. For me it worked fine, but you might be more picky.
This part is more a matter of personal preference, because each brand will have very different designs going on in terms of faces.
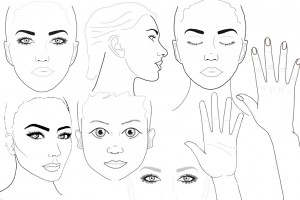
Size:
The Sally Ann TT&T boards I have are more adult sized, and as such only fit 4 on each board. But they also have the option of childrens sized faces which fit 6 to a board, and many other options for just the upper face, side profile and many many more!
Design:
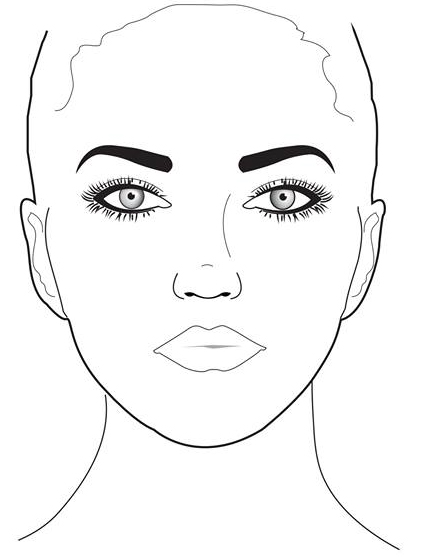
The Sally Ann boards have a bit more going on in a lot of ways. For one, their main board is clearly gendered female, and not a child. The nose shape also has a bit more to it, such as a small line to indicate the roundness of the nose. Newer painters might find this board easier to work with if they want something with a more realistic nose.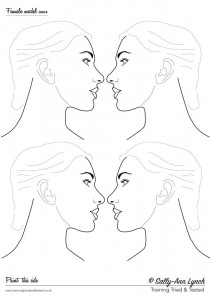
Then they also have a side face version of their boards. The side face is an interesting option if you want a larger area to display ‘half face’, or ‘over one eye’ designs. I like that some are facing left and others to the right, as it helps you practice painting designs on the opposite side of your dominant hand, so I could see this being great for lefties. Down sides for me is the looks like the ladies are about to kiss (which is cool, don’t get me wrong, but I just wish they would get on with it, since they are so close to each other! Lol) Also they look like they are laying down to me… i don’t know why.
The biggest disappointment with these faces is that they are so clearly ‘for girls’. I feel it sends a message like face painting is ‘for girls’, which is not something I promote. The thick makeup, eye lashes, big lips, and eye brows are all strong gender signifiers to ignore.
They do have the child boards, if you want something a little
less gendered, though being child faces, it seems to drive home that pigeonhole that face painting as ‘just for kids’. Is it too much to ask for an ageless genderless ‘every-person’ face? ….. with no eye brows. No really, I understand that are probably good for practice in knowing where your design goes in relation to eyebrow position, but if you want to use the boards as a display, they are just in the way. *eye twitch*
Using Them At Gigs
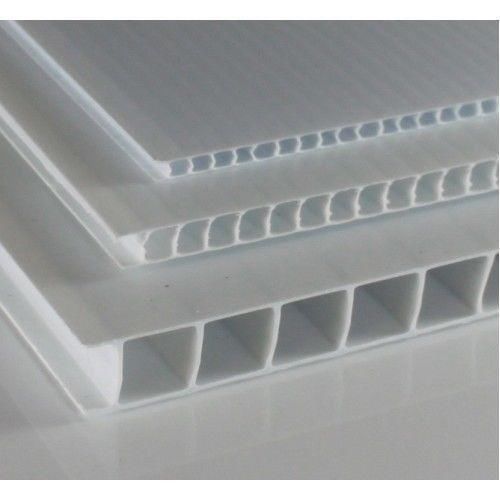
The boards are semi see-through, and thin enough to bend under their own weight, so you’ll want to get something to mount them on. I choose white corrugated plastic boards because it’s white, cost effective, light wight and versatile.
 The practice boards also don’t really work well in wet or humid conditions if not protected. Using these outside on rainy days is out of the question, unless they can be 100% protected from the weather. I once set up a little too close to a spray park one time and the fine mist from the park made the paint moist again and more easily to be smudged by kids touching the boards. Best to buy some kind of frame to put them in if you live in a rainy area or what them to be 100% protected.
You think you might be able to get around this by painting on the other side
and simply flipping the board around so they can’t actually touch the paint, but that doesn’t work because as you layer more things on top of your design the less you can see from the other side, so it’s much like window painting at that point. The side you paint on is the side that has to face the public if you want them to see your work properly.
Also, you get to find out REALLY fast which designs kids like the most, because those will get the majority of the abuse lol. Without protection the designs can get pretty beaten up.
Instant Design Display
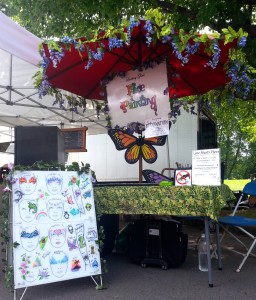 Boards aren’t just great for practice, I also use them as my new display!
What I like most about these boards is that, I can paint new designs whenever I want and display them instantly as options for people to pick from. While photo signs and books are great, I feel they aren’t always showing my latest work because of the hassle involved in making them.
Let me break it down:
First of all I have to convince the kid to go ‘off board’ and get something they haven’t even seen yet, which isn’t easy. Then you hope you don’t mess up, and that the kid gives a nice smile, and that the parents sign off on letting you use the photo. Assuming that all goes well and you get a decent photo, then I touch it up a little with a photo editor, mainly for color and cropping. Finally I get it professionally printed, cut, then laminated. And voila new design on my board.
No matter what method you use, to make your photo board, it’s still a process, and I find I’m so busy that by the time I have printed up a few of my newer designs they already feel ‘old’ or I have improved my technique. So I find myself using word boards if I didn’t have time or the necessary photos to make a theme or custom boards for certain events. – also many kids can’t read yet – doh!
Now let me break down how the boards work:
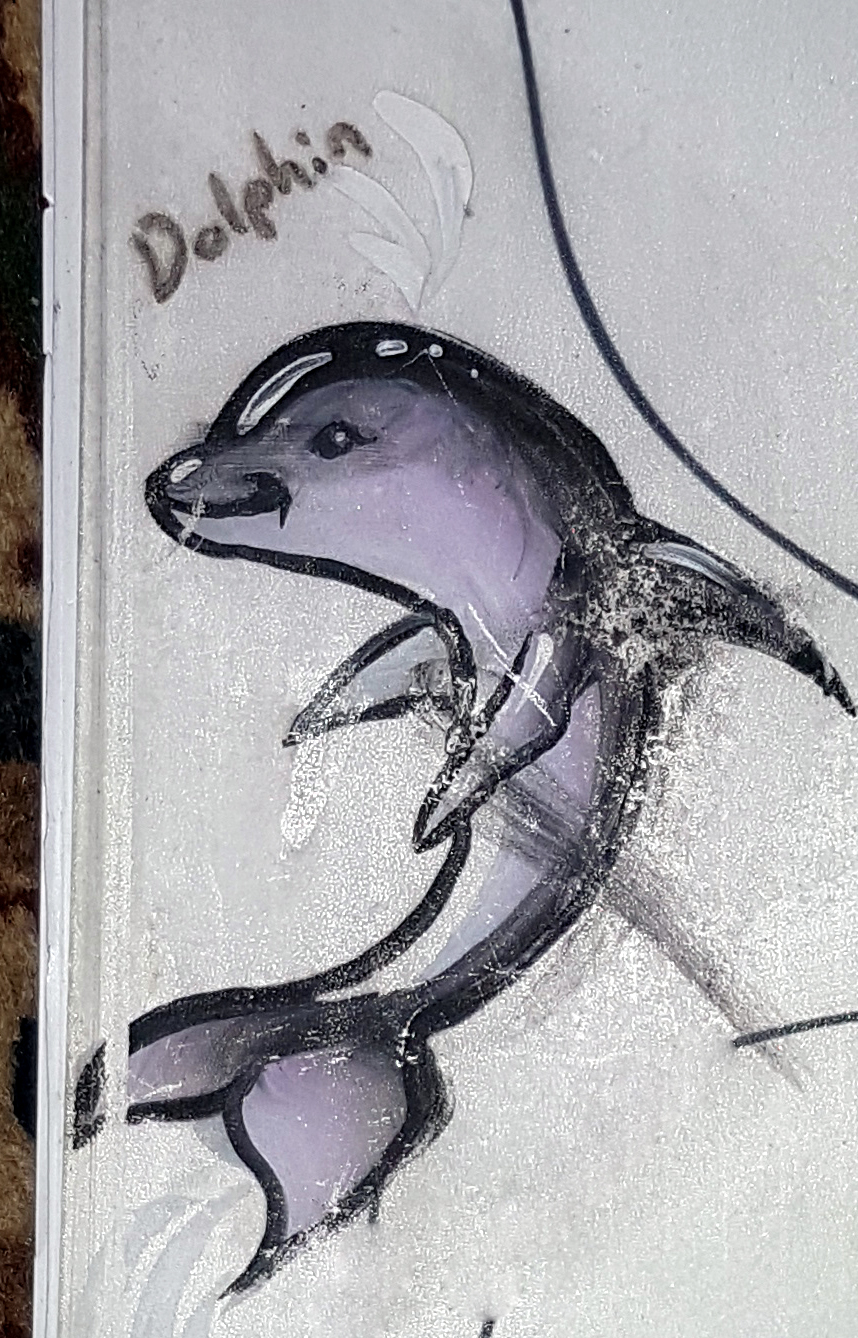
I think of a new design. I paint the design on the board, taking as much time as I want to make it look right. I put the board on display for kids to see.
Boom! That is my favourite thing about them! Even if some of the designs get man handled a bit it’s ok, because I’m washing them off to paint new ones any way. Also I’ve been taking photos of my designs on the boards so I can keep them and put them in my display book! Then as kids pick those designs and I get photos of them that I can replace in the book with the real faces or updated version as needed.
Conclusion
Thing is, I get bored so easily painting the same things over and over, and am constantly improving upon my technique (or trying to), so my work is ever changing, and these face boards allow my display to keep up with me as an ever evolving artist. I don’t think I’ll ever stop using my photo boards because they are still very eye catching at large events, but having these boards as part of my kit and my display setup is invaluable.
Thanks for reading!
Illea
