By Ilea Wakelin
We’ve all been there. “Why won’t these stains get clean?” *Rage!*
Your once awesome looking sponges are now totally covered in stains, and there is no getting rid of them.
Sure, they are still technically clean, and you know they are clean, just stained, but does your client know that? You pull out a fresh sponge out of your bag and it looks totally gross with stains like a used sponge. Doesn’t look clean, or fresh at all. Some times I would try to only use already stained sponges with the color it was stained by, but this never lasted. Either I would be forced to use a red stained sponge in my dark purple, or while cleaning them the staining color would get on to other sponges. Like a zombie virus, the stains spread!
I LOVE keeping my kit and table clean and tidy, so when I pulled out a stained sponge, it stuck out like a sore thumb. And a few times I was so self conscious of it i even said out loud “it’s a clean sponge, really! it’s just stained from the paint!” ouch! not good… now it has the parents thinking about the possible stain it will leave on their kids face or on their clothes! Something had to be done, and the solution was not buying new sponges every month.
So I did what I do when other clothes of mine become permanently stained. I died them black!
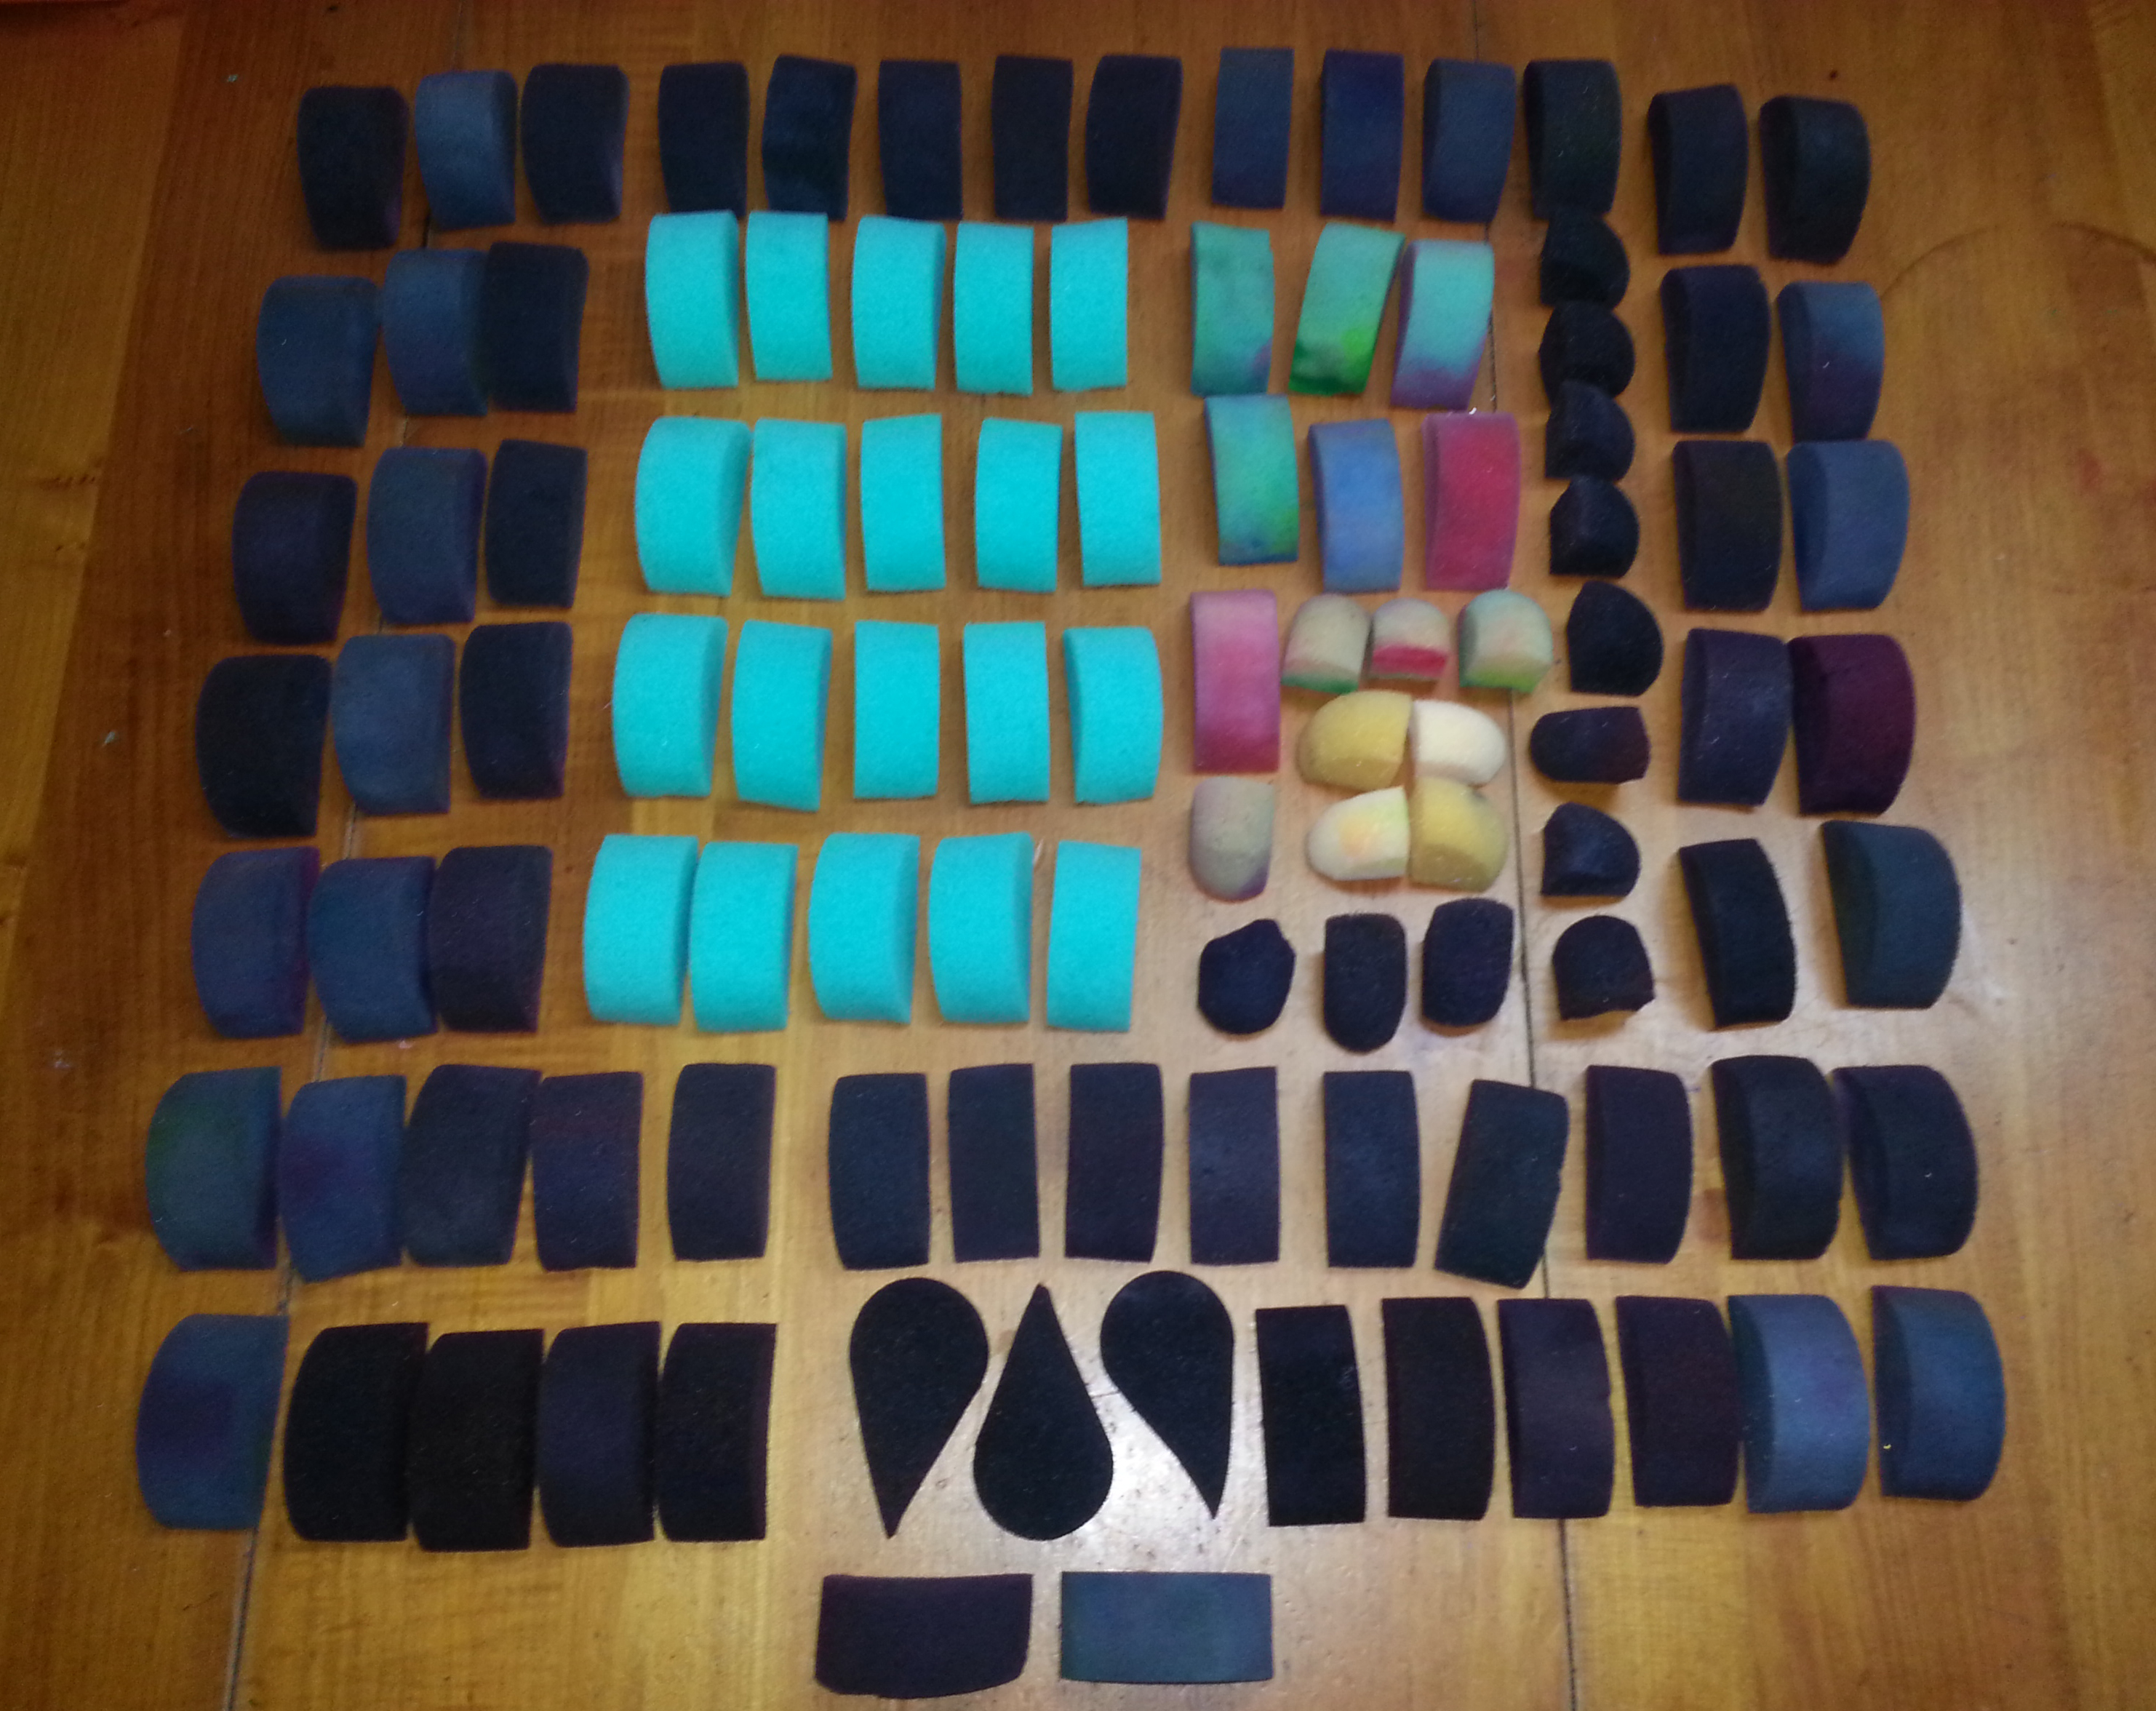
This works on all sponges that I have for face painting, petal sponges, daubers, fantasy world wide high density sponges, TAG sponges, and the ones you can get from craft stores. I’ve actually dyed my sponges before, a year ago, but never took photos of the process. So the black sponges you see in the photo are from last year. They lasted a pretty long time considering how often I wash them! But a year later, I have some new ones that need treatment, and the old ones are faded just a bit, so time for a touch up!
Important Note: This process is only for sponges that will be used with non-alcohol based paints, like wax base or glycerin base paints, and are not suited for alcohol based paints commonly used for airbrush tattoos.
Ok so first you’ll need some equipment.
– Liquid Fabric Dye
– Stirring Implement
– Salt (optional)
– Paper Towel
– Black Towel (optional)
– Gloves
– Metal Pot
– Extra Containers (optional)
all that AND the kitchen sink!
Going More In Depth
Liquid Fabric Dye:

I find Rit Liquid Fabric dye works best, don’t get that powder stuff, it’s a waste of money. Also don’t cheap out on your dye – remember just like with professional face painting, you get what you pay for. My bottle of Rit (the white one) is from a flat i bought in bulk over 6 years ago (yes i dye LOTS of stuff black, that’s how goth I am), but I’ve herd rumors they have changed the formula since then and so the ‘Dye More’ line for Synthetics I’ve heard would yield a better result (shout out to Laurel Alford for that tidbit, you rock!)
Stirring Implement & Salt:
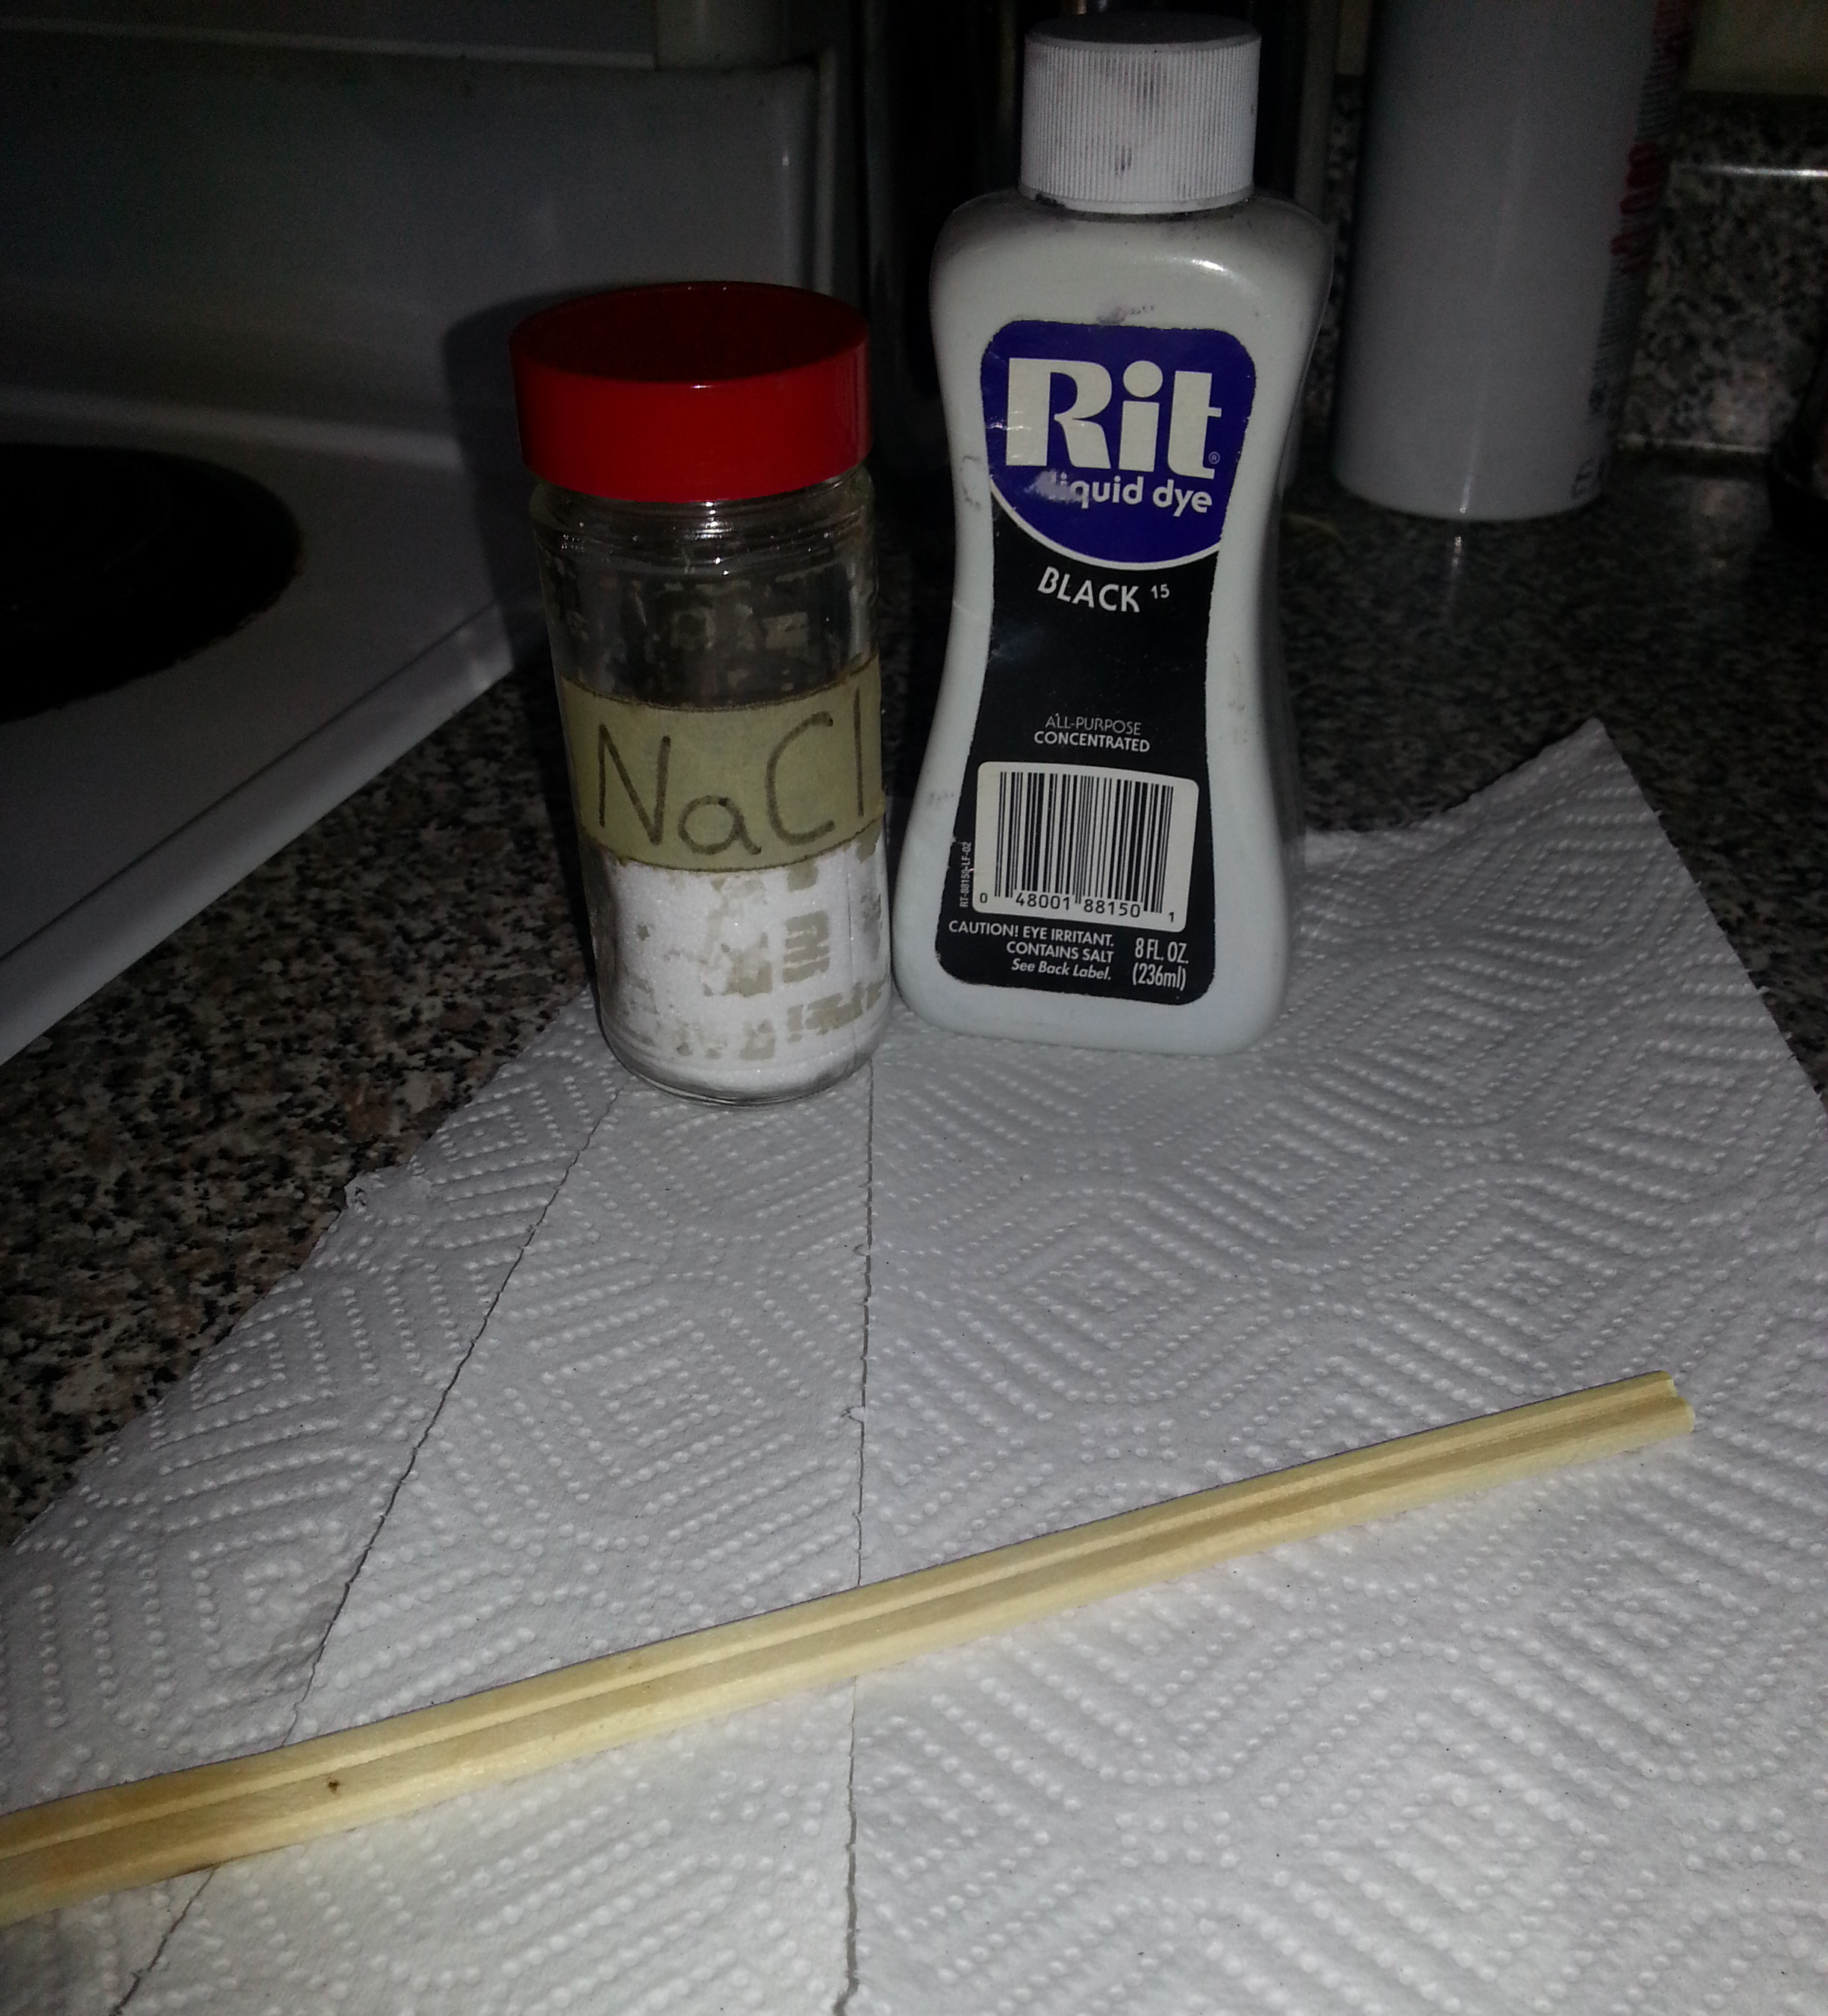
I used chop sticks, because I happened to have lots of them saved up from all the take out we eat. Sushi…. nom nom nom. But don’t use anything you actually cook with, or plan to use later. Trust me.
Salt is optional, but I find putting a little in really helps chemically bond the dye to what ever it is that you are dying, be it face painting sponges, or dirty socks – hopefully not at the same time.
Paper Towel & Dish Rags/Black Towels:
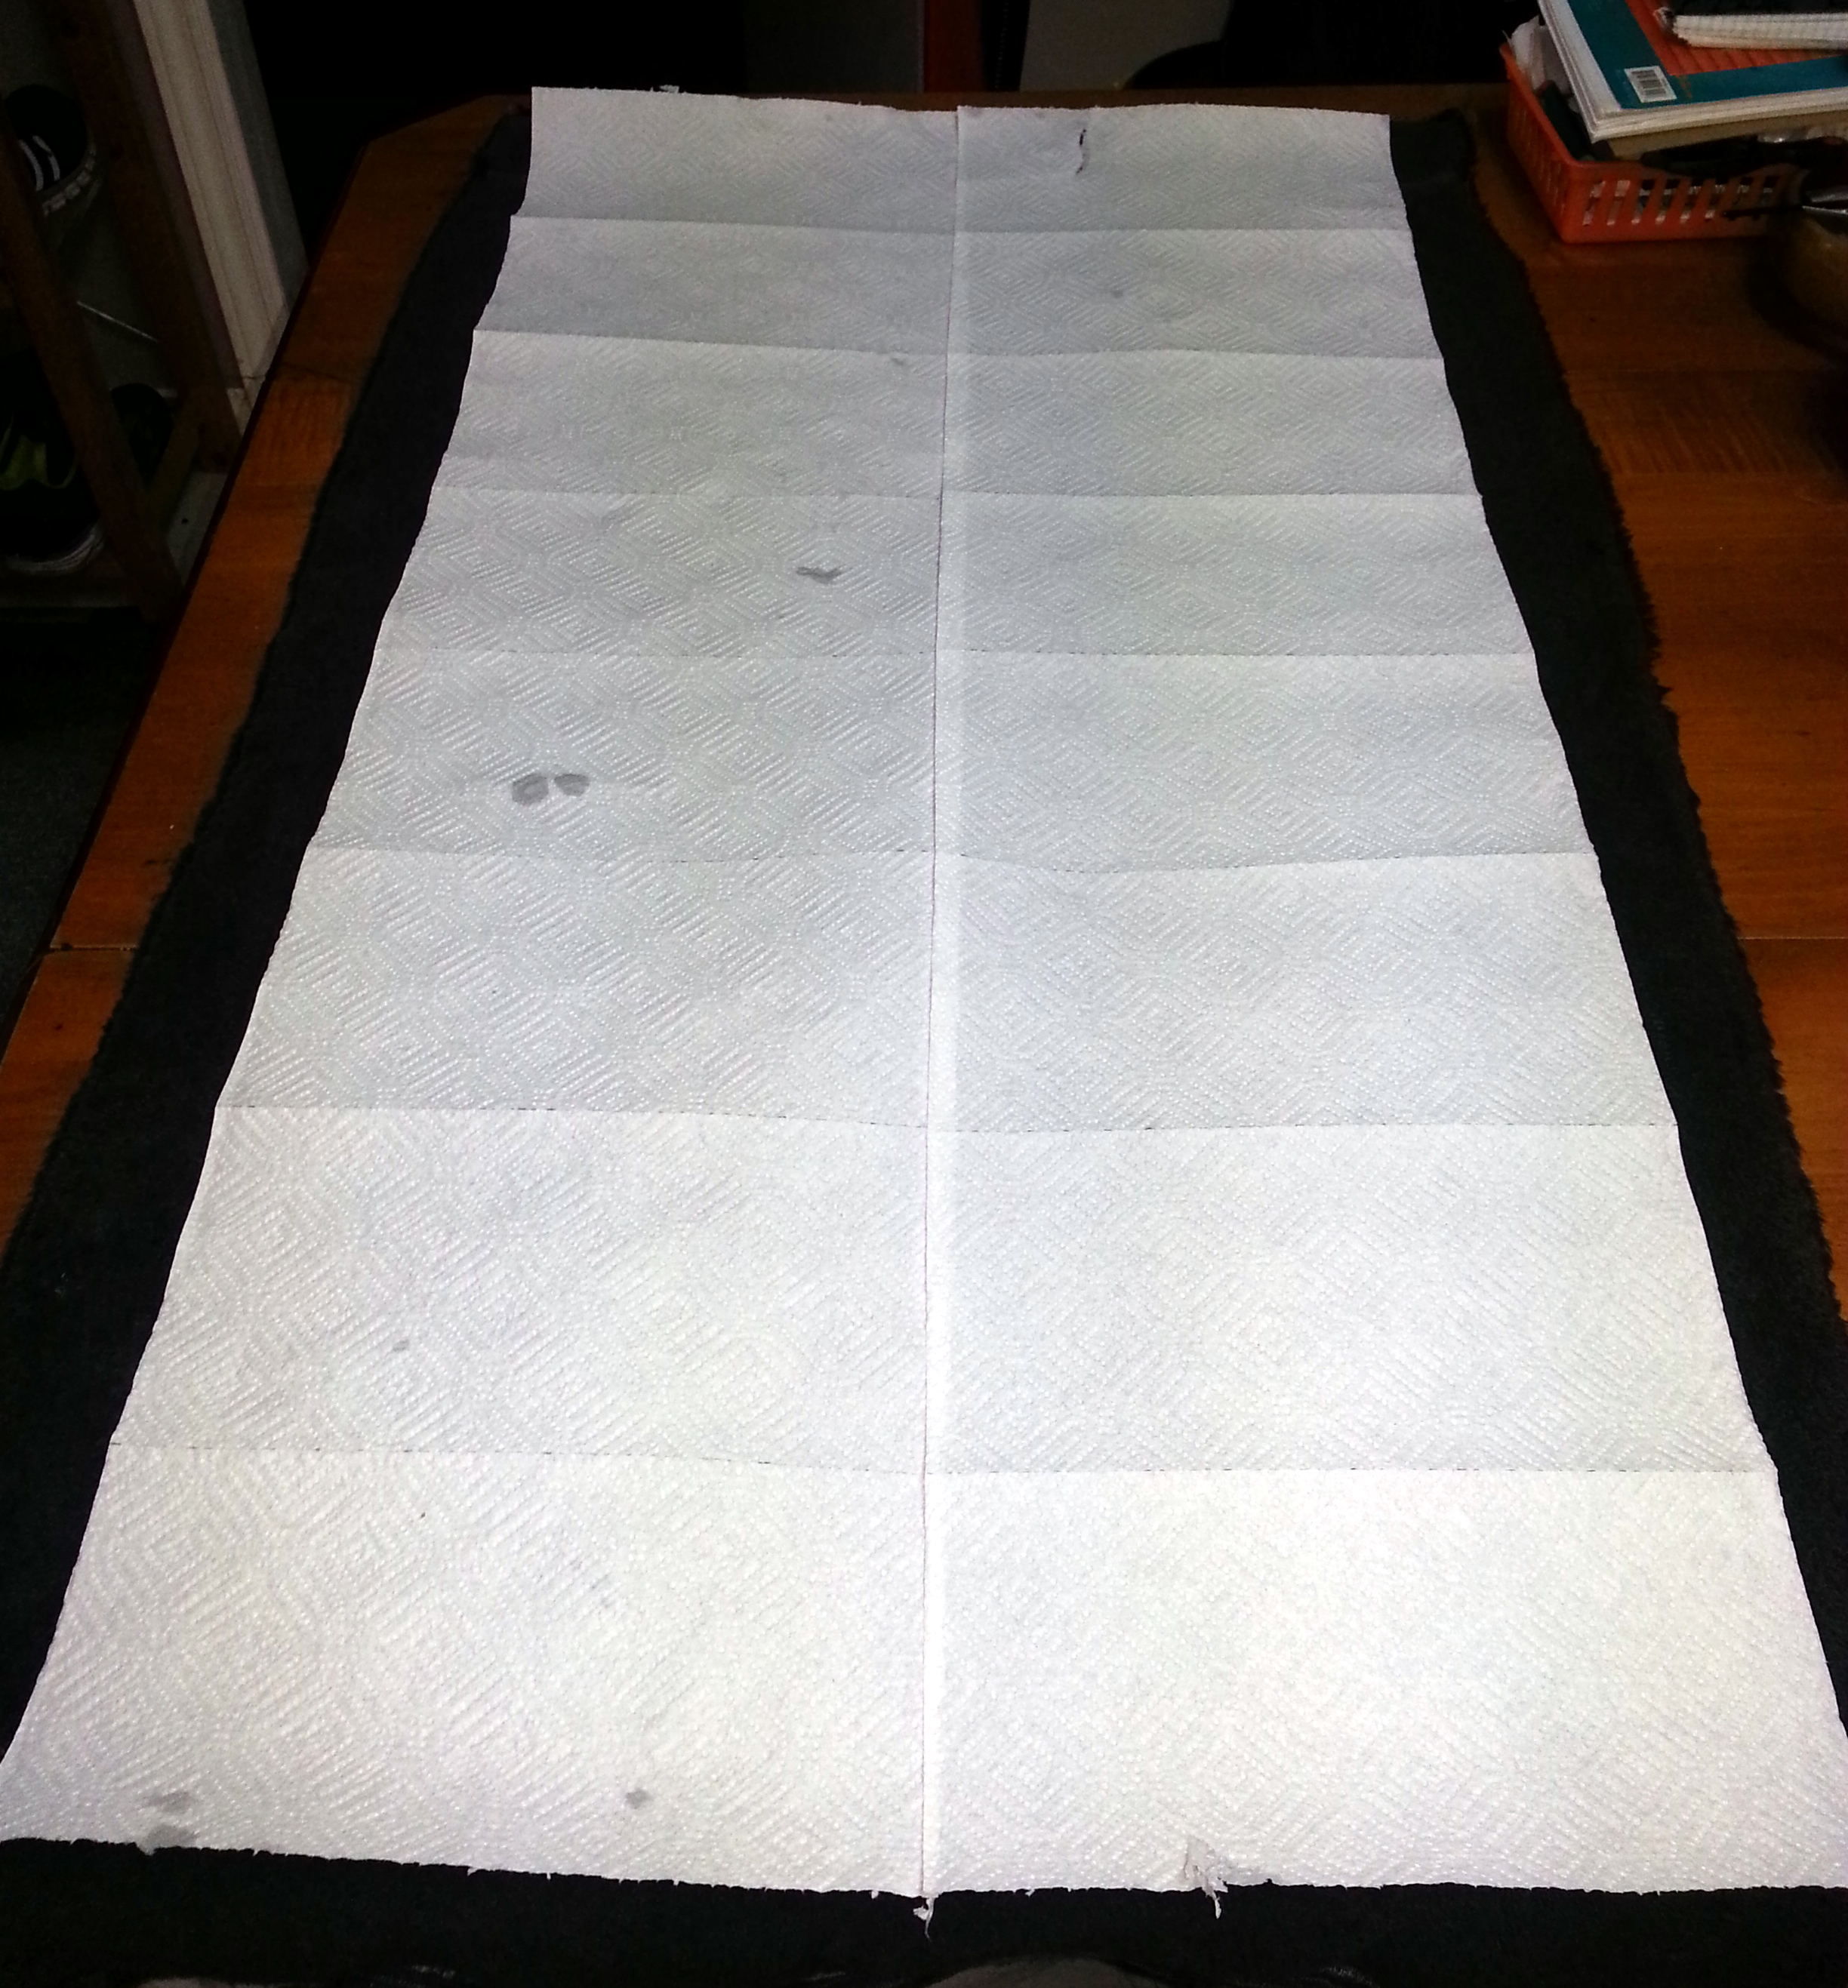
Ok, so I laid out an old black bath towel and put some paper towel over top. This was to protect my table from any residual dye, and the paper towel is needed to check that you got all the dye out of your sponges later.
Latex or Nitrile Gloves:
Because seriously who wants to have their hands stained black for a week.
Metal Pot:

This is the most important thing besides the dye itself. Do not – I repeat DO NOT use a pot that you use to cook with. I don’t care if it’s stainless steel or glass, how clean it looks after you are done using it for dying sponges, OR if the instructions on the bottle of dye say ‘don’t worry man, it’ll be fine’. One night of gothic black spaghetti last year was all it took to prove that was a lie.
So yeah, go out and buy an ugly pot from a second hand store and thank me for my mighty cooking pot sacrifice later. Remember, I find these things out so you don’t have to.
After you have all that prepared, it’s time to dye! Just don’t yell out ‘Time to dye!” in your kitchen lest you confuse the neighbors as to your plans this evening.
Now on to the fun stuff!
Ok so besides following the instructions on the bottle,
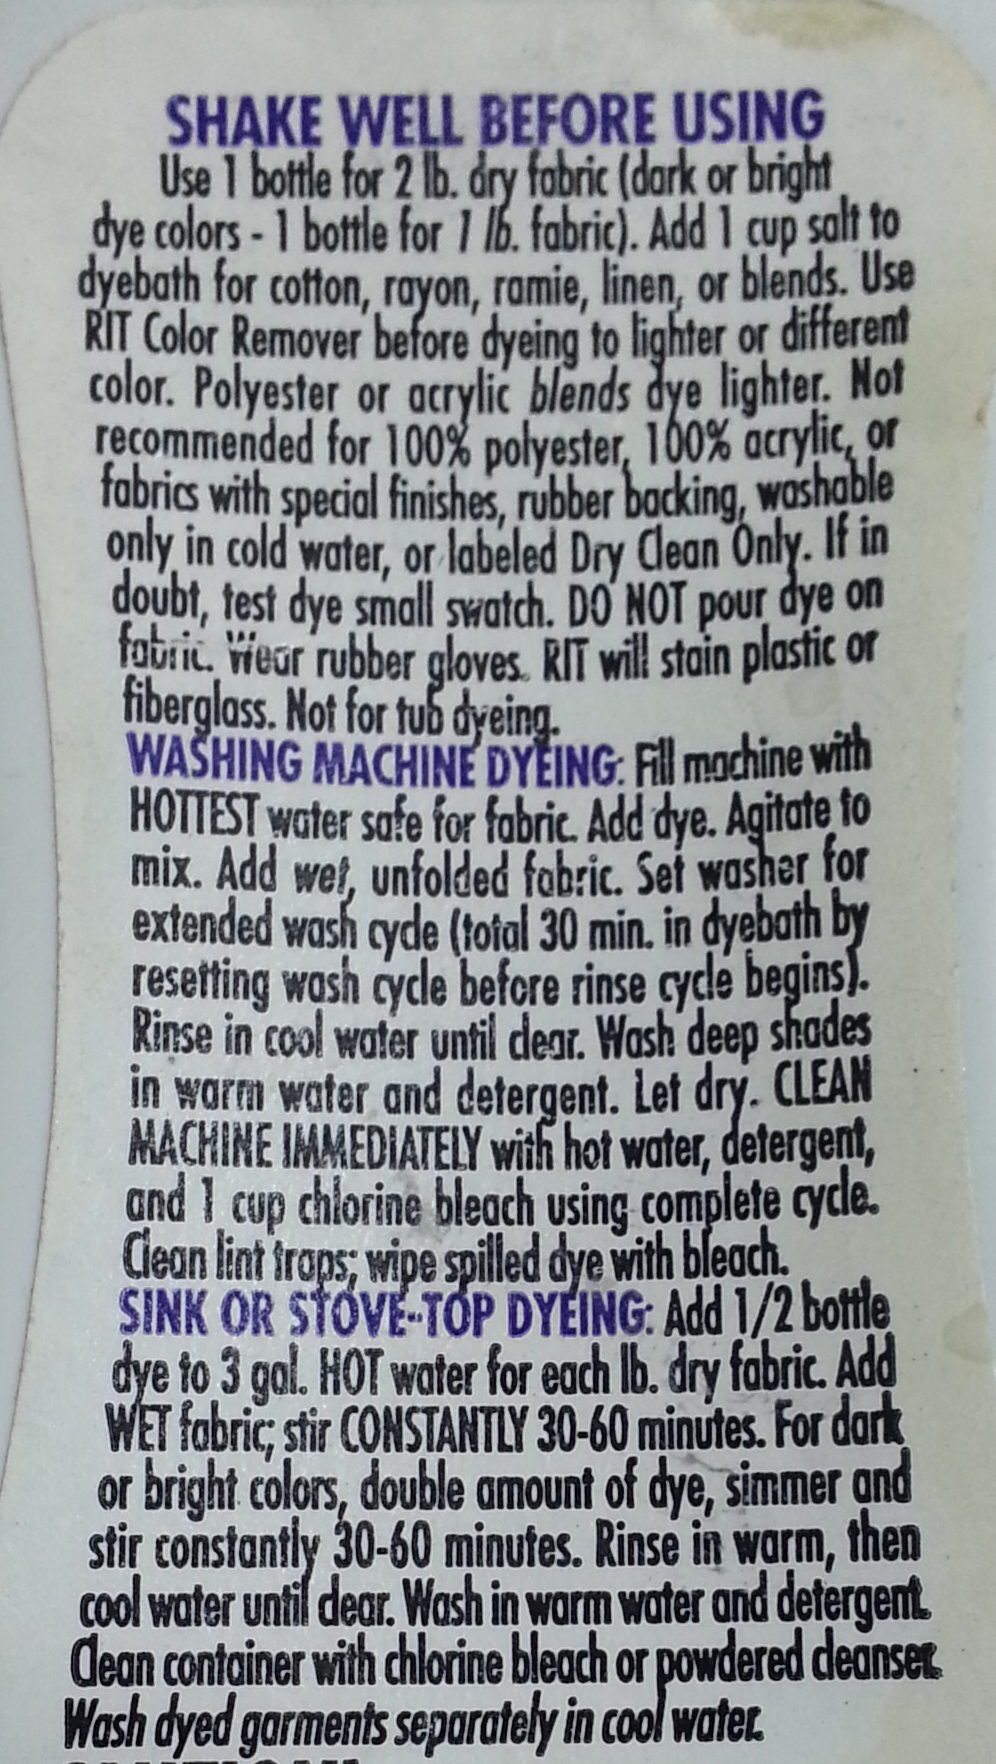
P.S. Do NOT get this in your eyes!
here’s some extra tips.
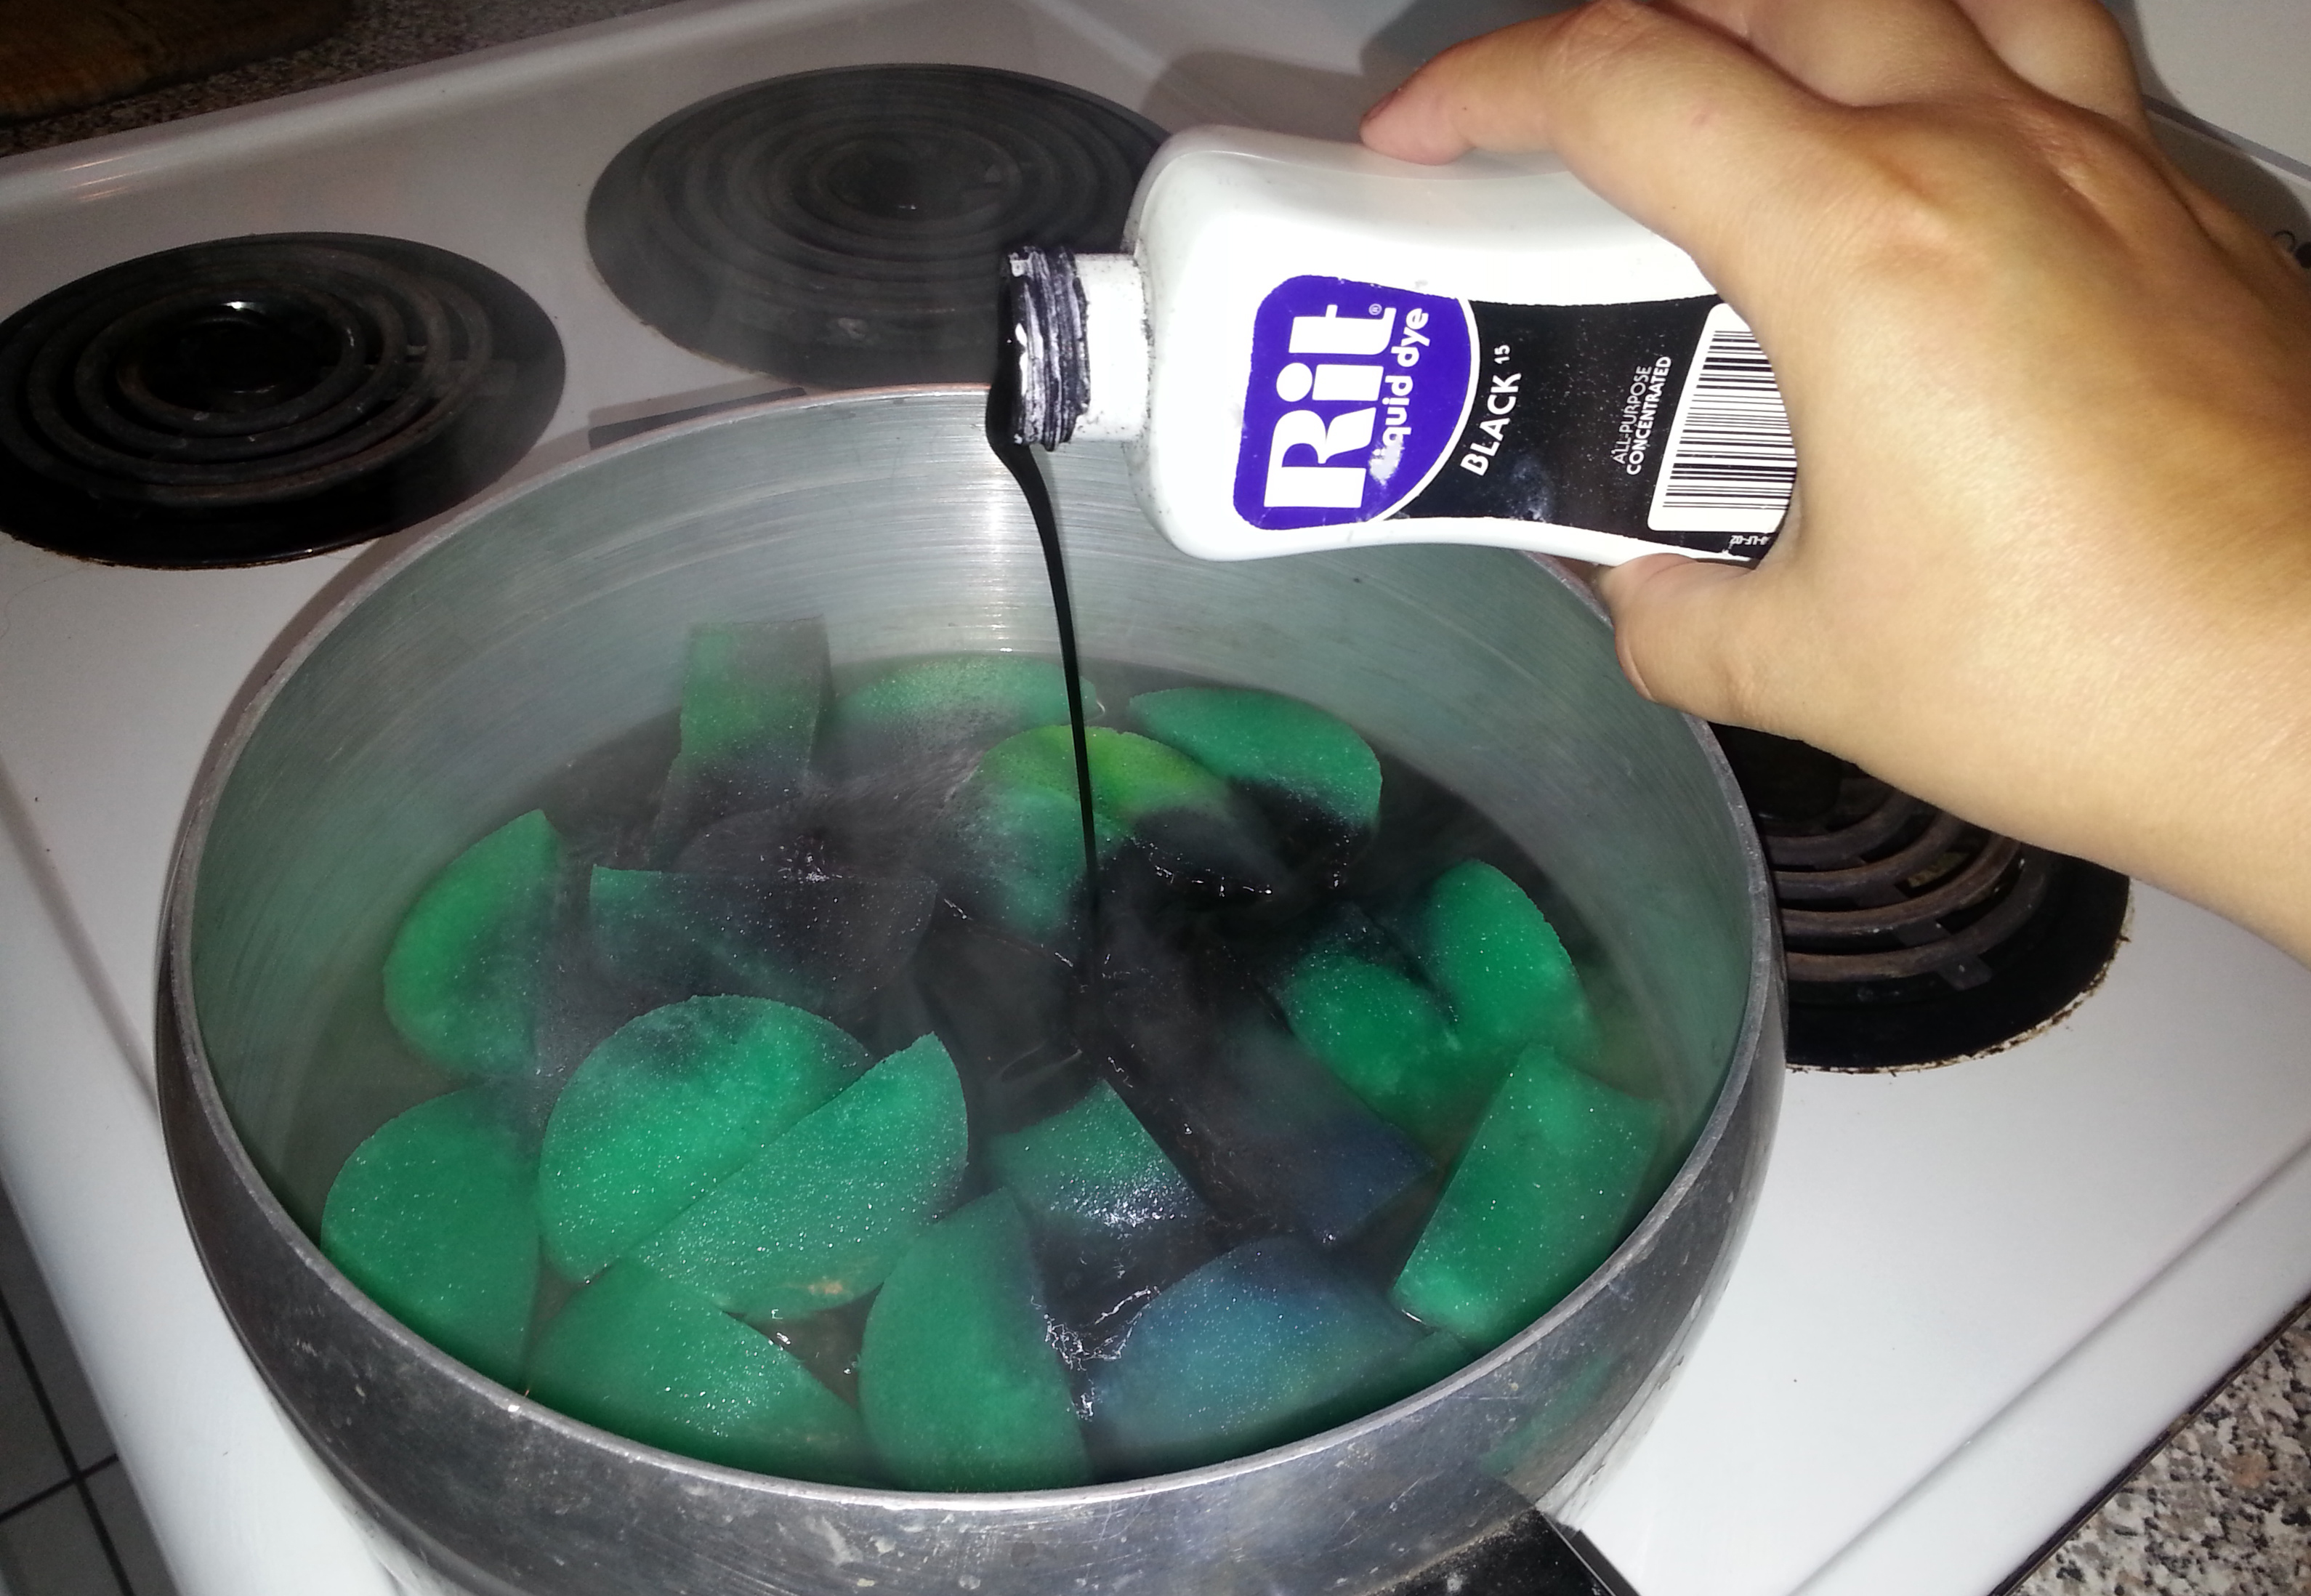
Step 1: Bring the water to a simmer (not a boil) at around a temperature of 140ºF / 60ºC and keep the heat constant while dyeing for about 20-30min. Stir a lot!. Don’t put too many sponges in at once, just enough to cover the surface, you want them all to be able to be submerged in the water and flow freely. Put in your sponges before the dye.
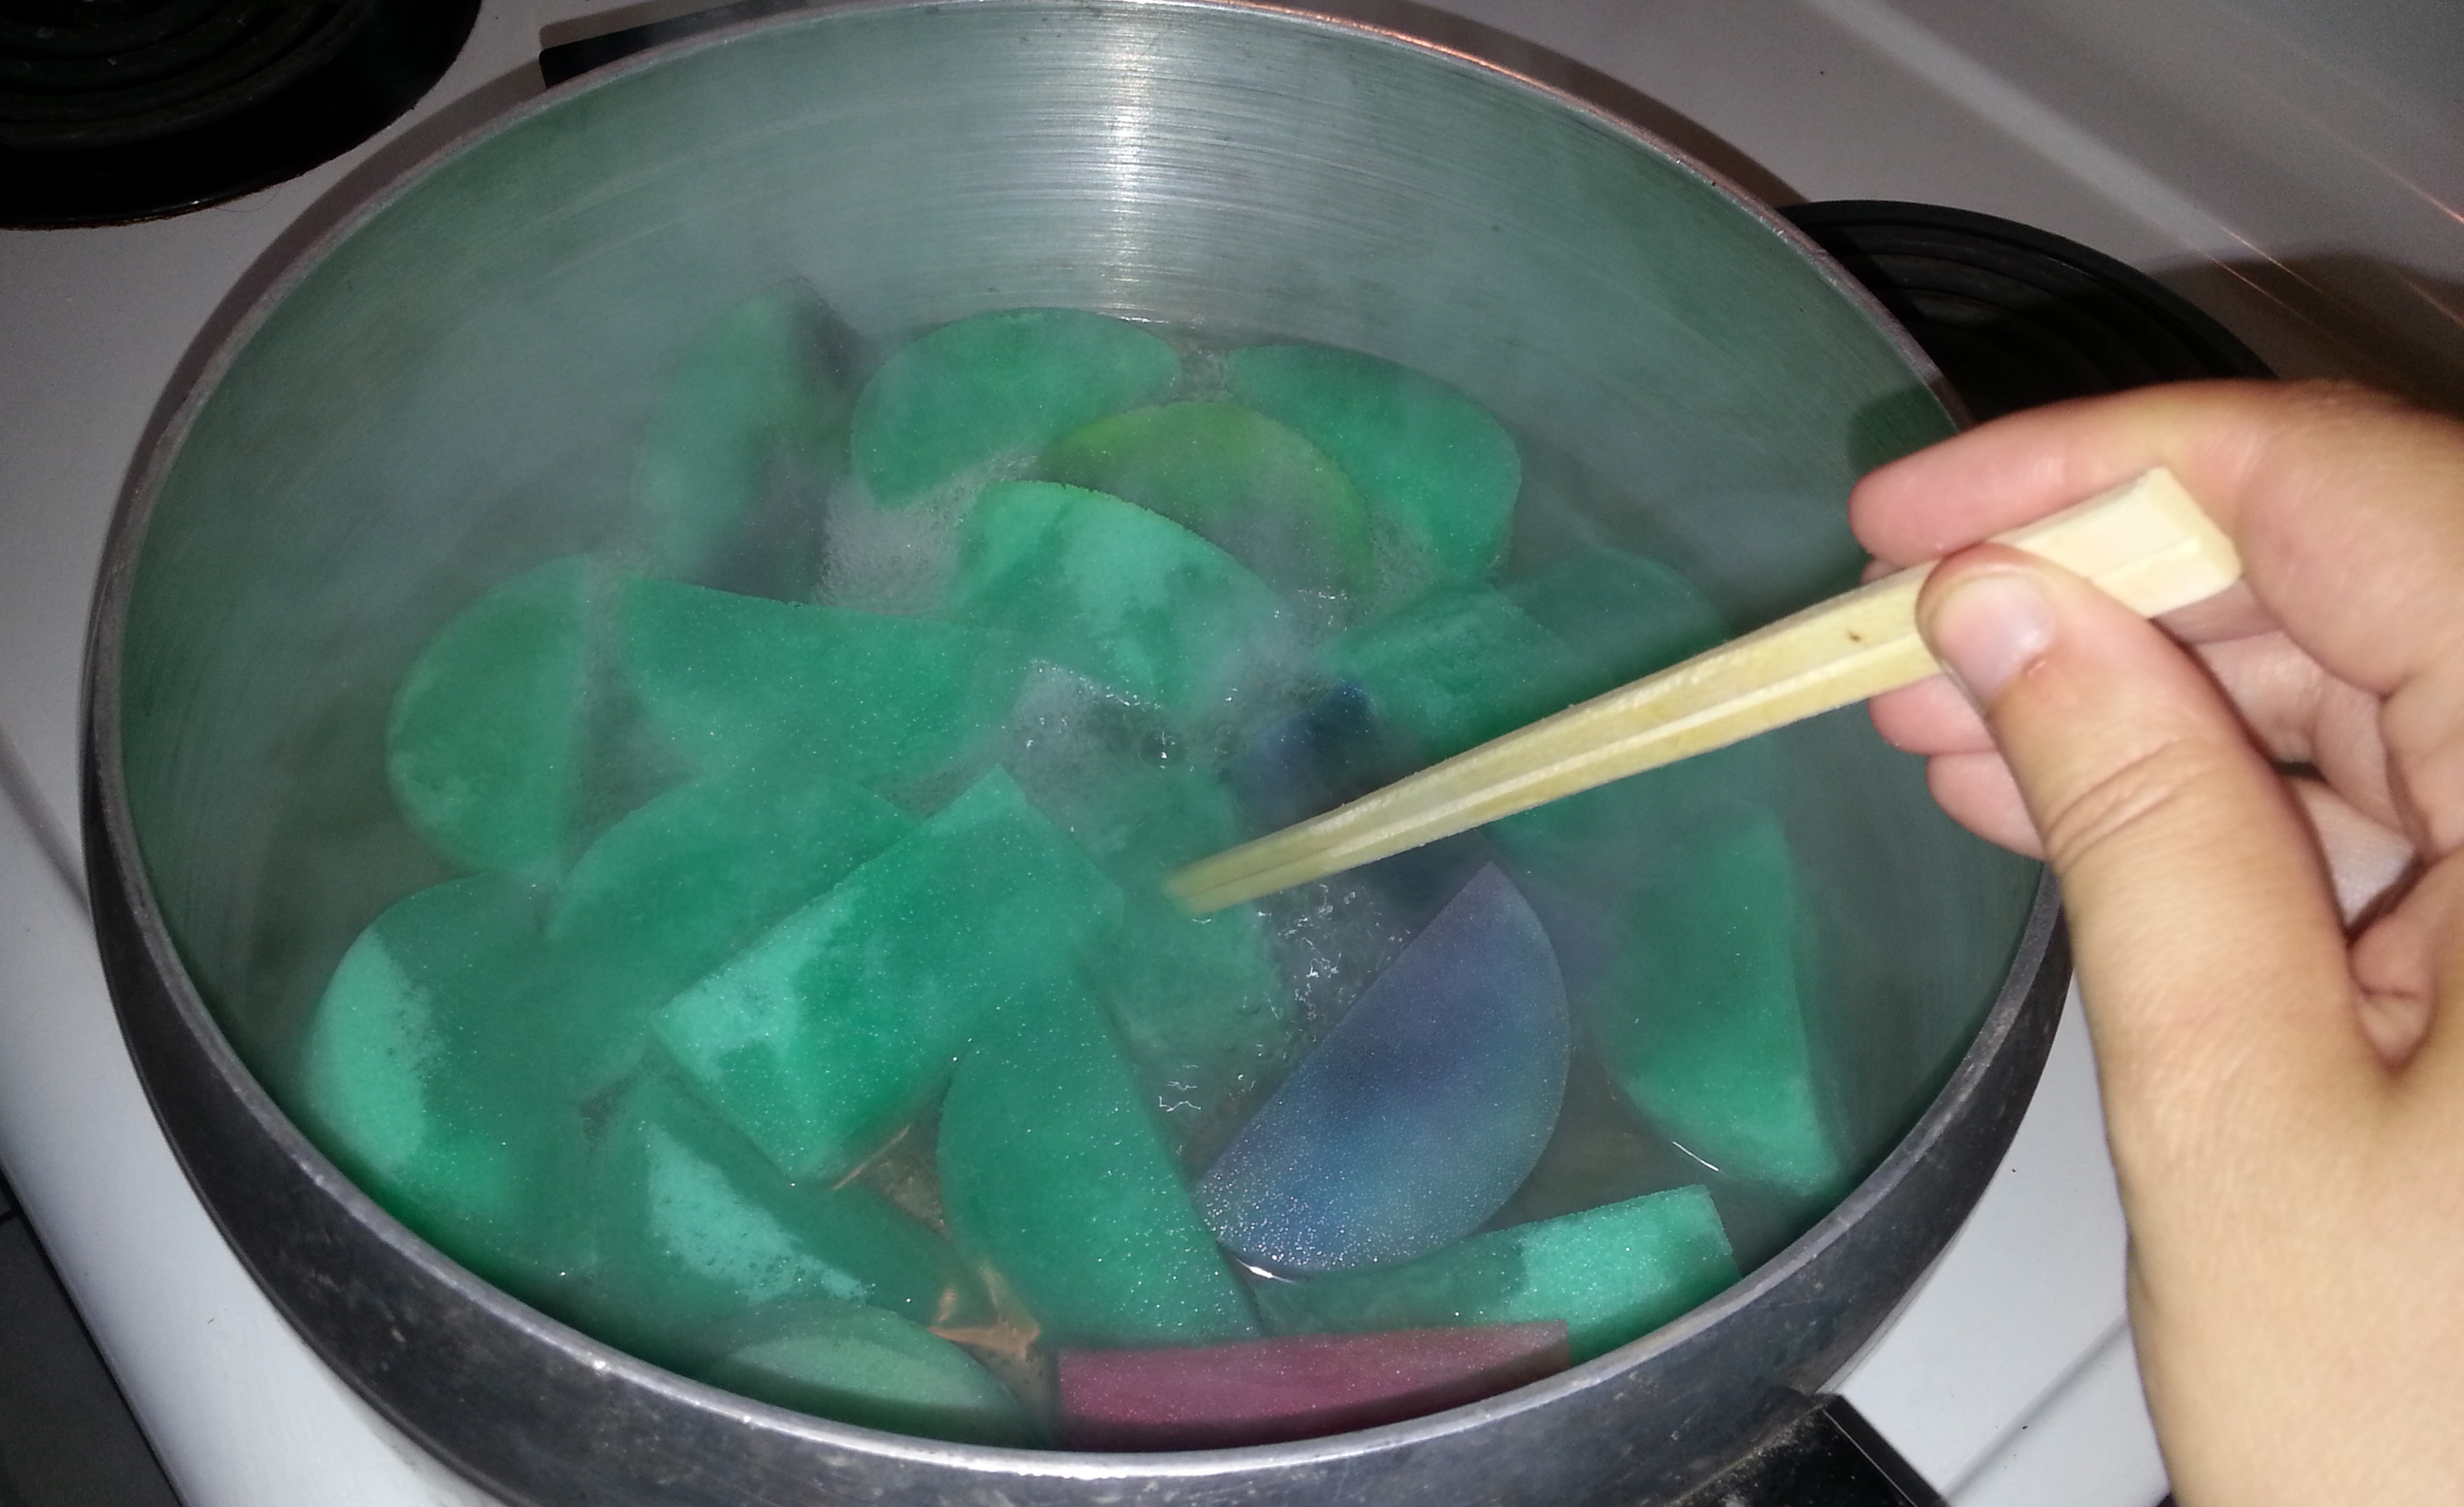 This will make sure the sponges are all nice and wet, and their molecules all warm and opened up ready for some nice black…. dye. *cough*
Step 2: Pour in the dye.
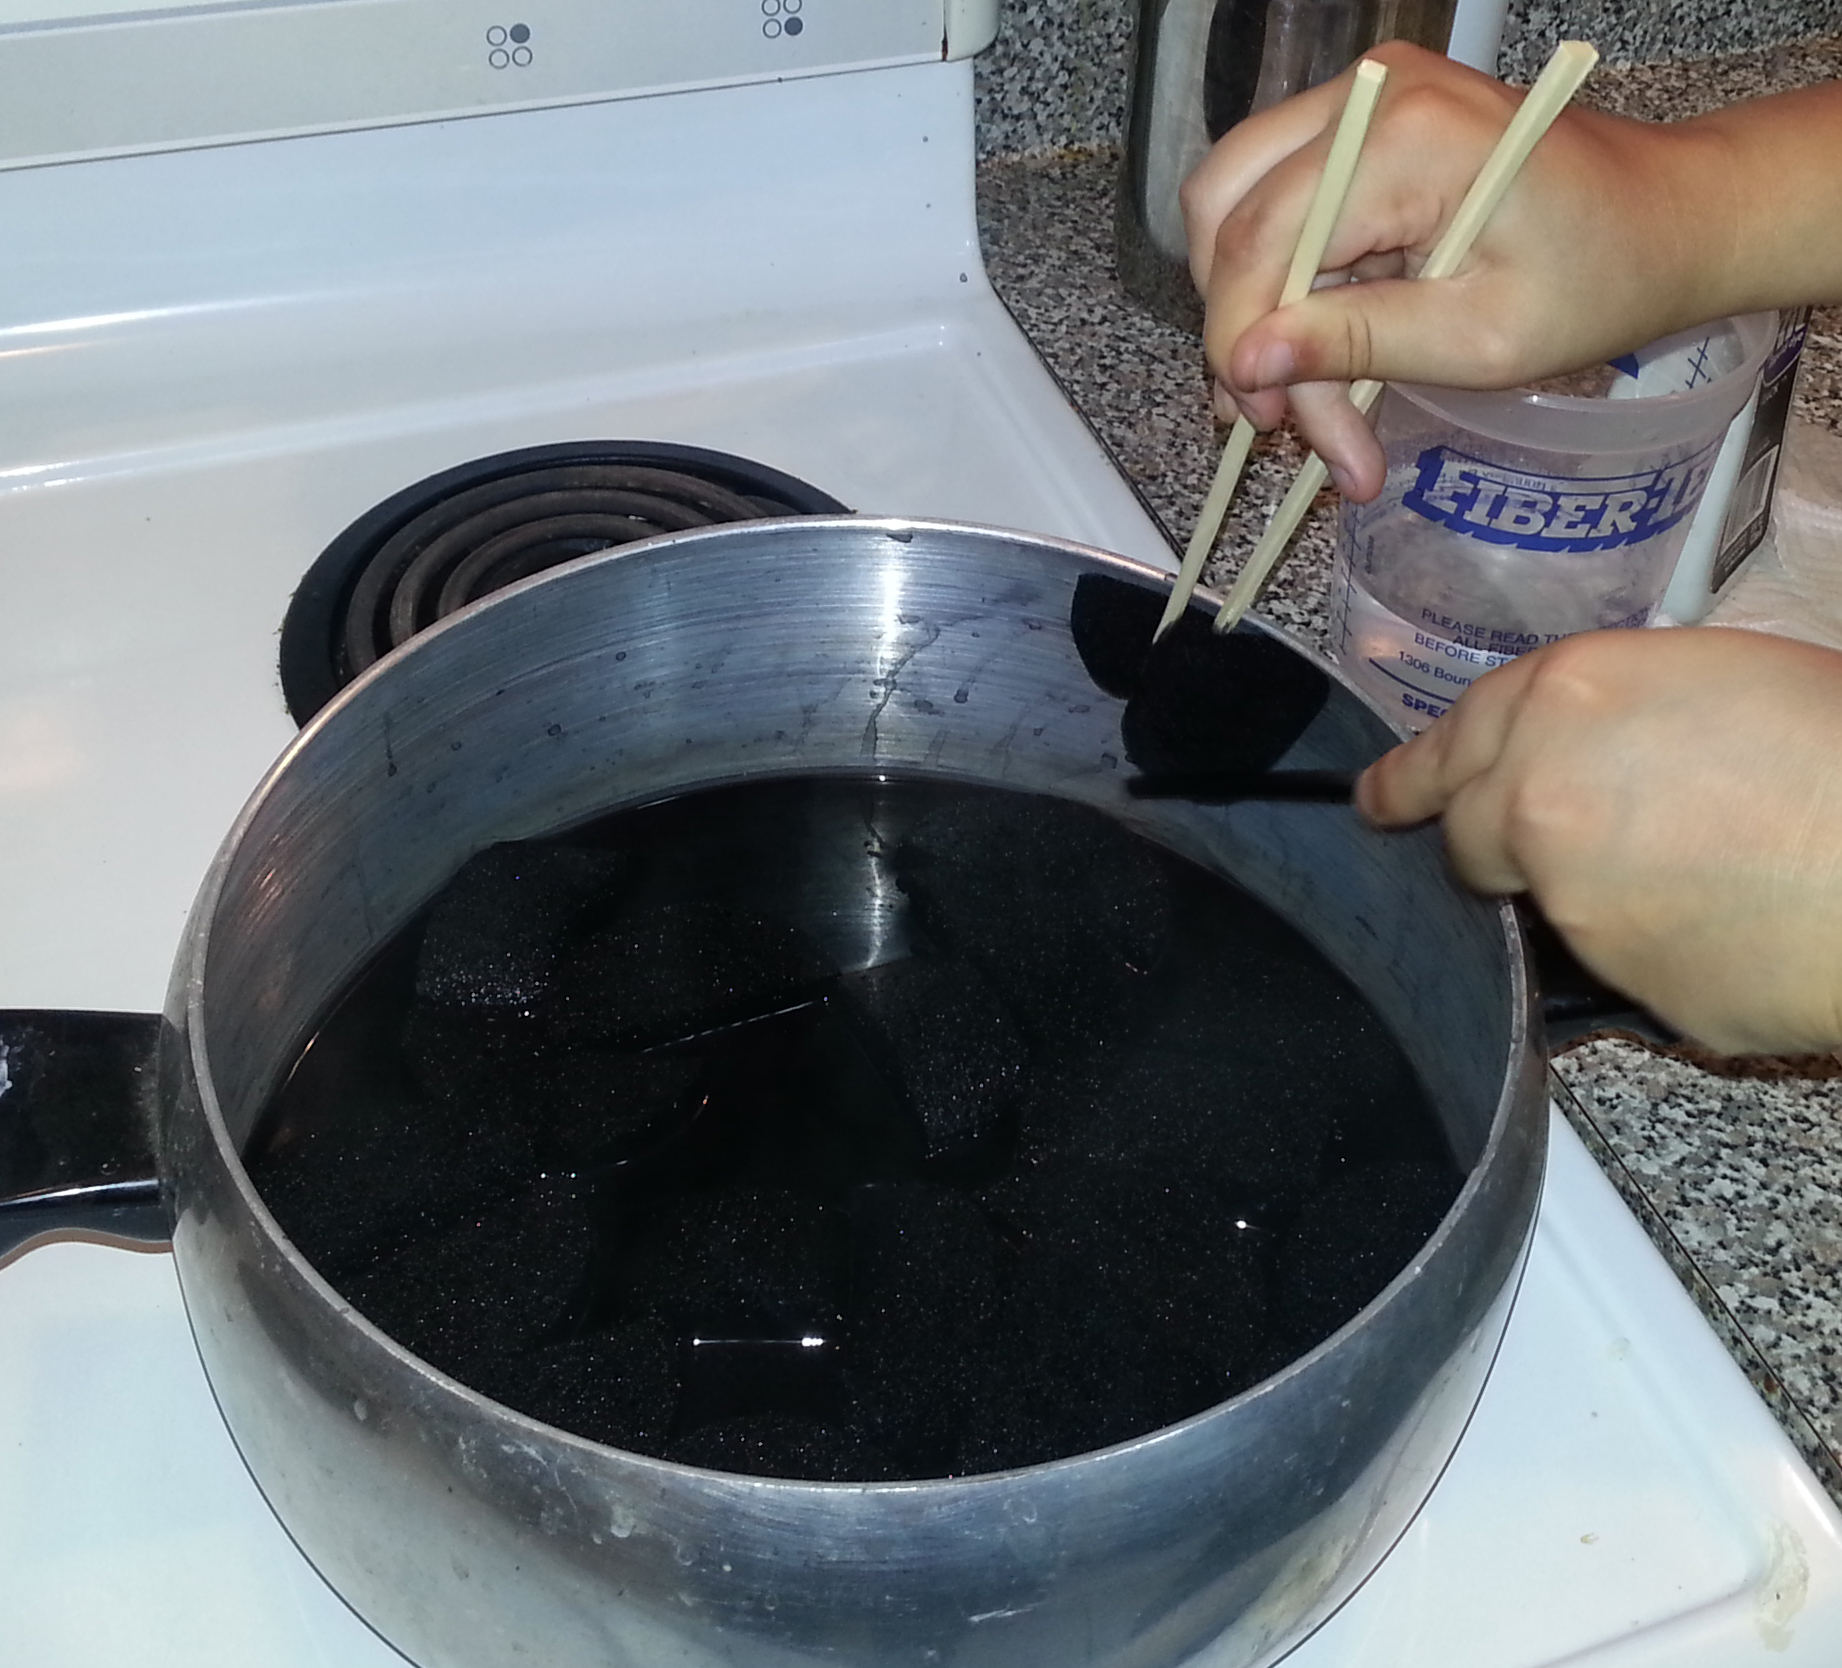
Step 3: Poke and stir them for a bit. Add the salt after about 5 min, this will promote even dying.
If you are super frugal like me pay close attention to steps 4 & 5, if you got money to burn you can skip these.
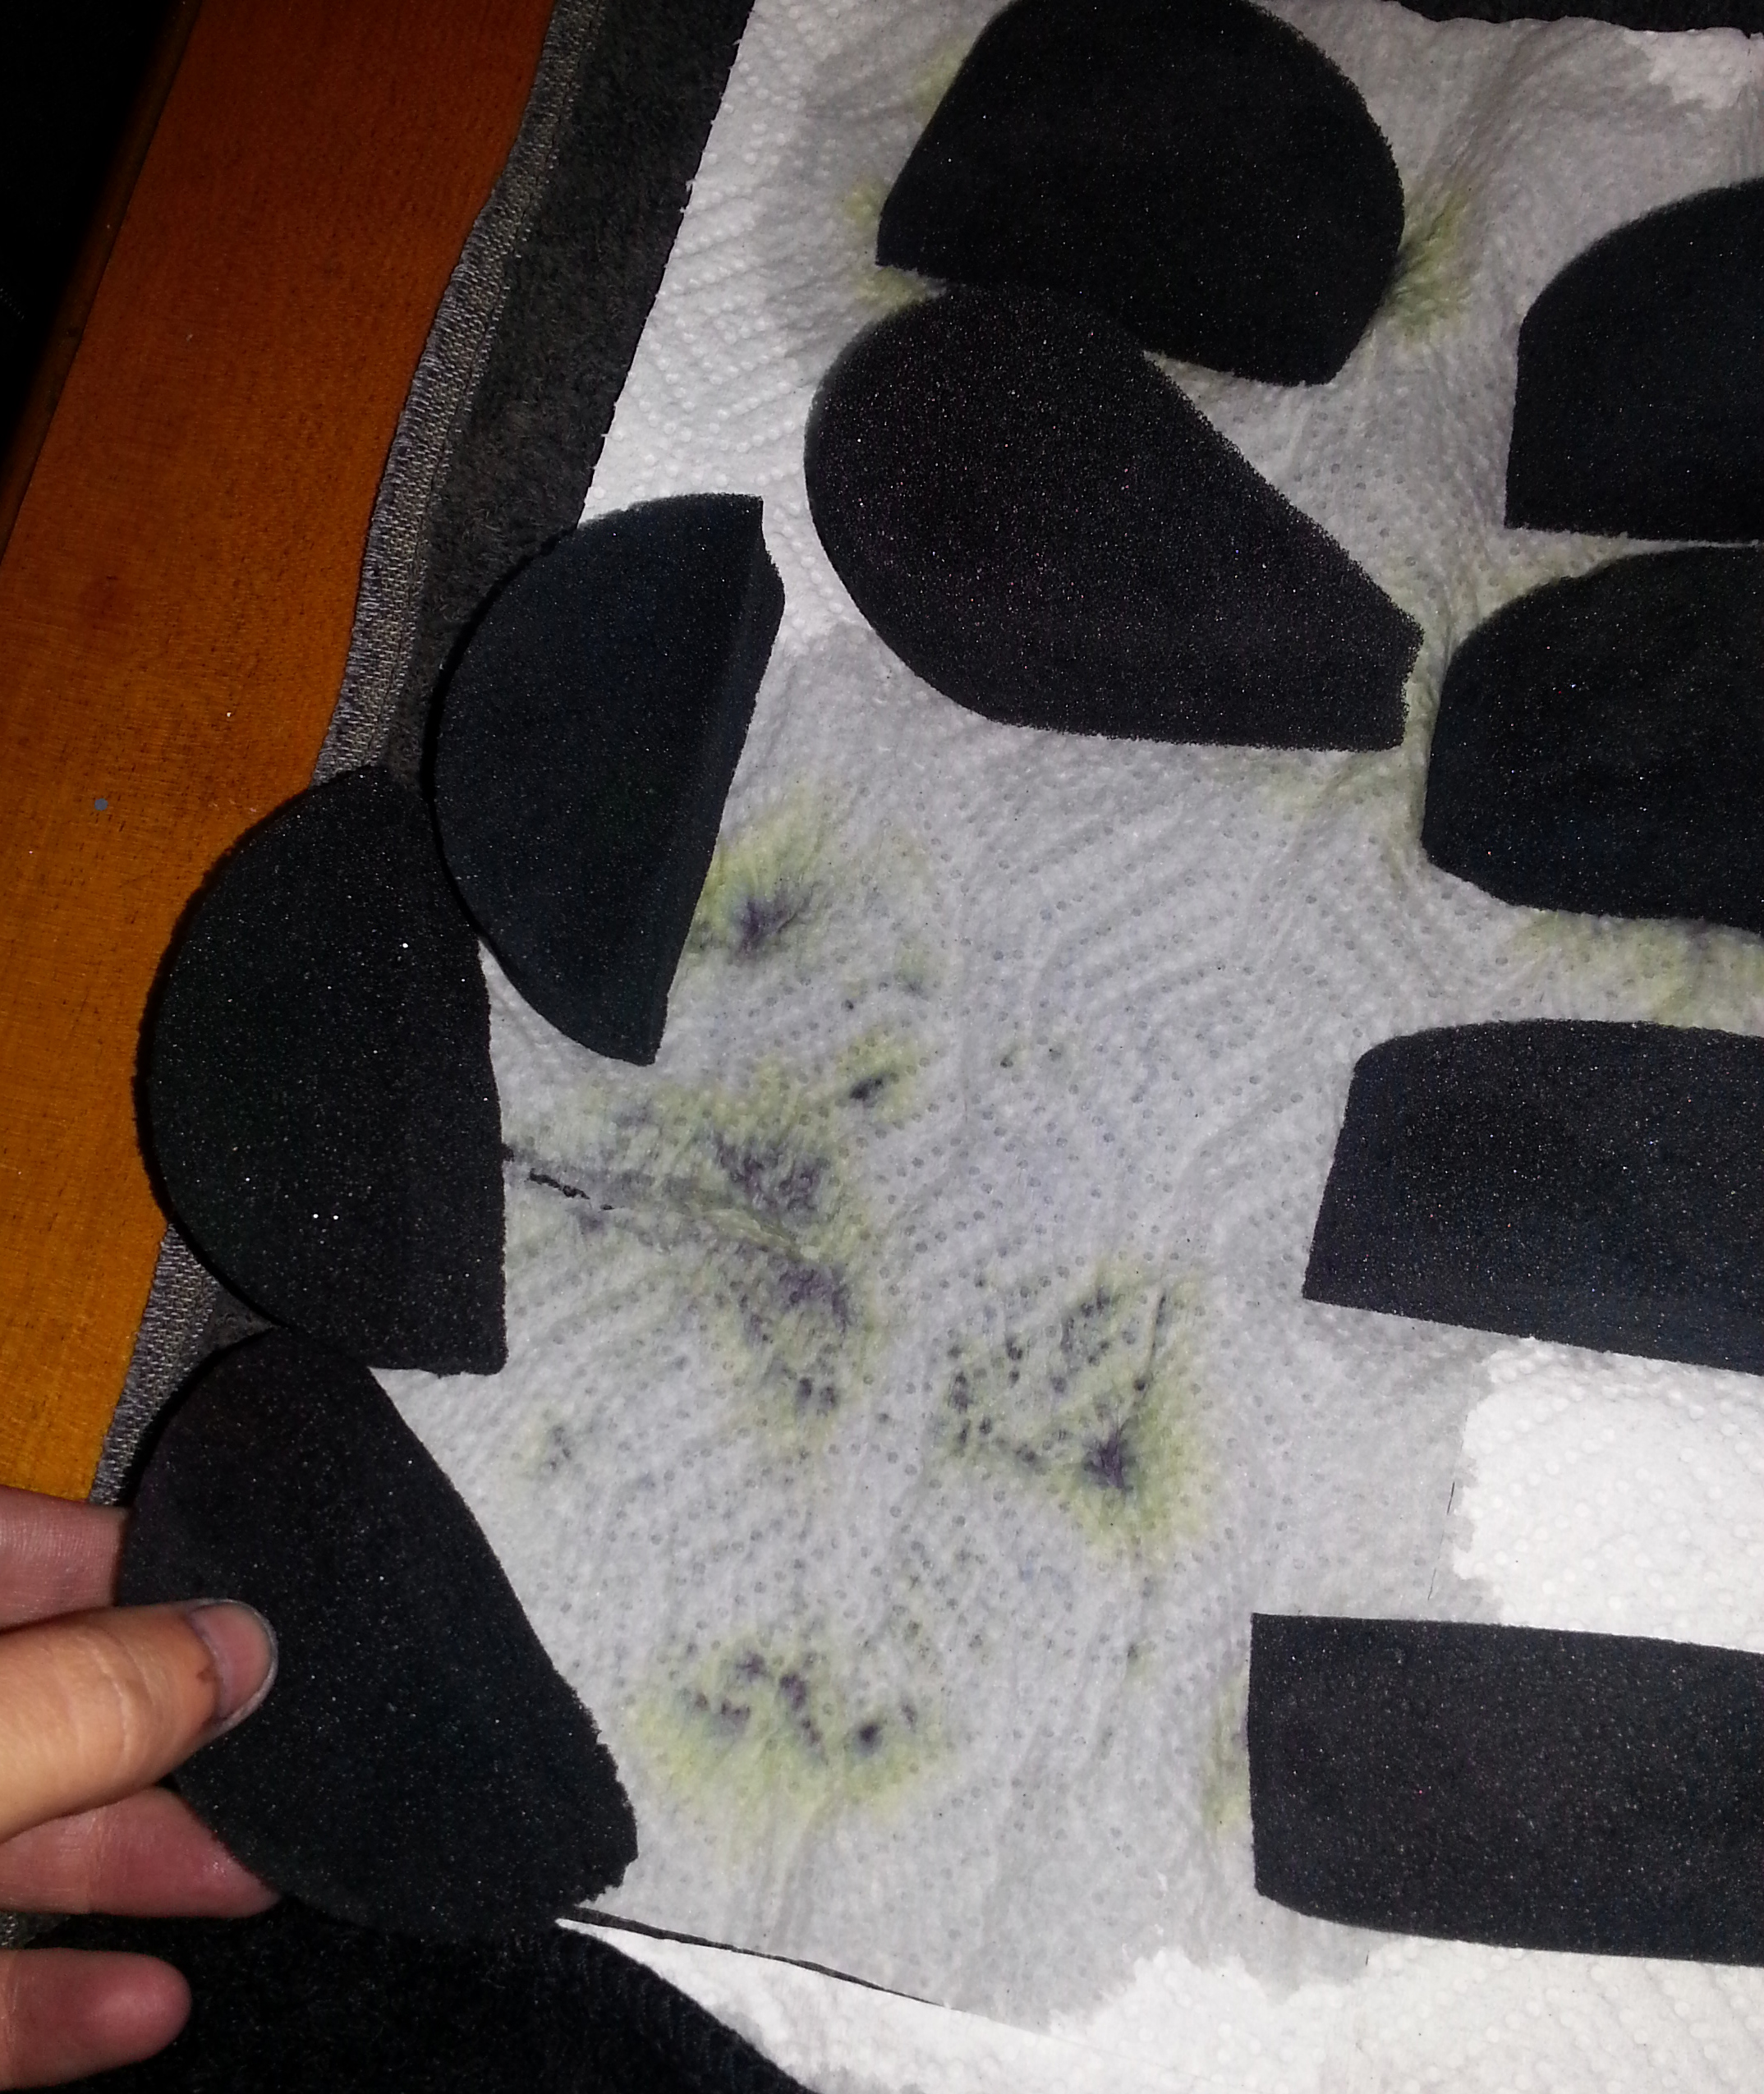
Step 4: So I didn’t have much dye left in the bottle after dying other things in my life, so I was trying to get as much out of the dye that I had left. Here’s a photo of me lifting up a small sponge with my chopsticks and pressing it against the pot to squeeze out as much of the dye as possible.
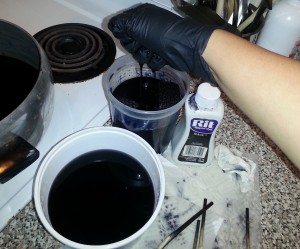
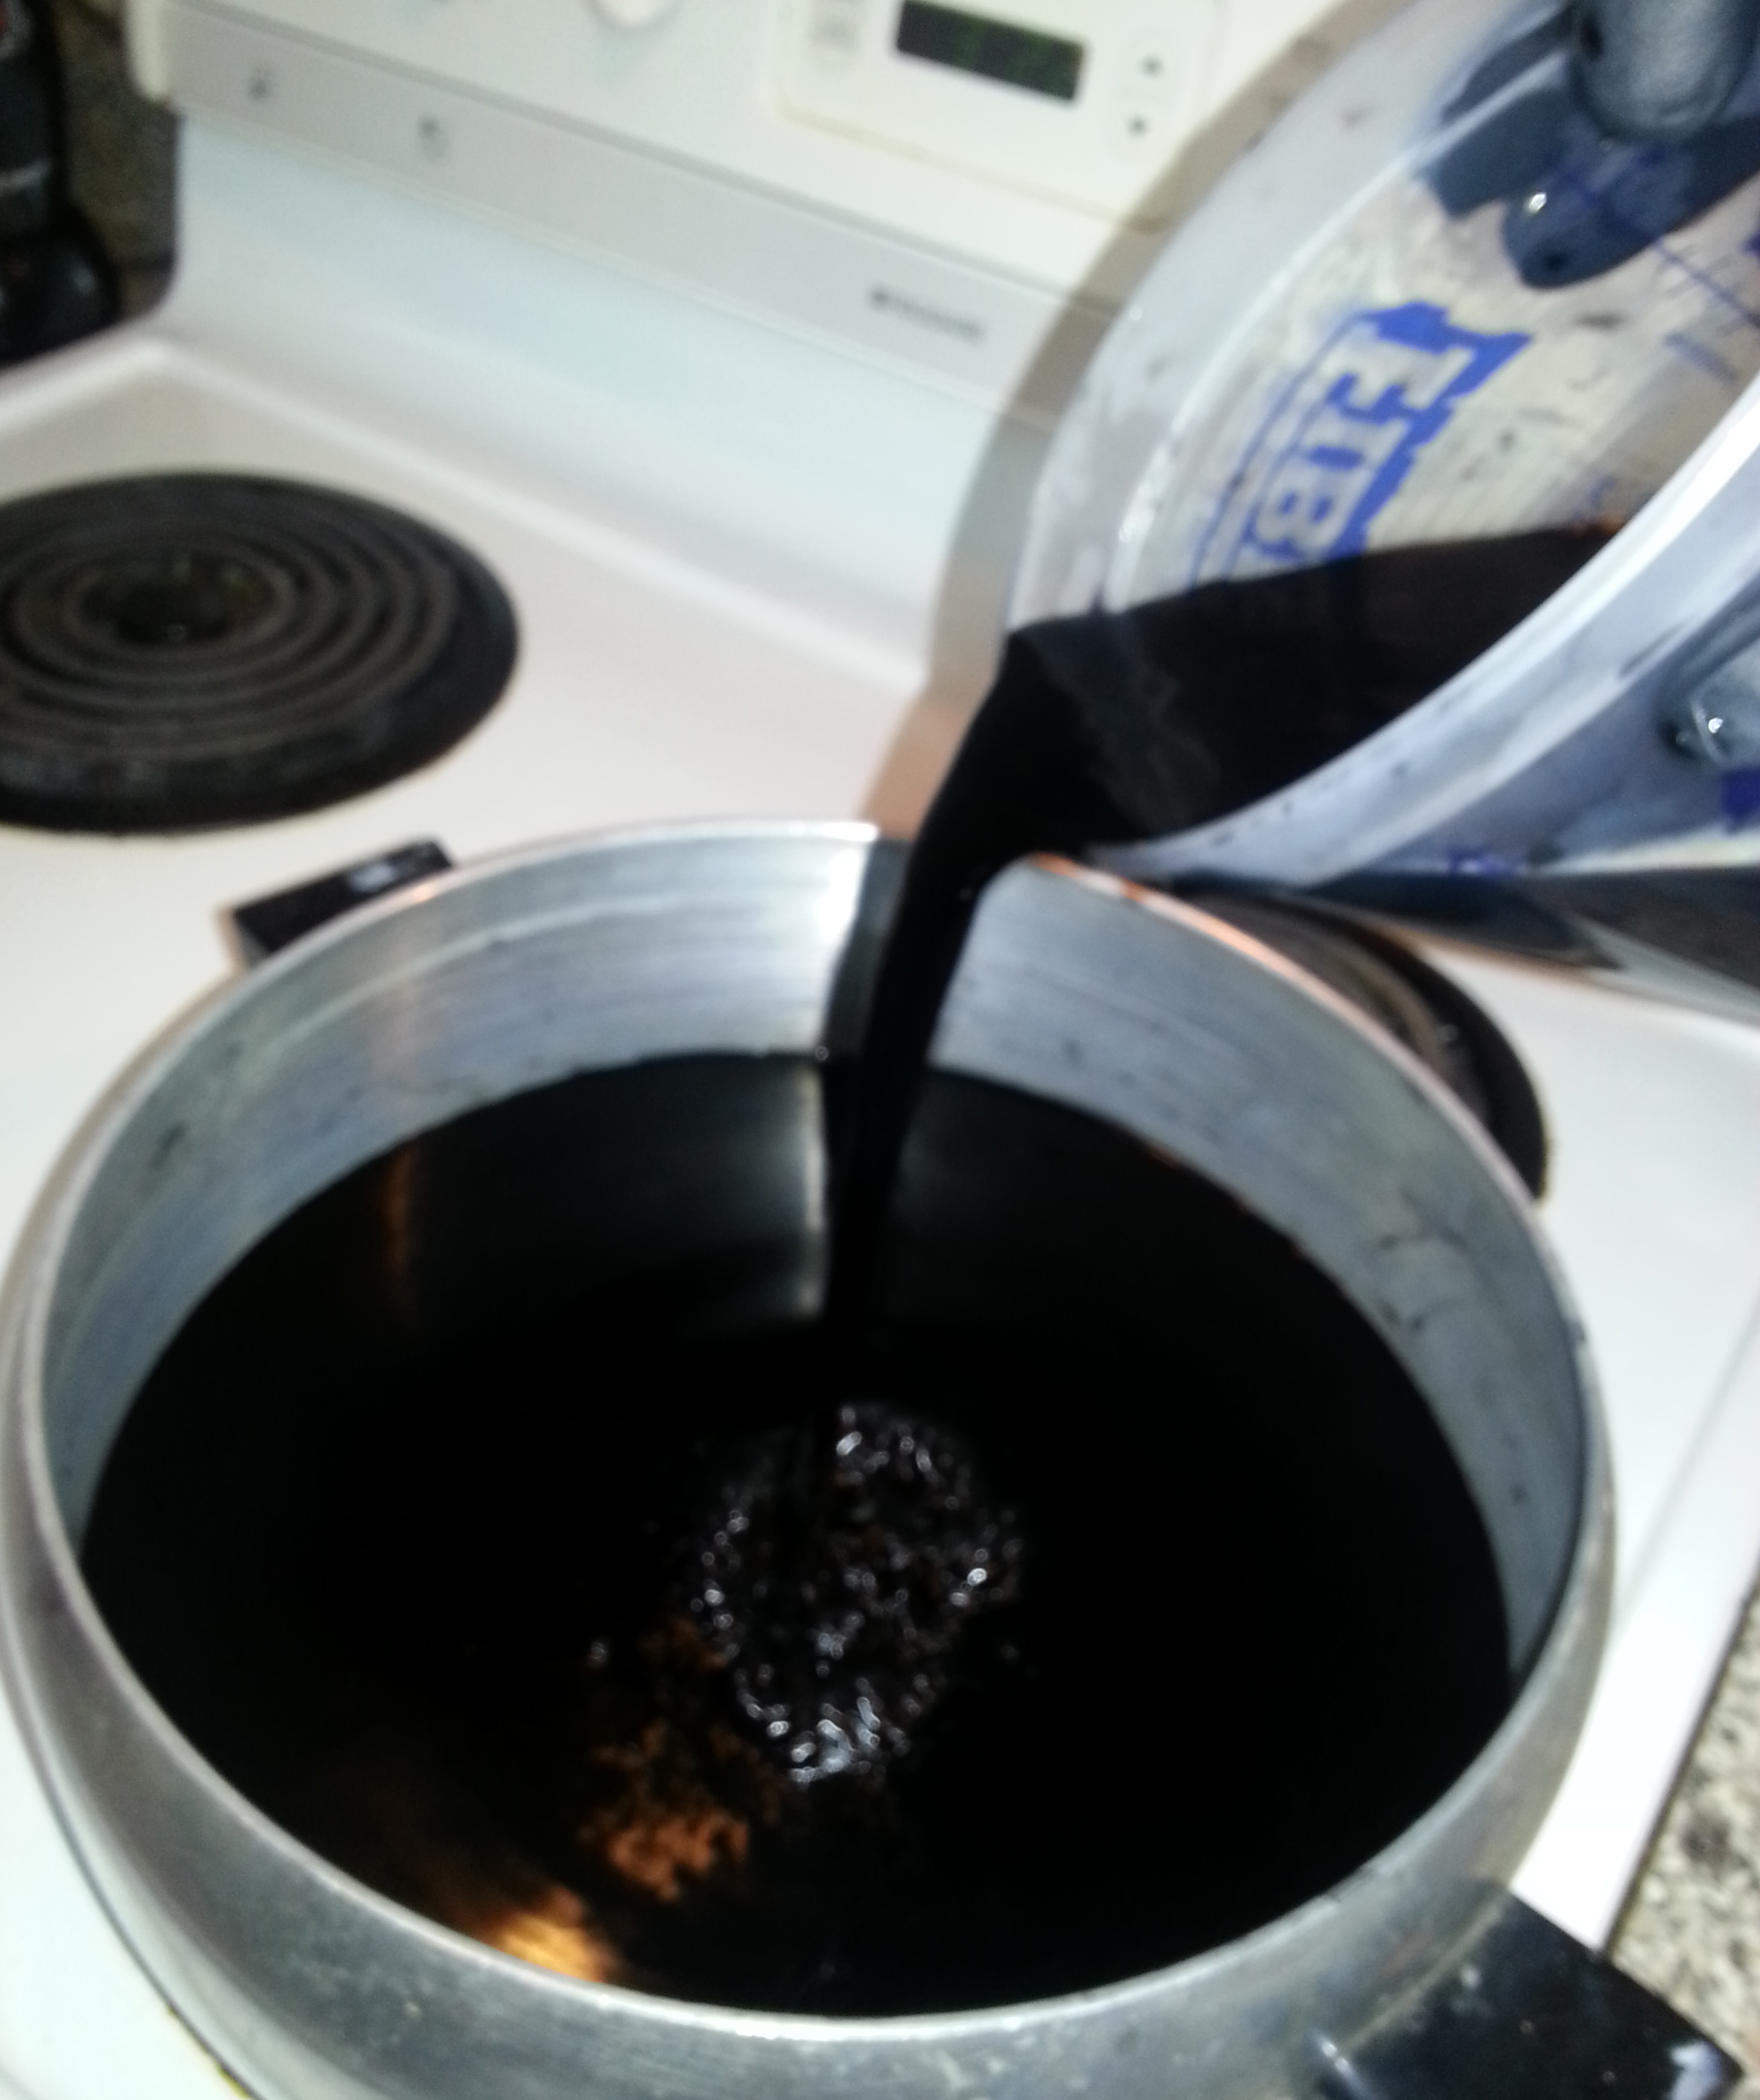
Step 5: Next after the sponge cooled down a bit, I squeezed out even more dye into a container I had ready. Then rinsed it a bit in another container of water to get even more dye out, before putting it in the sink with cold water. I then poured the dye from the first container back into the pot.
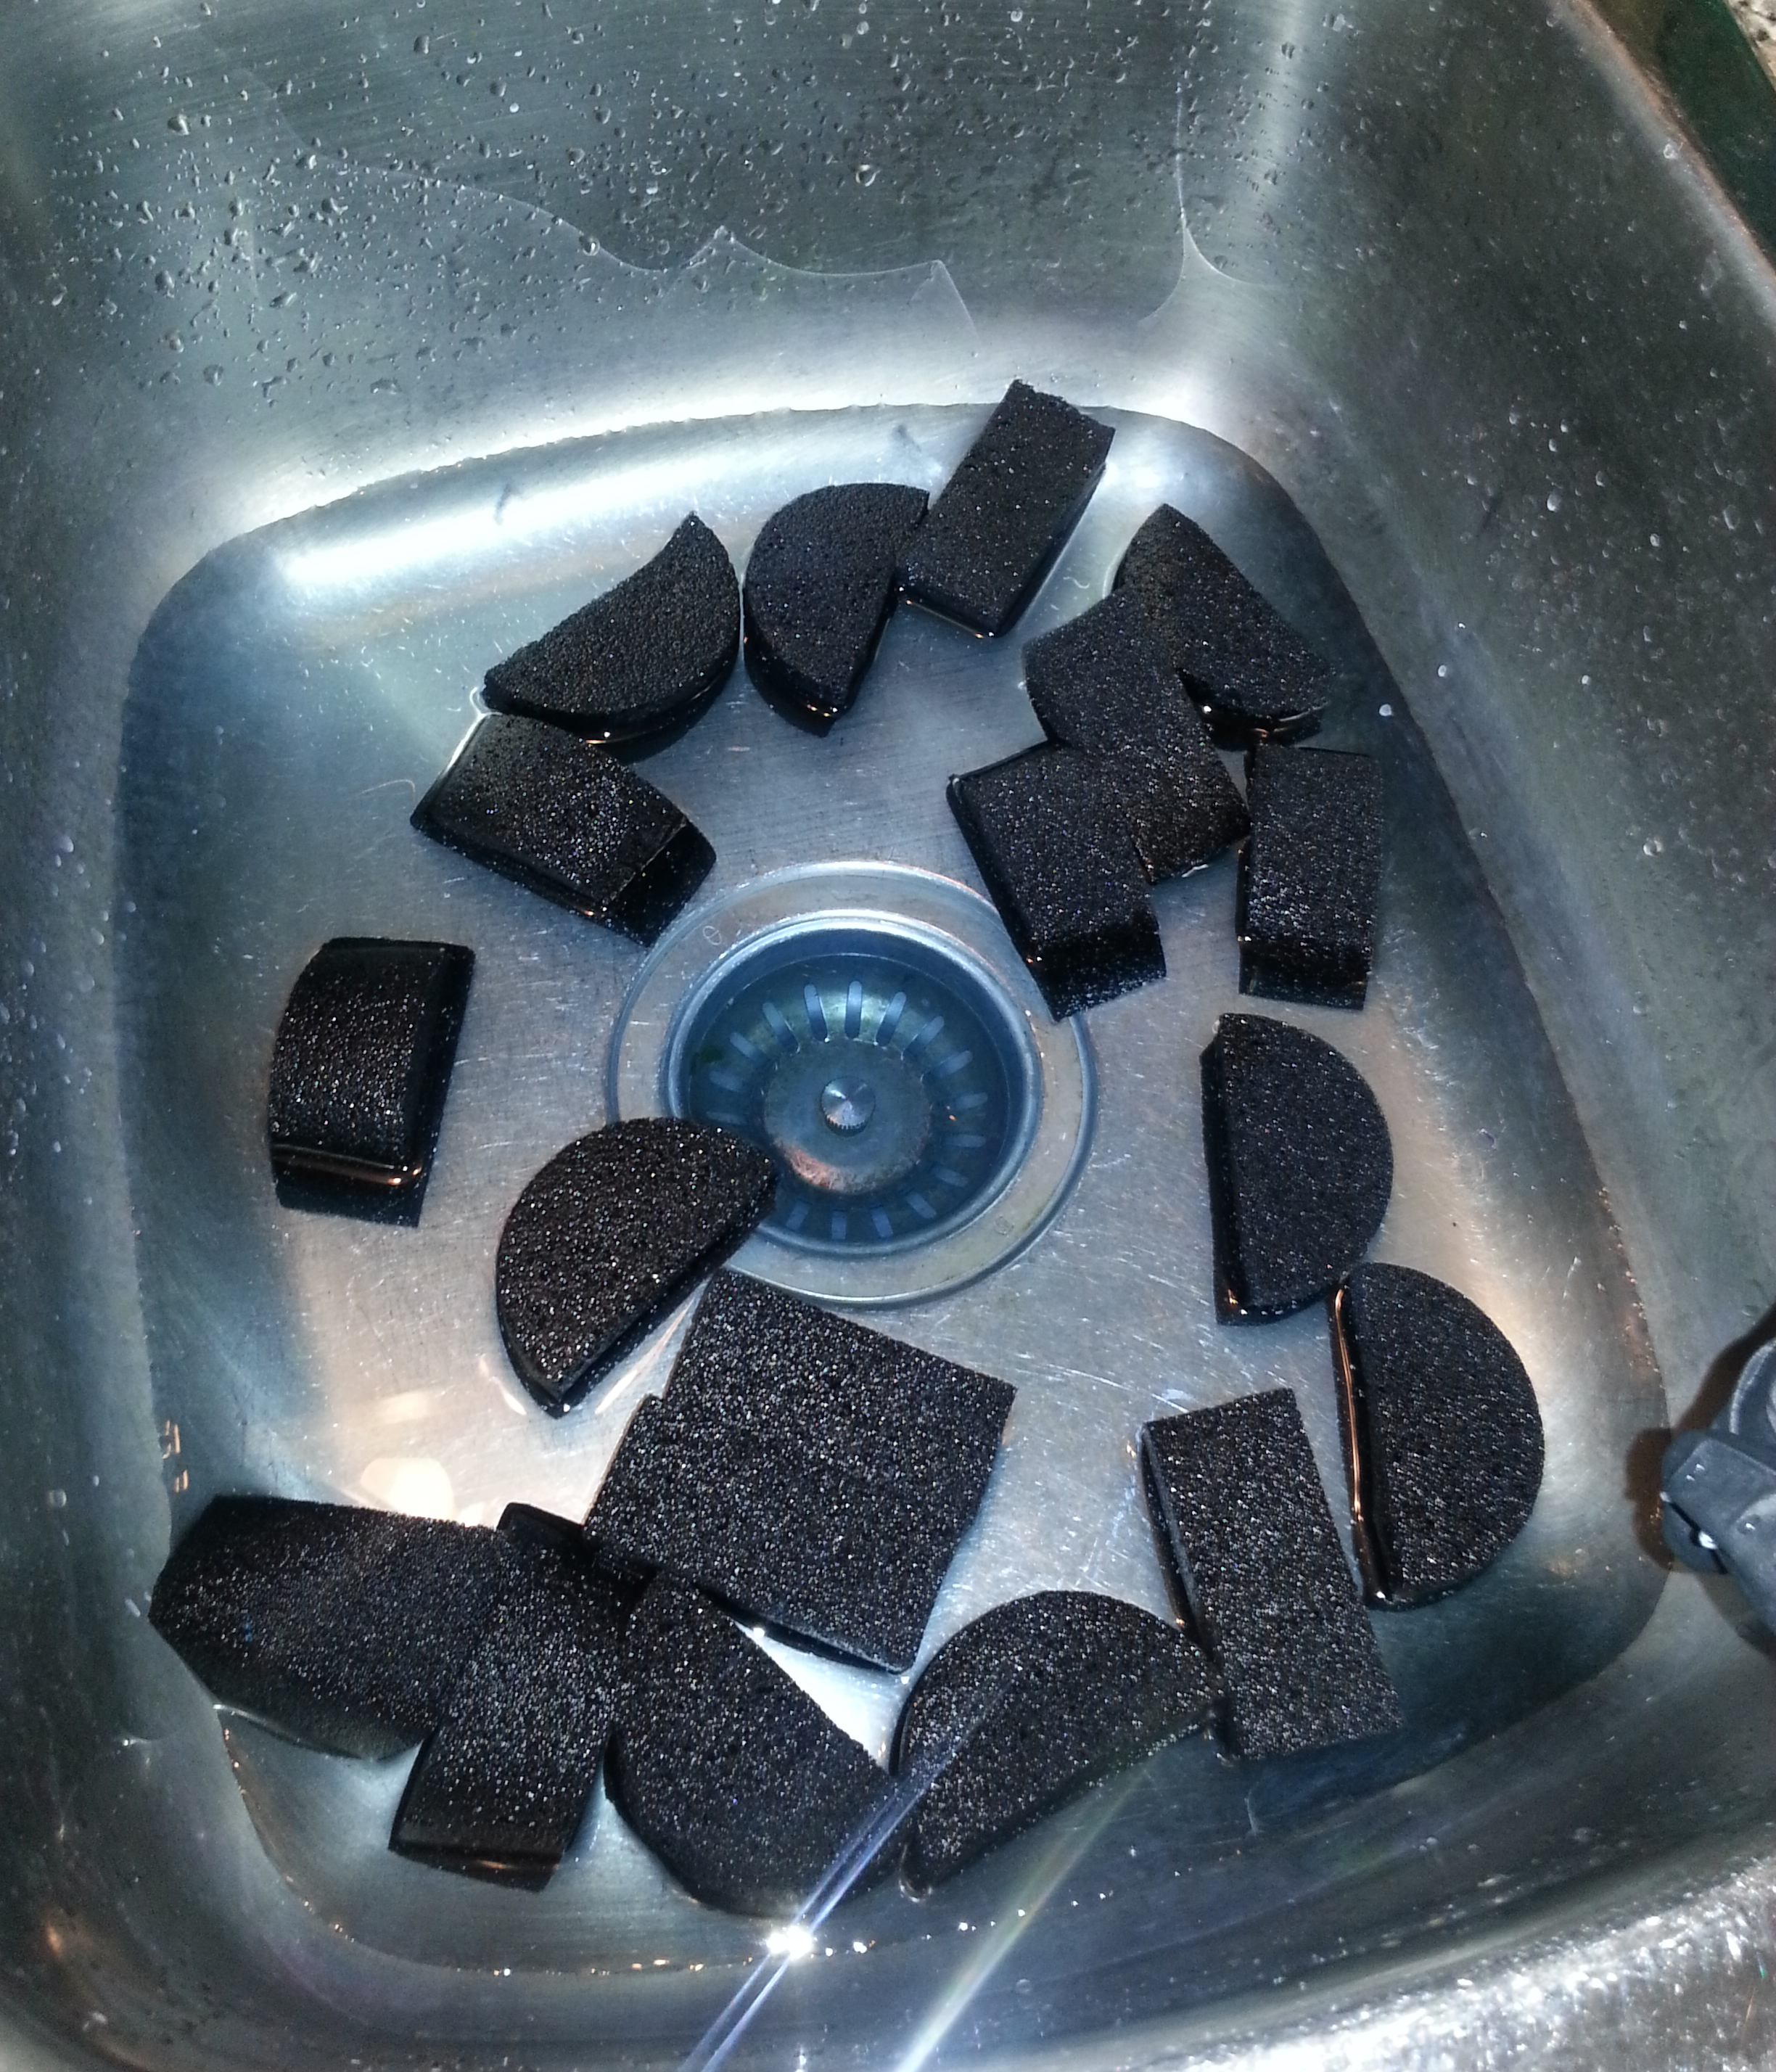
Step 6: Ok so now you got the sponges in the sink you’ll want to soak em a bit and help get the rest of the dye out of them. Let them sit for a few min to cool down a bit, before squeezing them out.
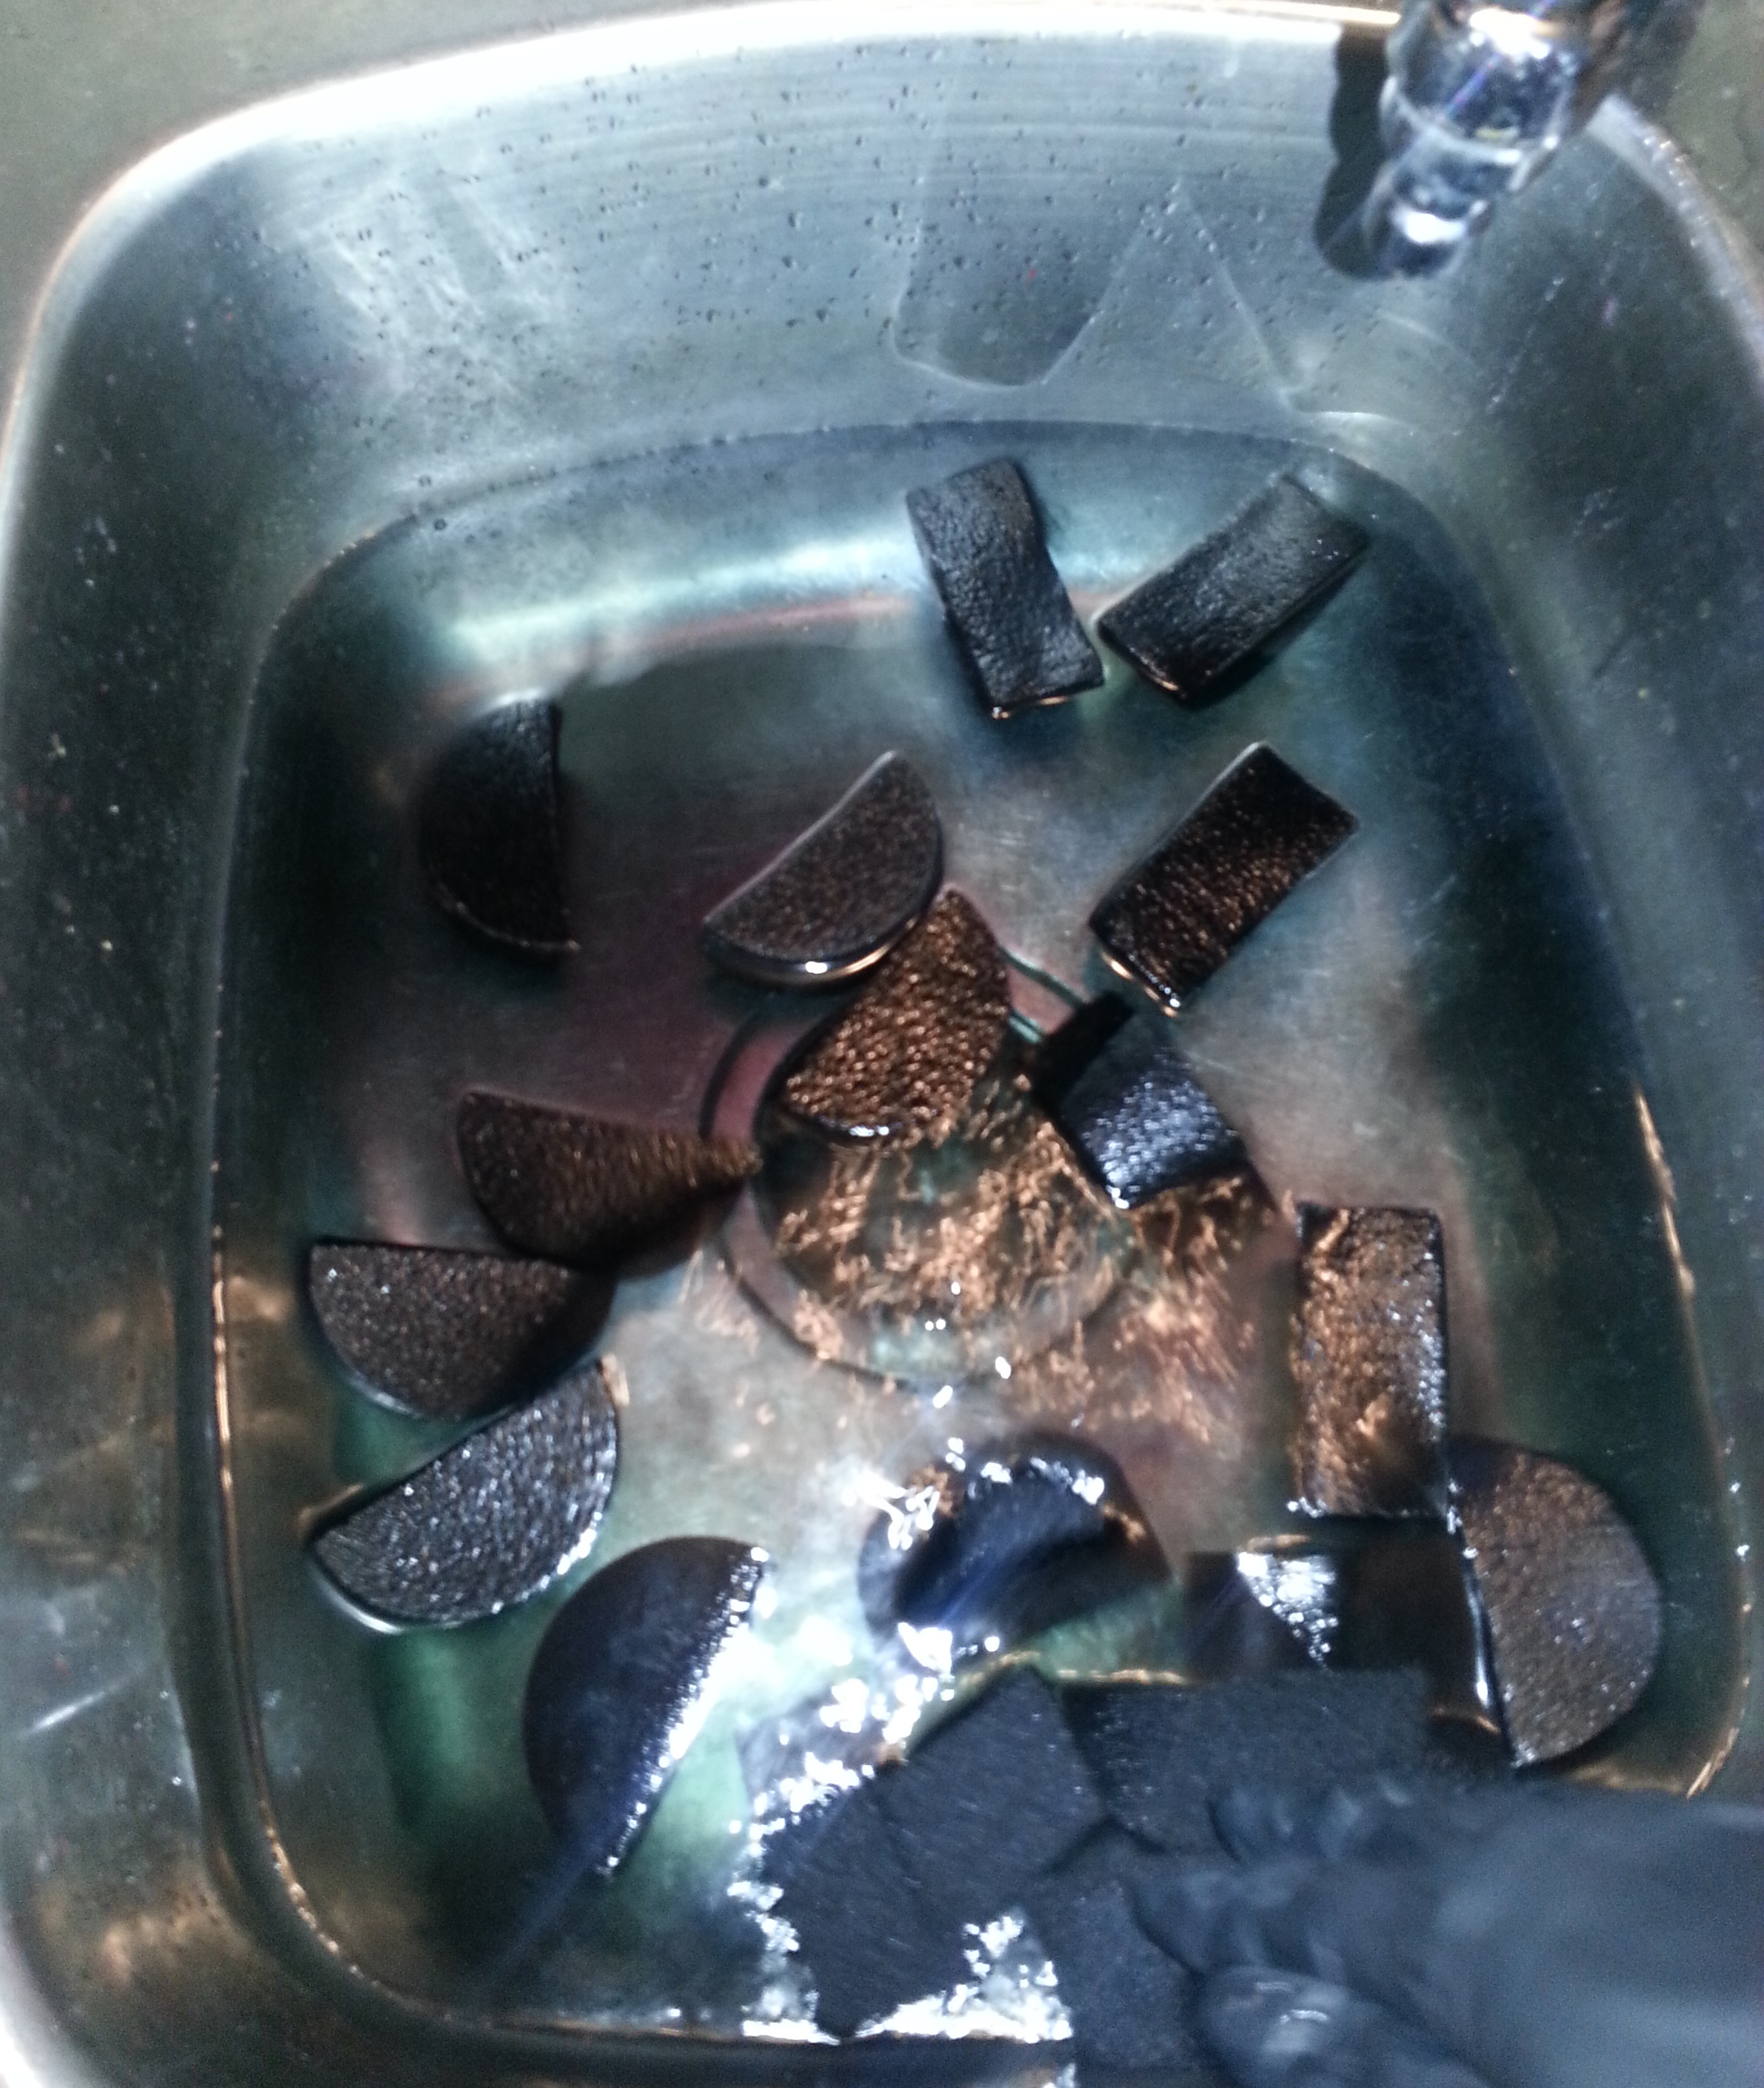
Step 7: After you squeeze out the sponges a bit move them into the other sink basin with more clean water. (if you only have one sink basin in your kitchen, my condolences. Use an ice cream bucket or something similar). You’ll notice in the second basin much less dye will come out of the sponges. Again, let them sit.

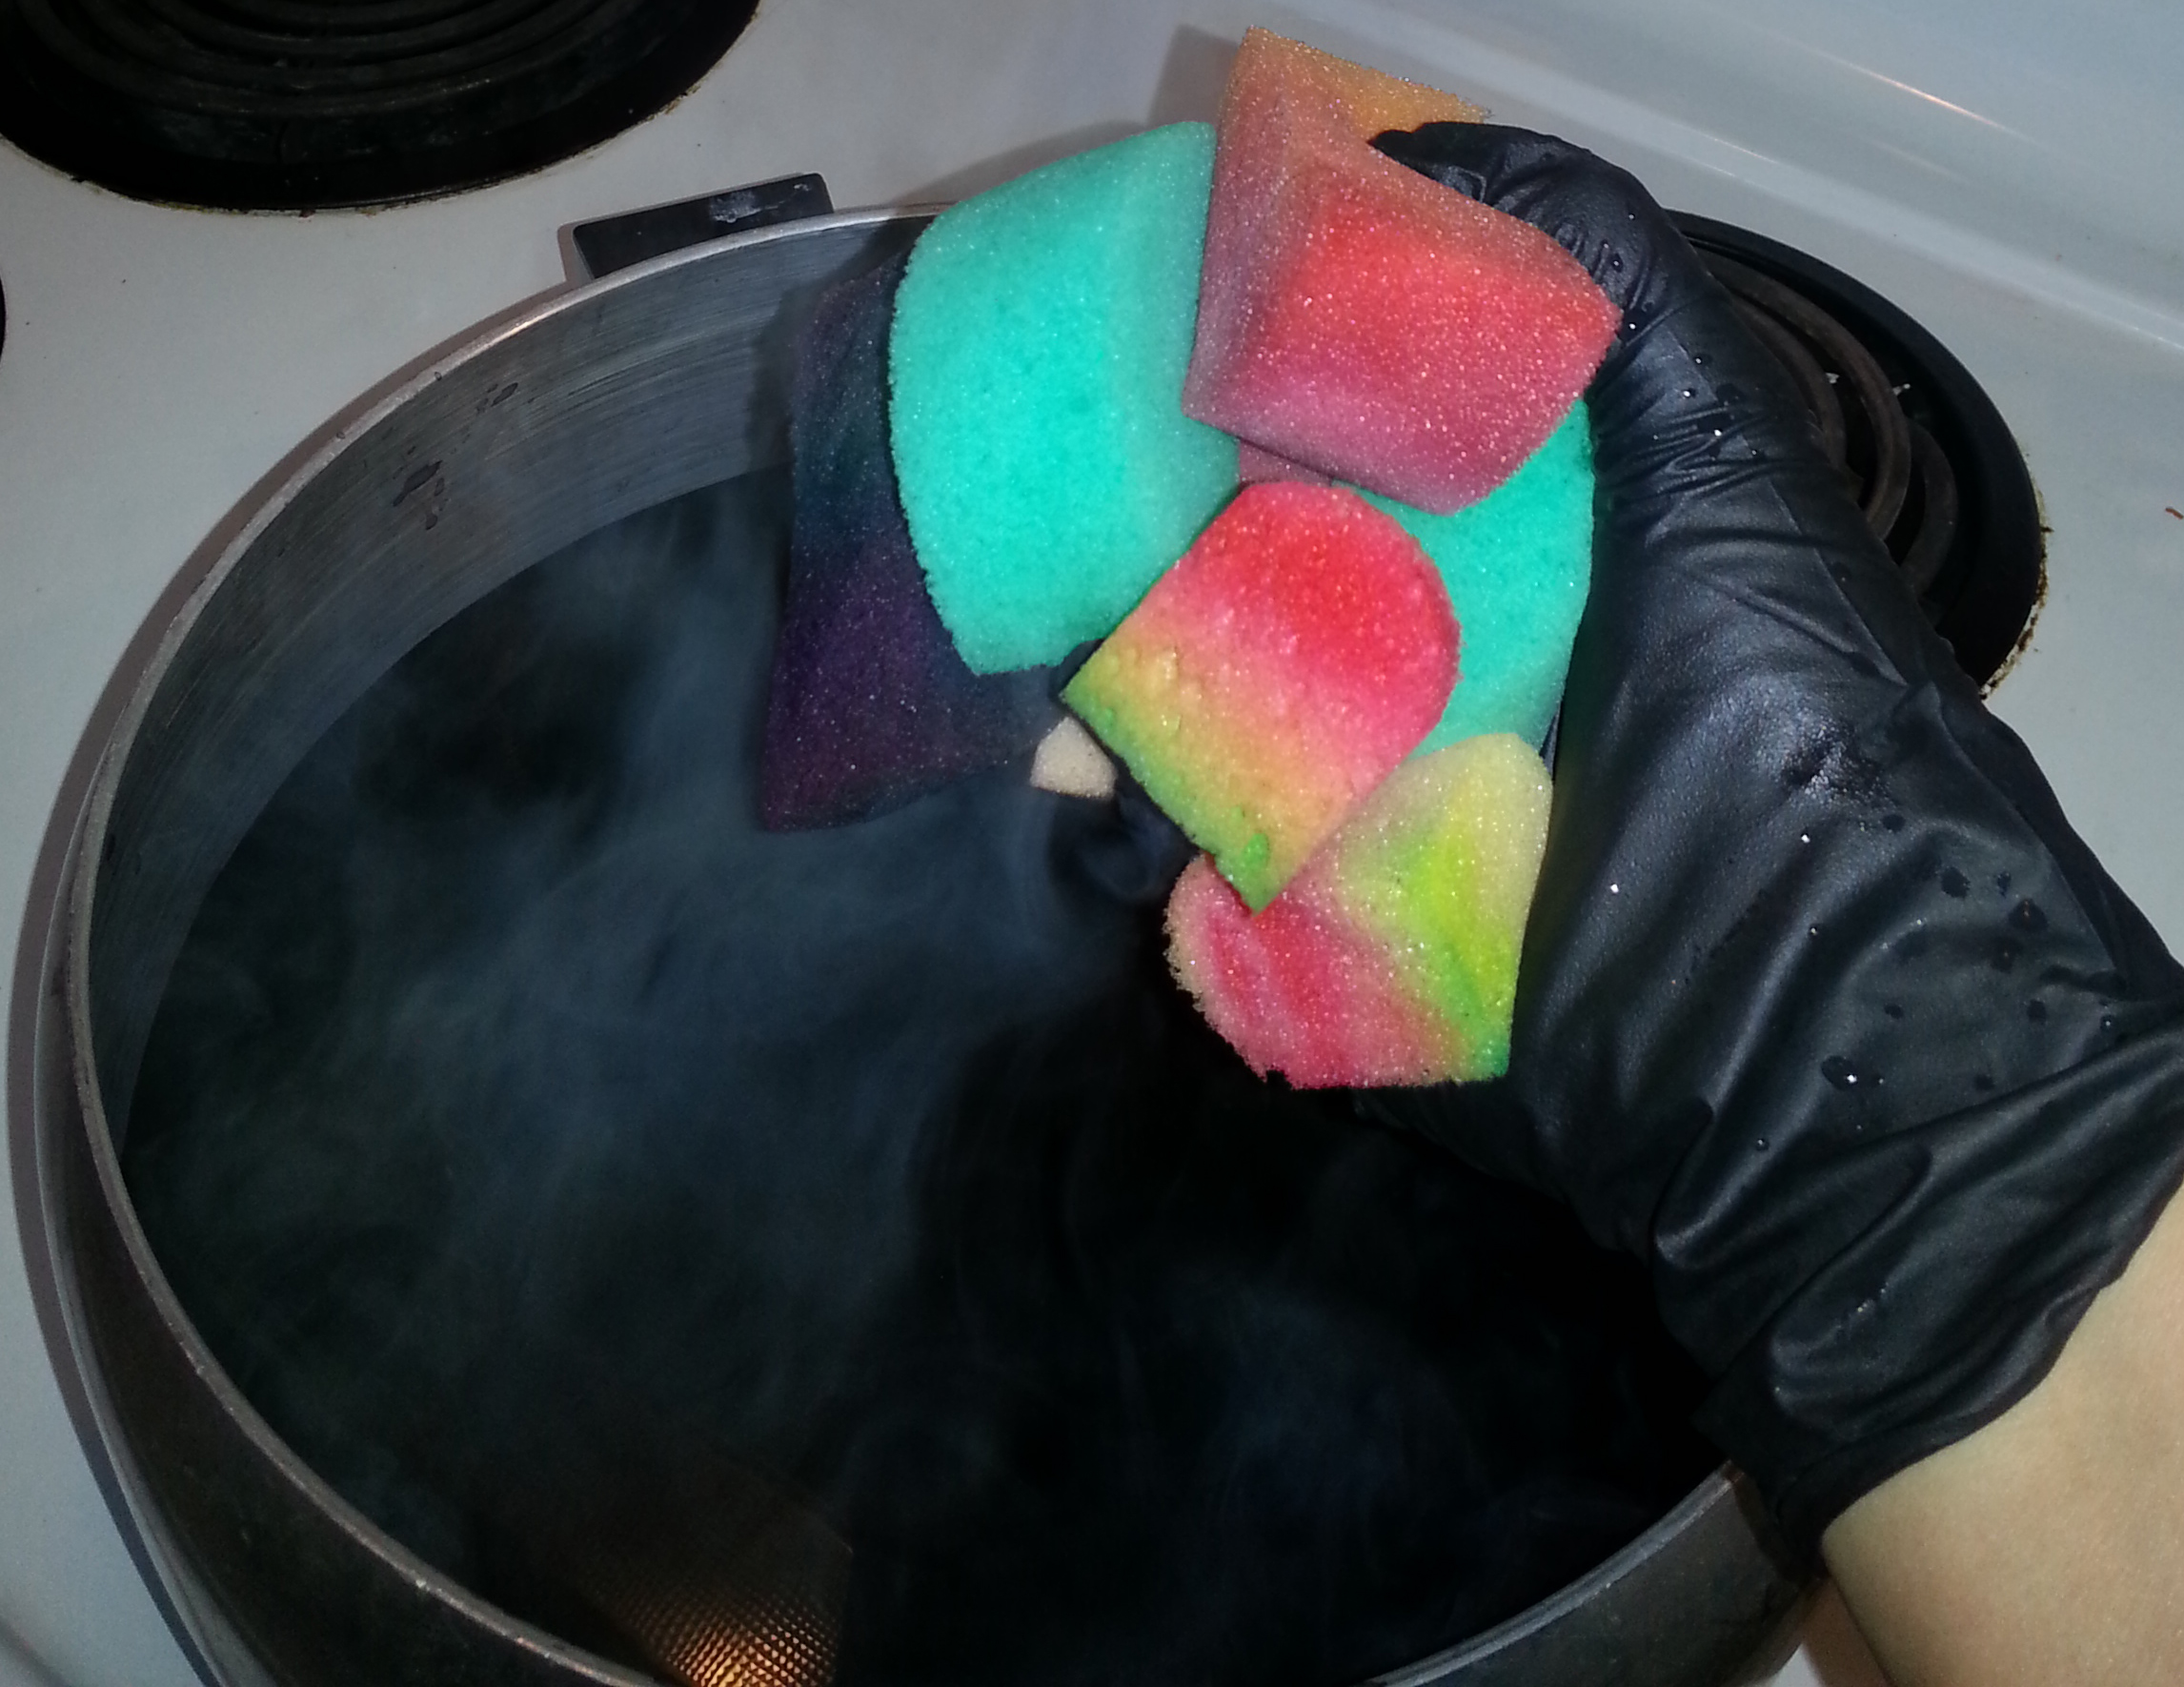
Experimental Step 8: For fun I put half my remaining sponges into the first sink basin so they could get all wet for the pot of dye-water. (diet water?)
I also tried putting some of the newer ones in without soaking them first.
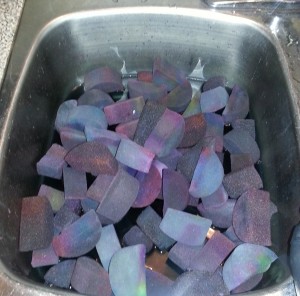
 The results weren’t great, and they needed to go back in the pot of dye for longer as you can see in the following picture.
 So yeah, best to get em wet and ready first, rather then going in dry. *cough*
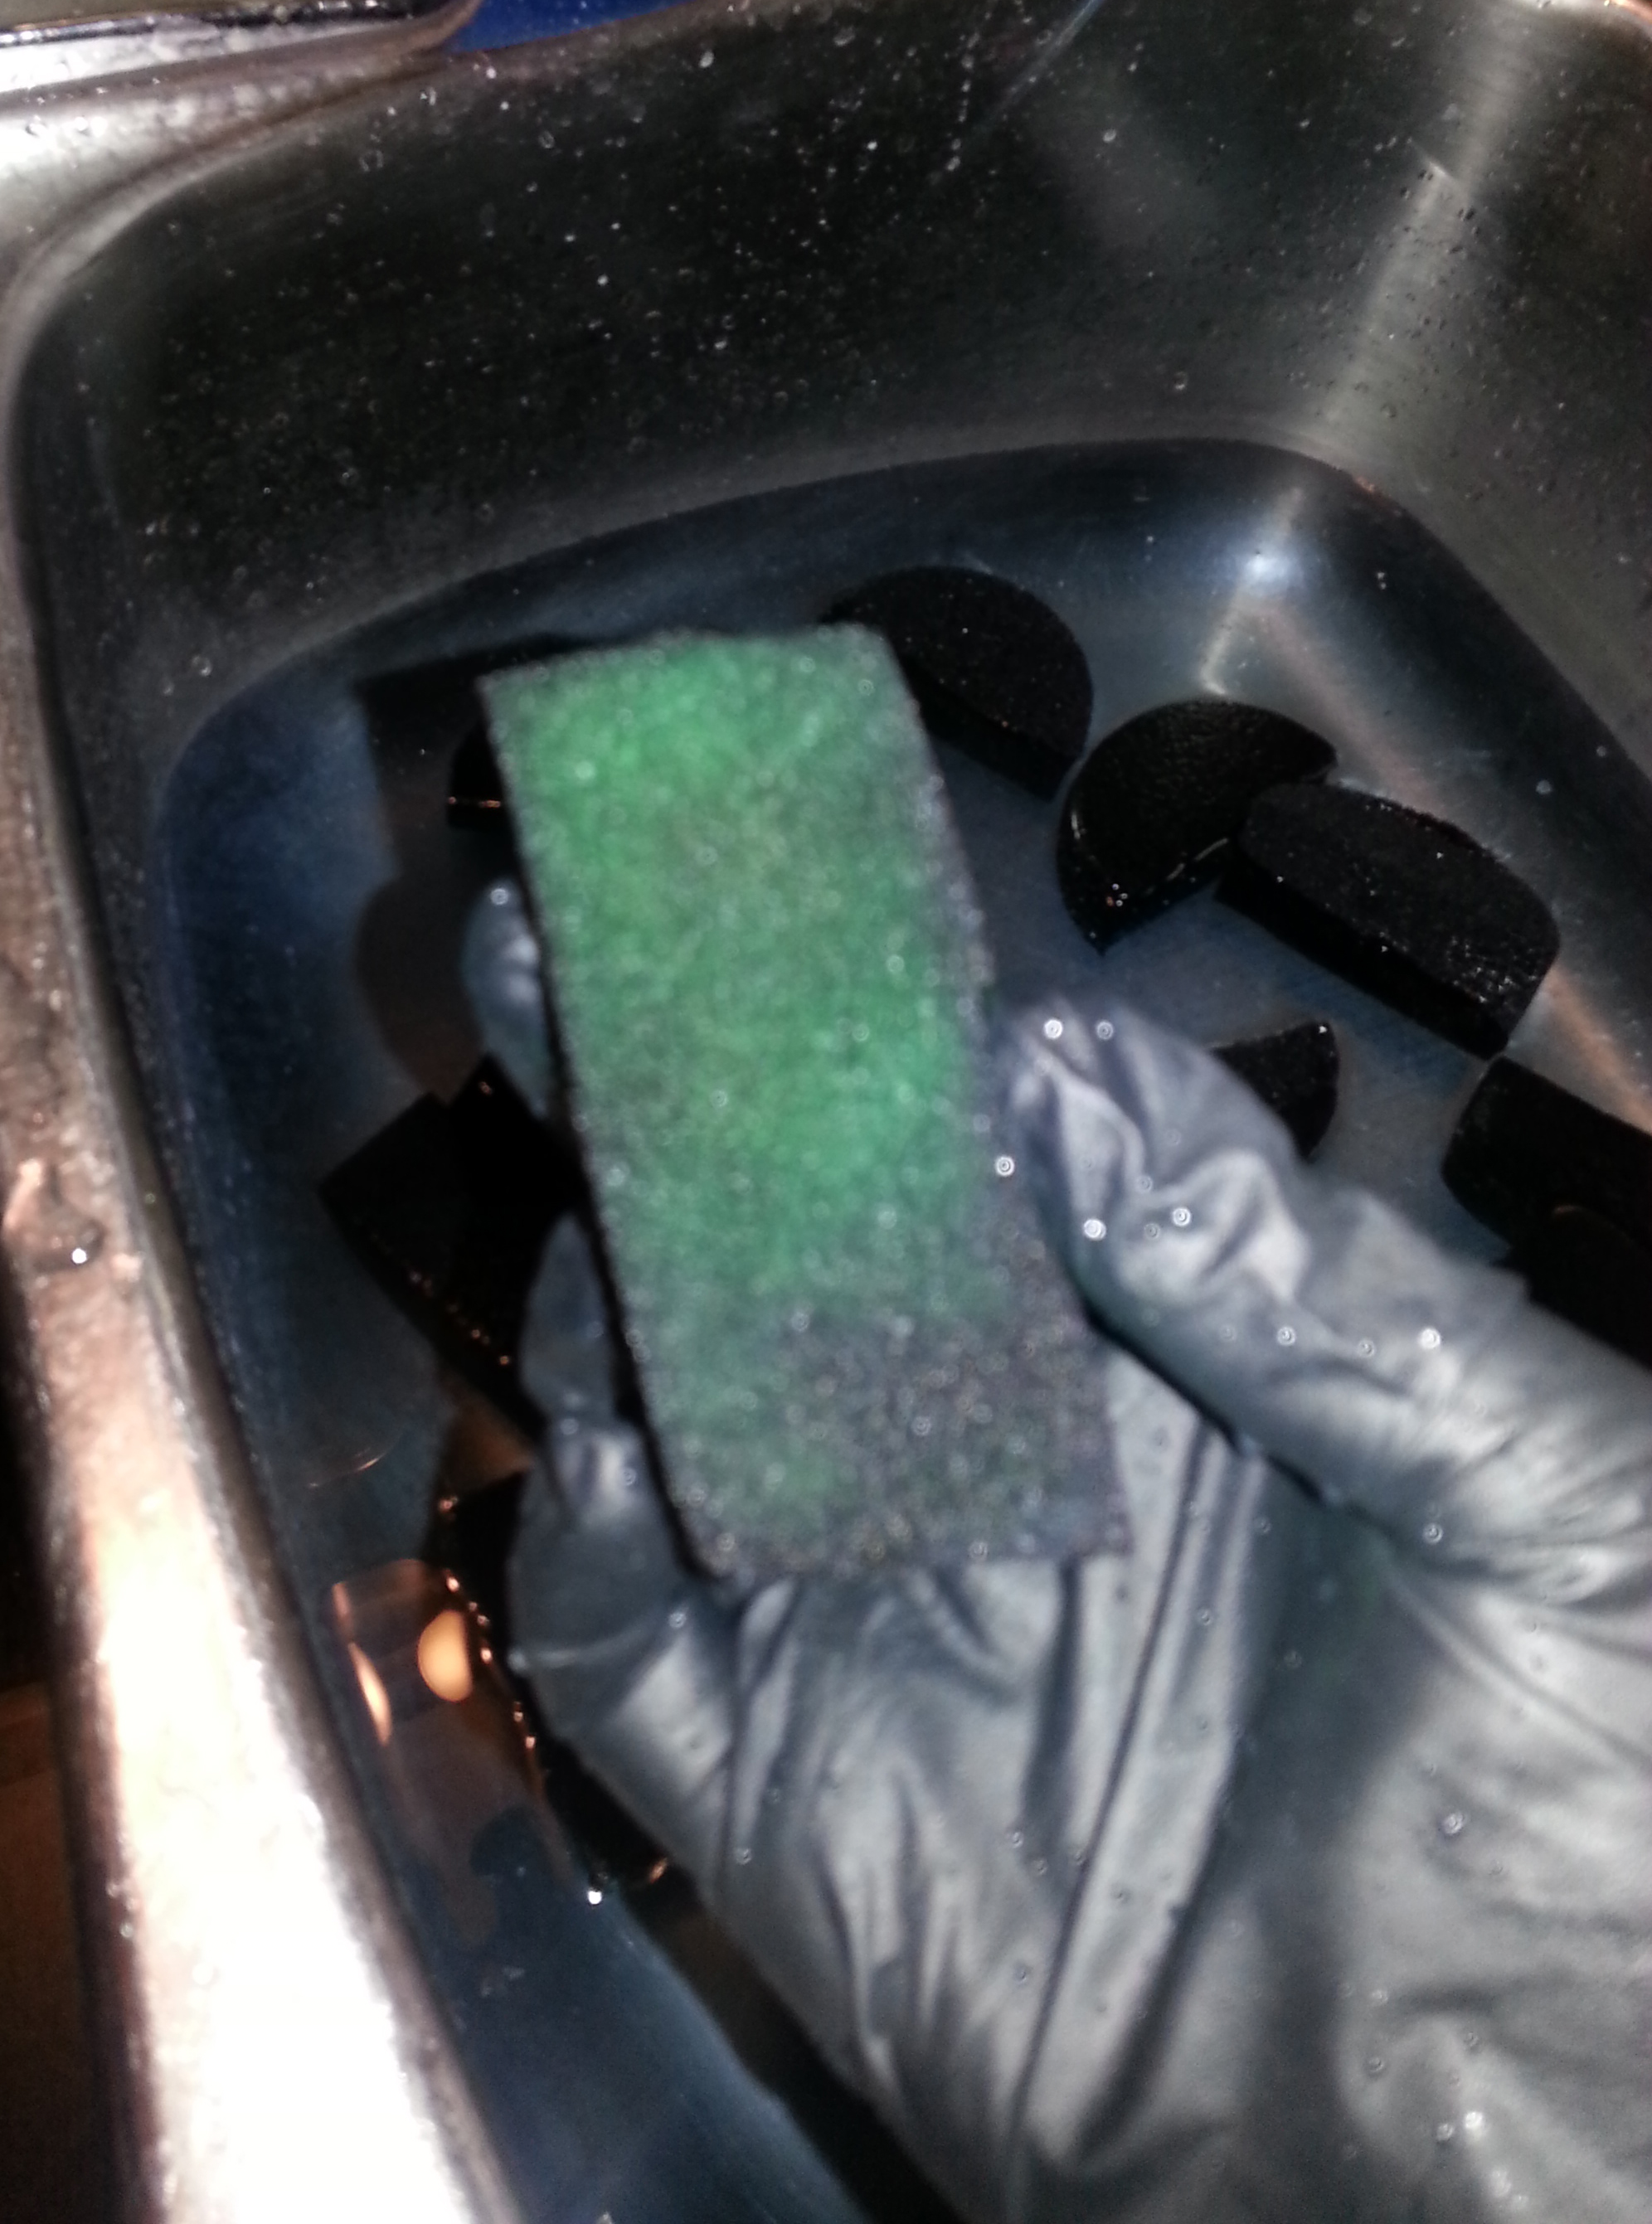
Step 9: Ok, so after you dye the sponges, in groups, rise them once, then twice, then three times, what you want to do is squeeze out as much water from them as you can and place them on the paper towel you laid out earlier.
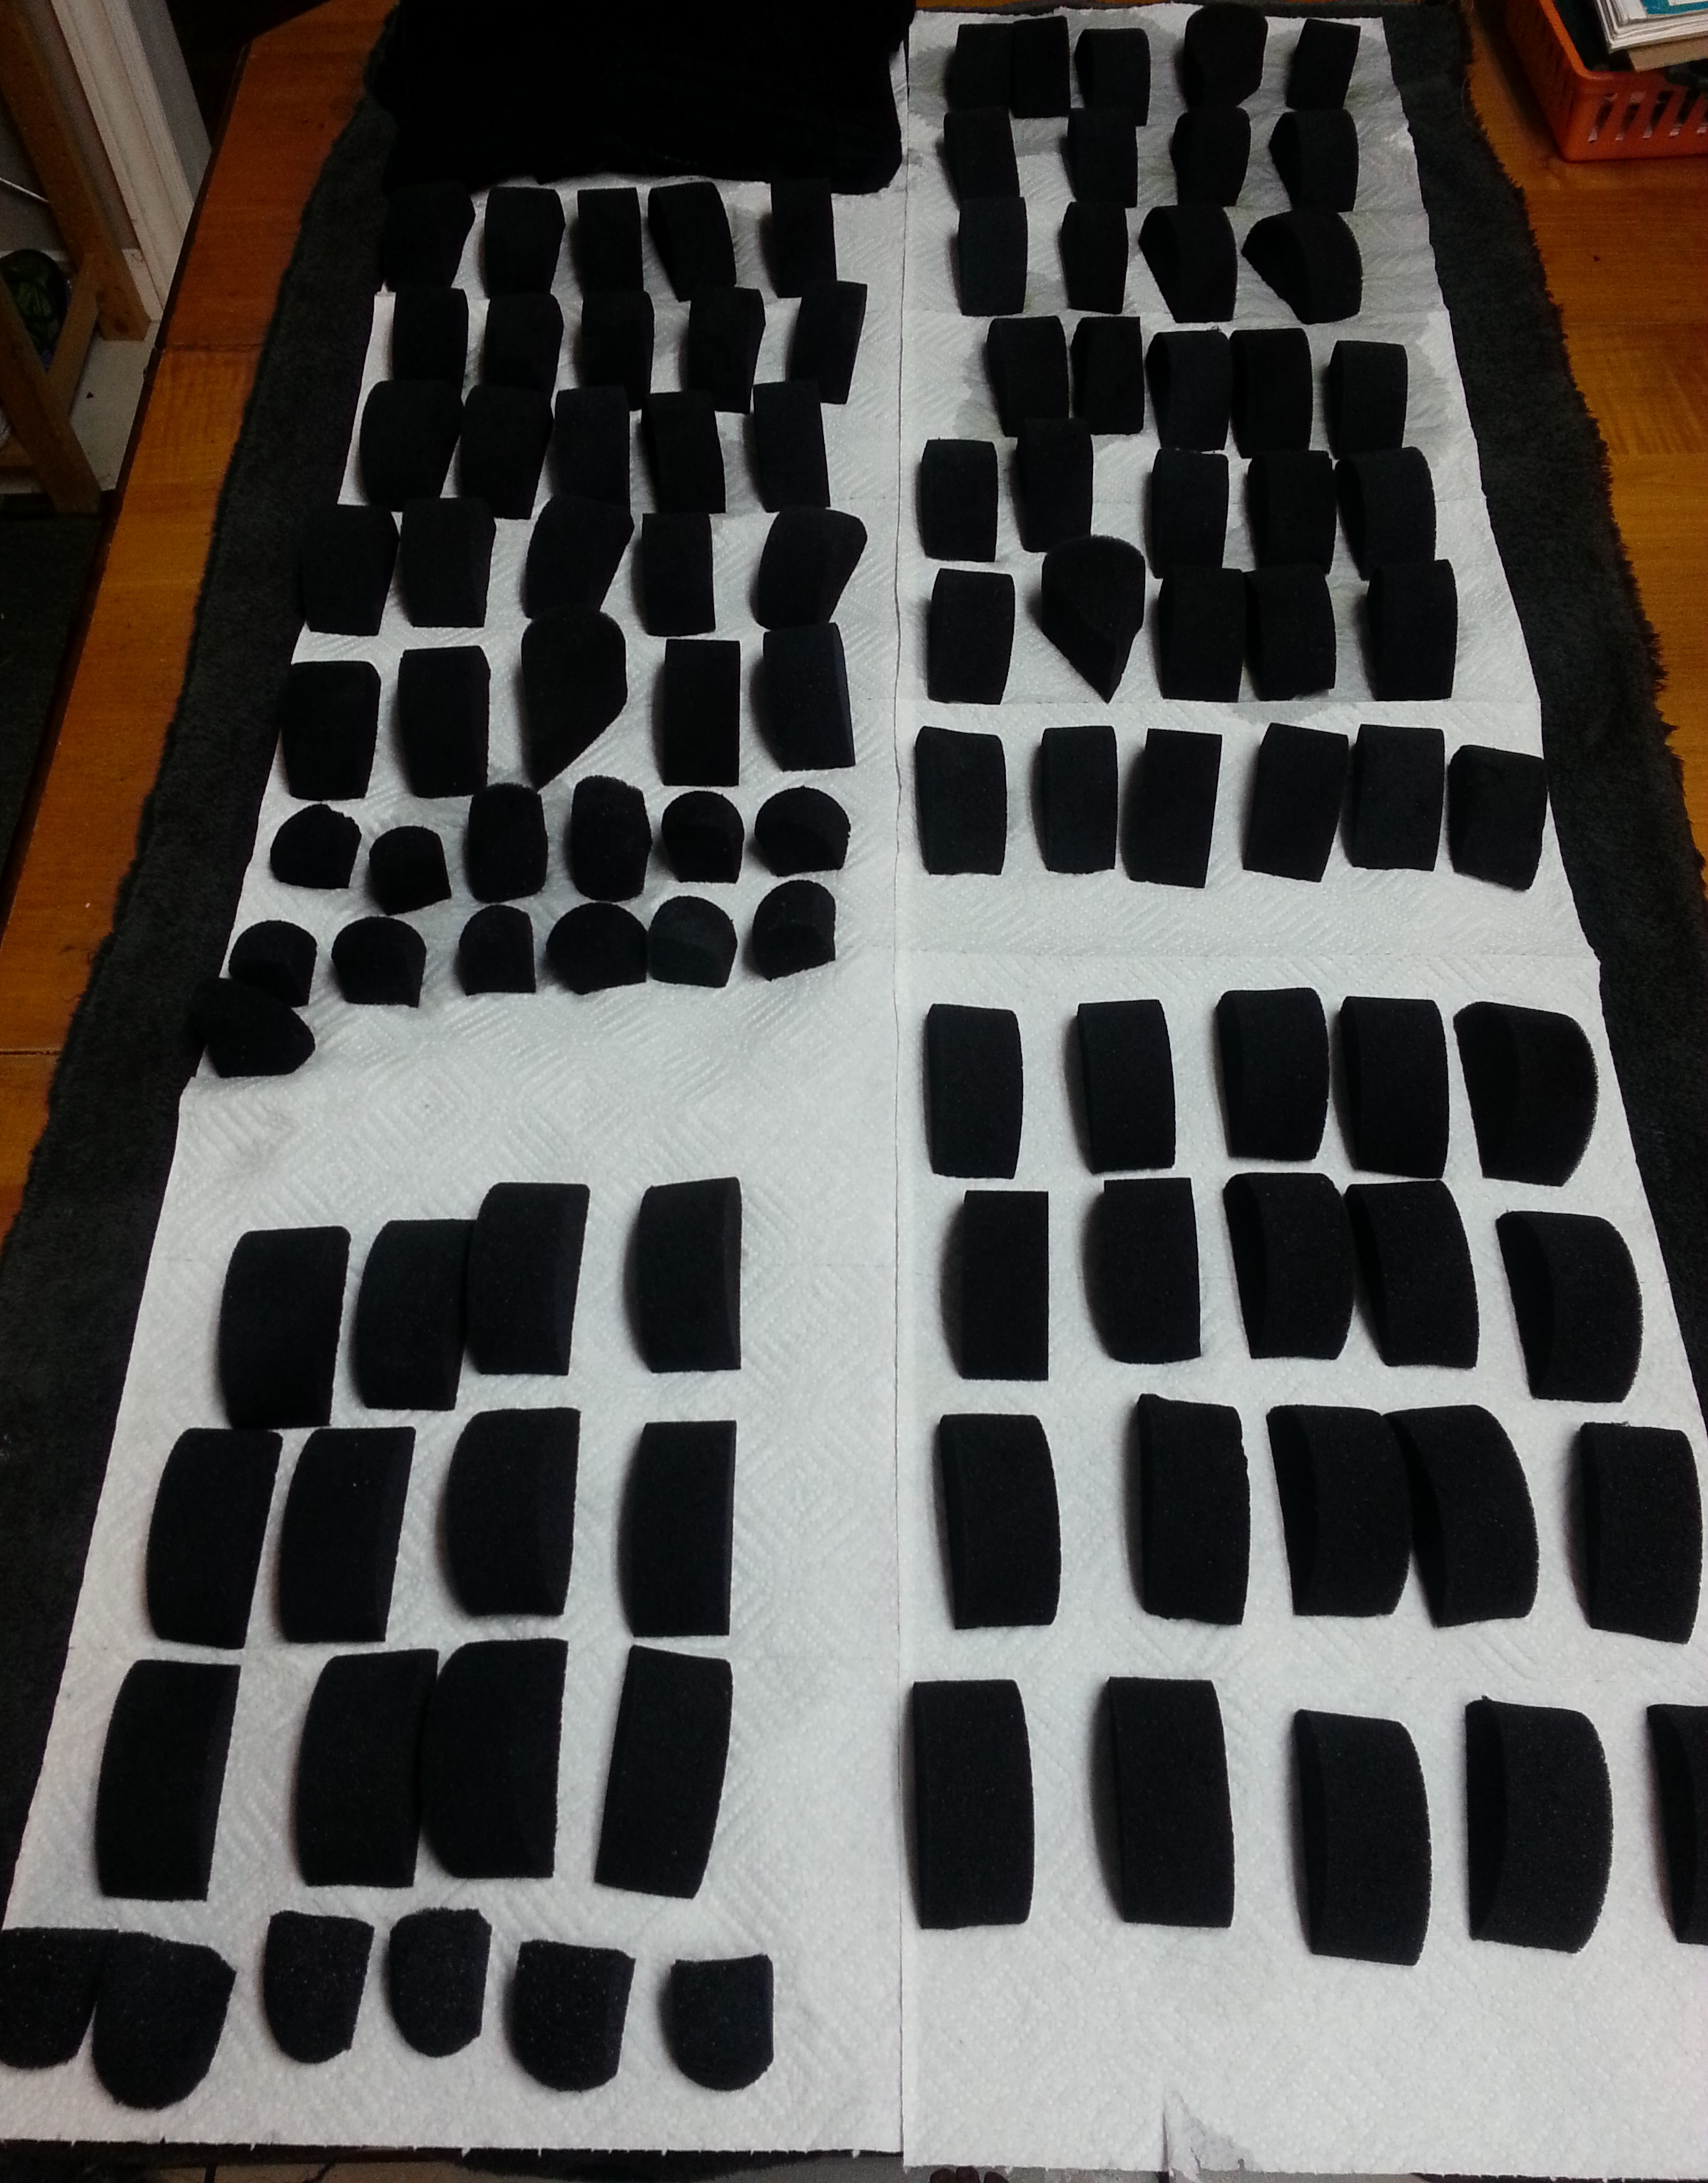
Step 10: Wait a bit then check them. Apparently these guys still had some dye in them. Good thing i put down some paper towel that shows this clearly!
 It’s ok, just rinse them again in fresh water, but you’ll want to avoid soap for at least 24 hrs.
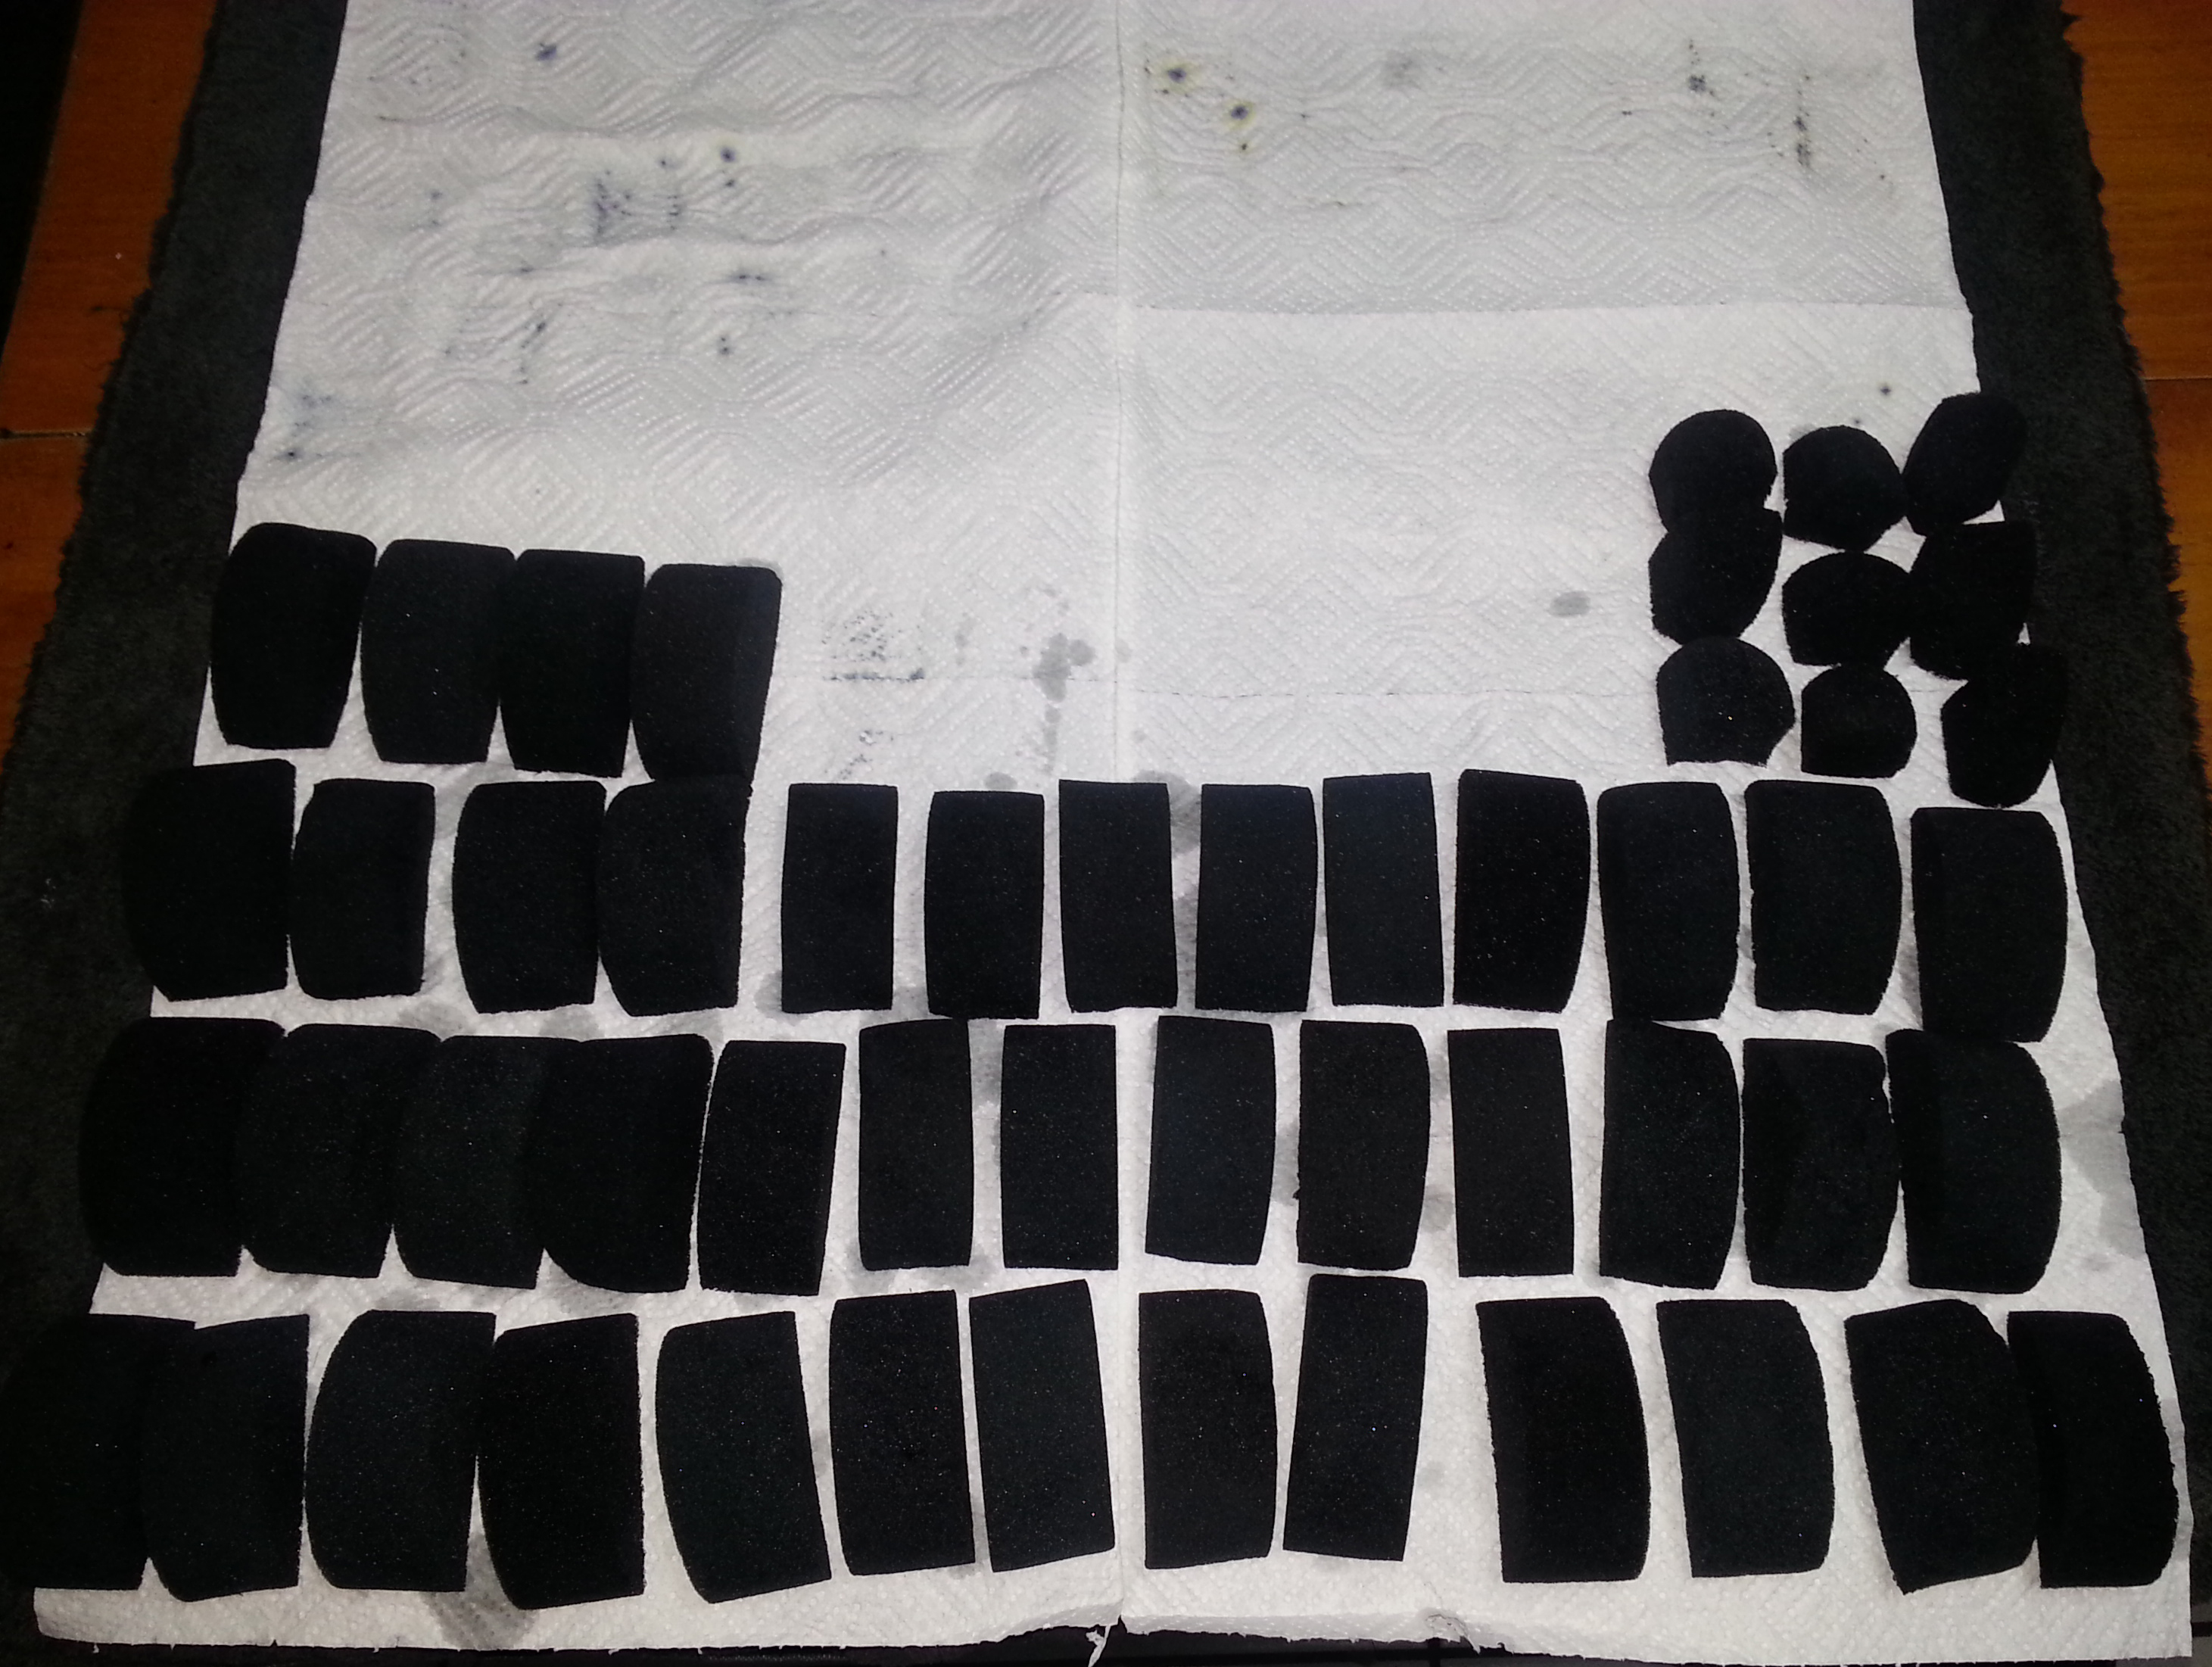
 After you weed out all the ones that need a 4th rinse,
let those dry by themselves just in case they need a 5th rinse after checking them again.
Step 11: Clean up, and let everything dry overnight, then hand wash them with some mild dish soap the next day. Yup you guess’ed it, even more light dye will come out after adding some soap to the equation. Rinse and dry again. From this point on they are safe to use with your paints, you might notice a tiny bit of dye the next few times you hand wash your sponges with soap, but it really takes the surfactants that are present in the soap itself to draw out any residual dye, and at this point there’s not enough concentrated dye to be harmful to the skin.
And you’re done! I know a lot of people have been asking me where I get my oh so clean and professional looking sponges, so now my secret is out!
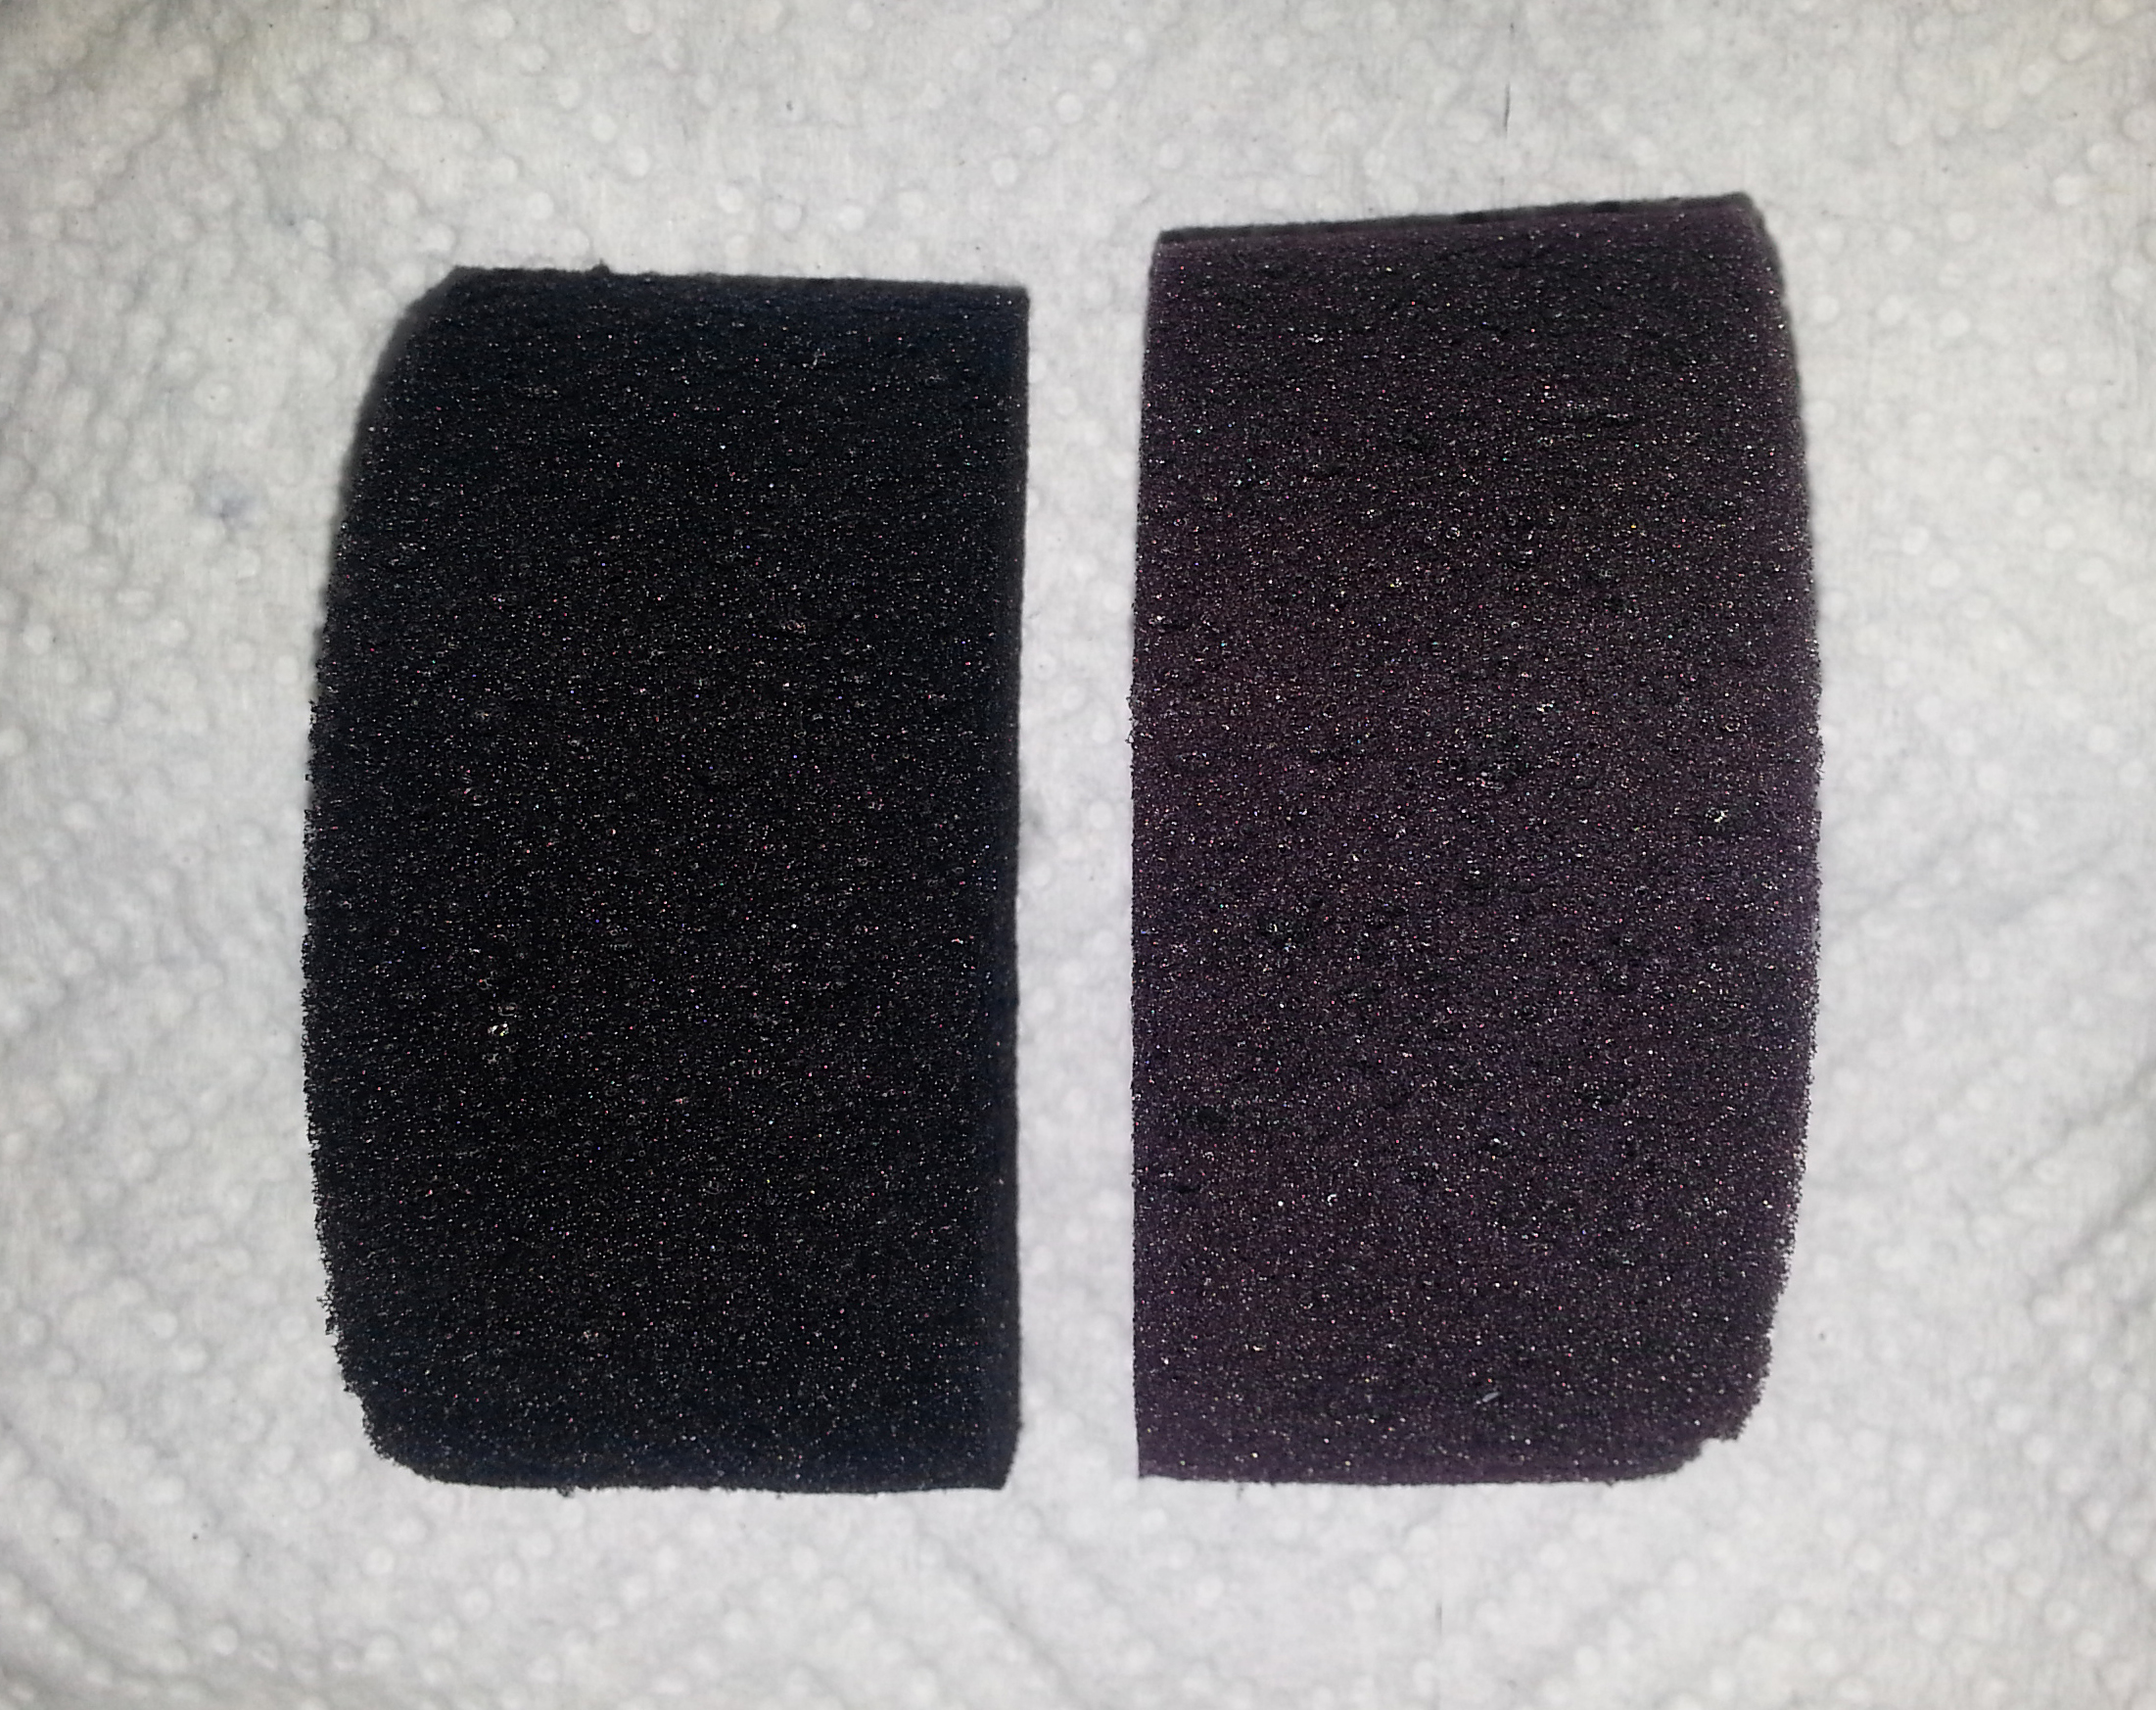
Here’s a photo of the difference between a sponge 1 year after dying (R and one that is freshly dyed (L).
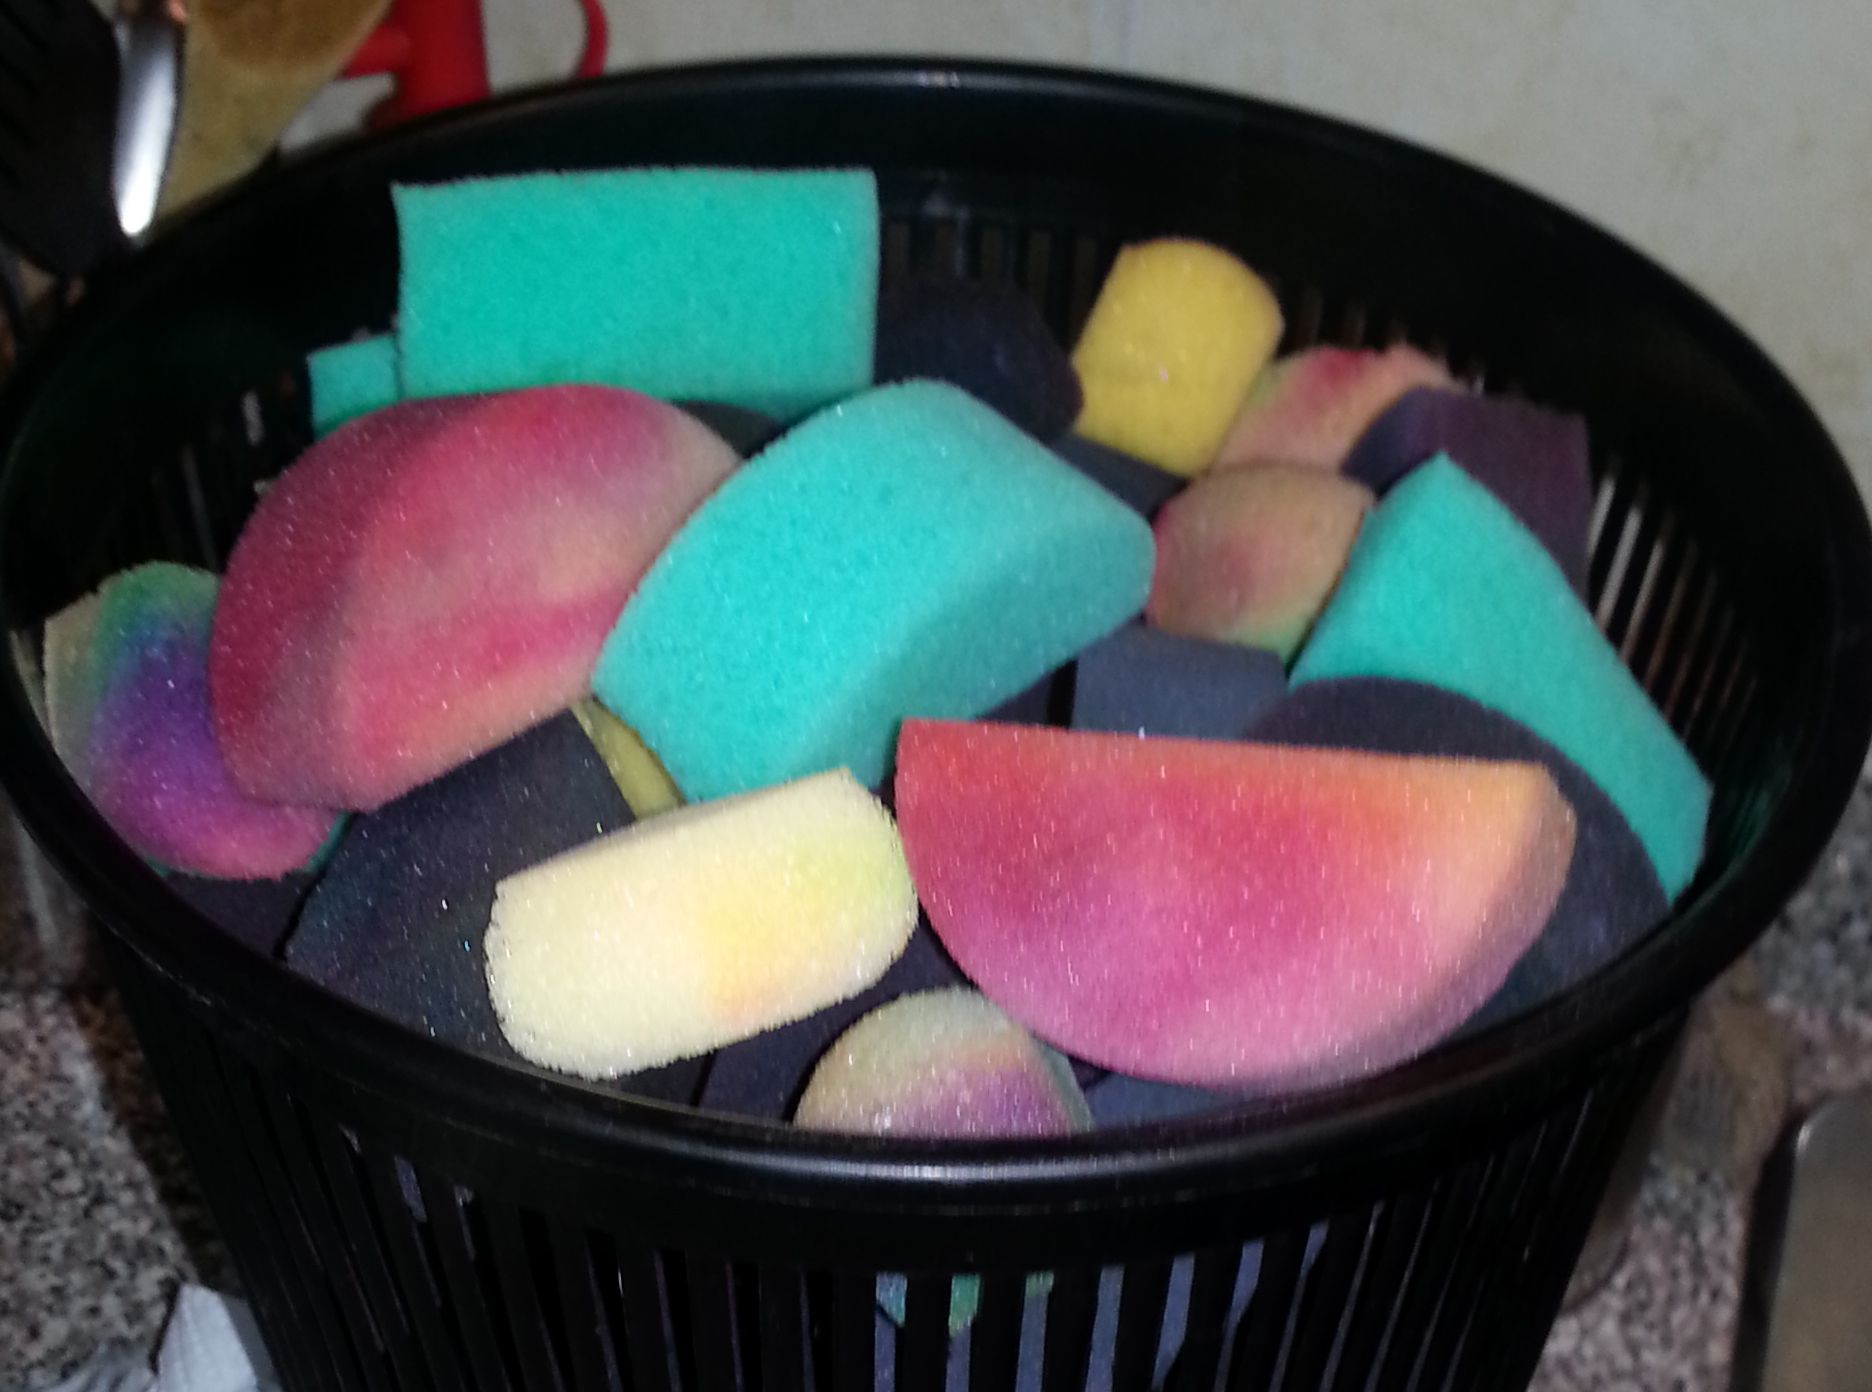
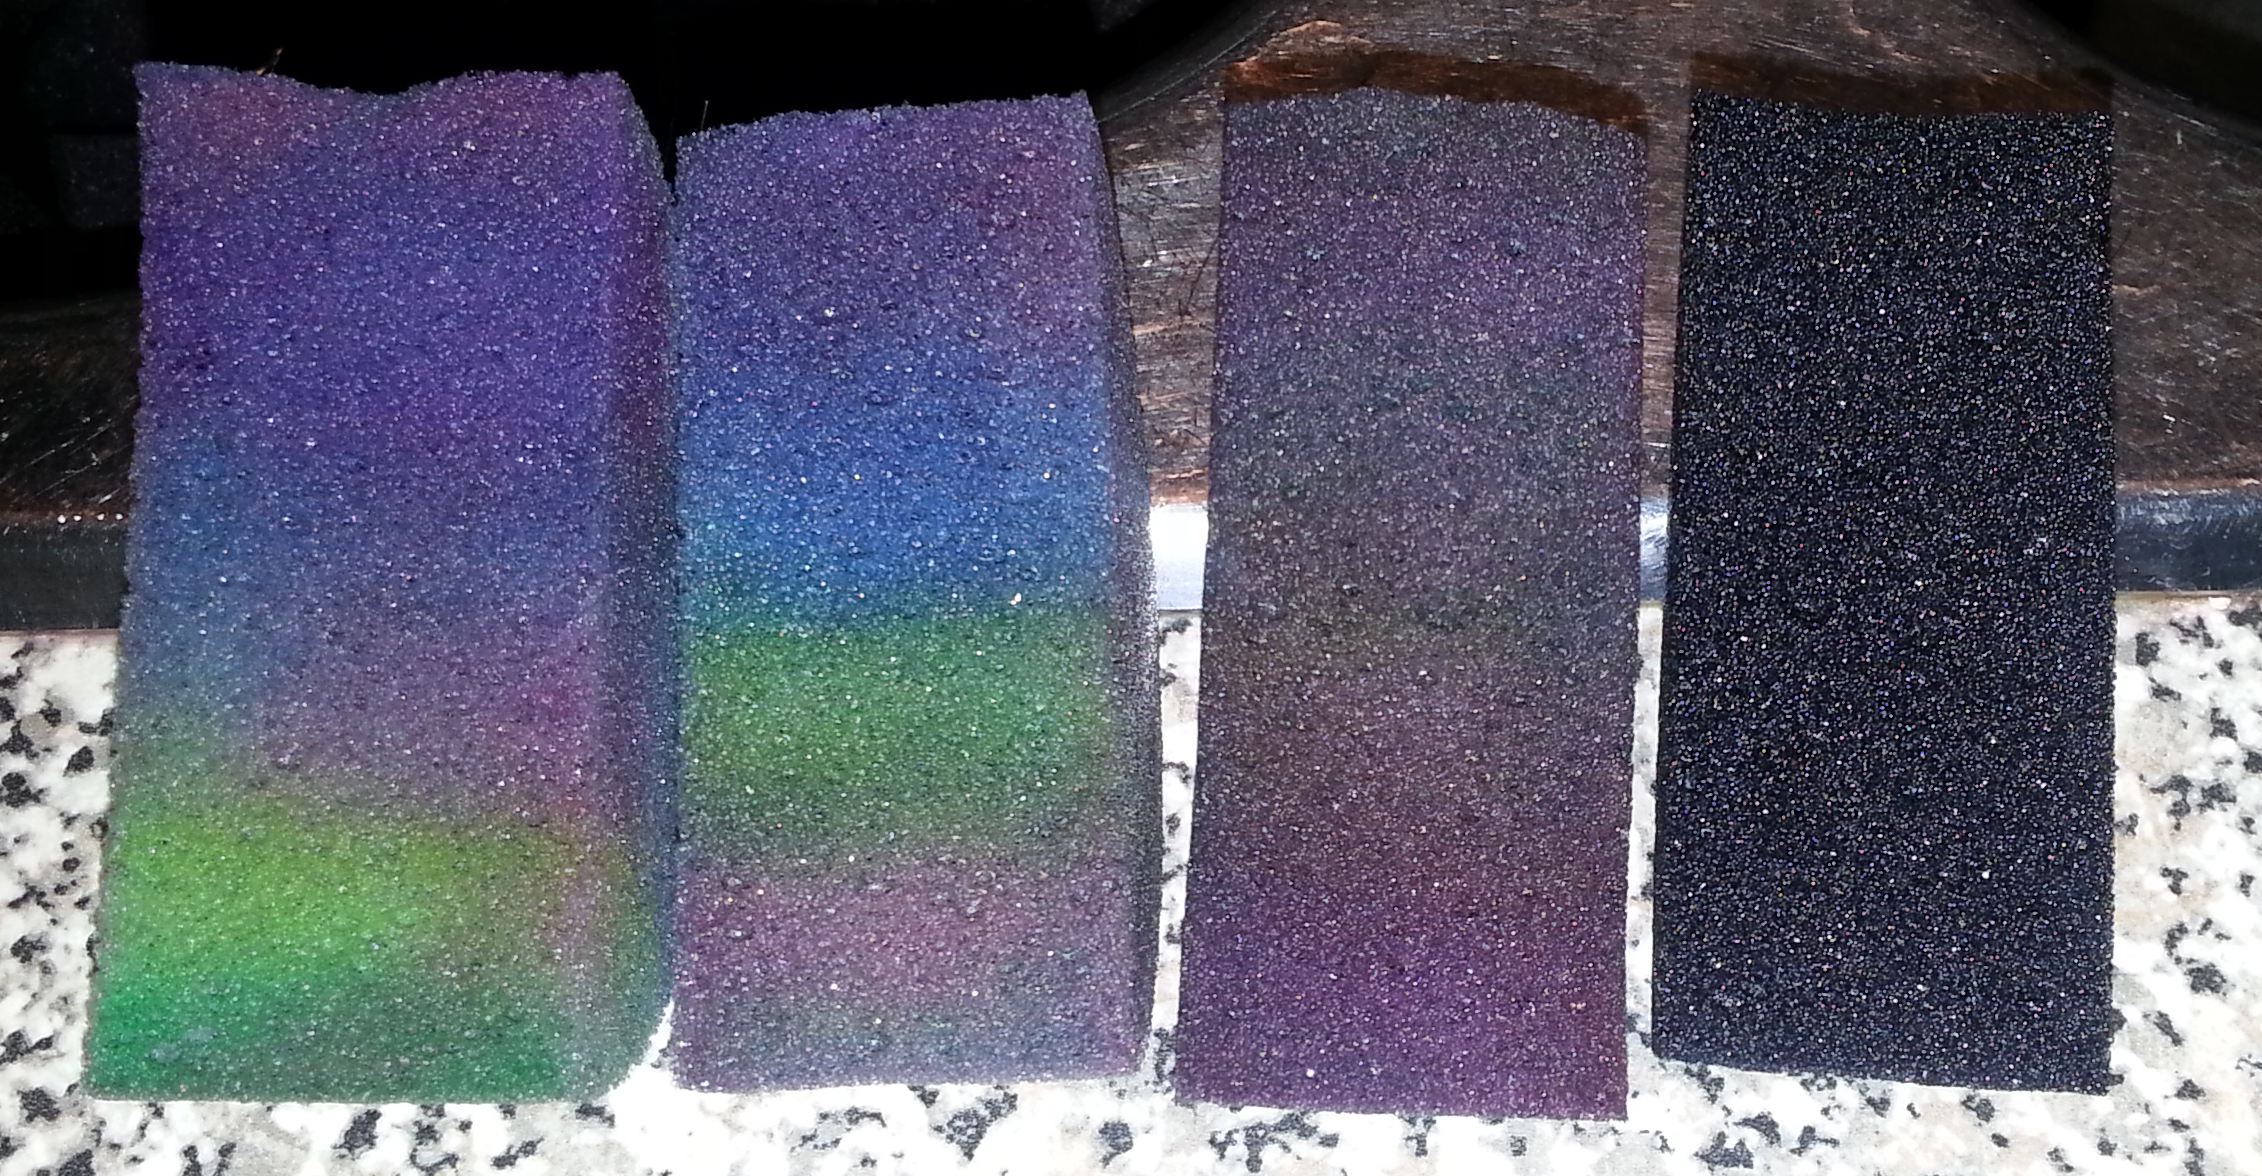
Here’s another photo of a variety of stained sponges and what one looks like after being dyed.
 Hope this helped you guys out! Shout out to Denise Cold for whom this blog would not be possible.
Here is one last photo to show there is no effect to the pigment of your paints.
Because remember
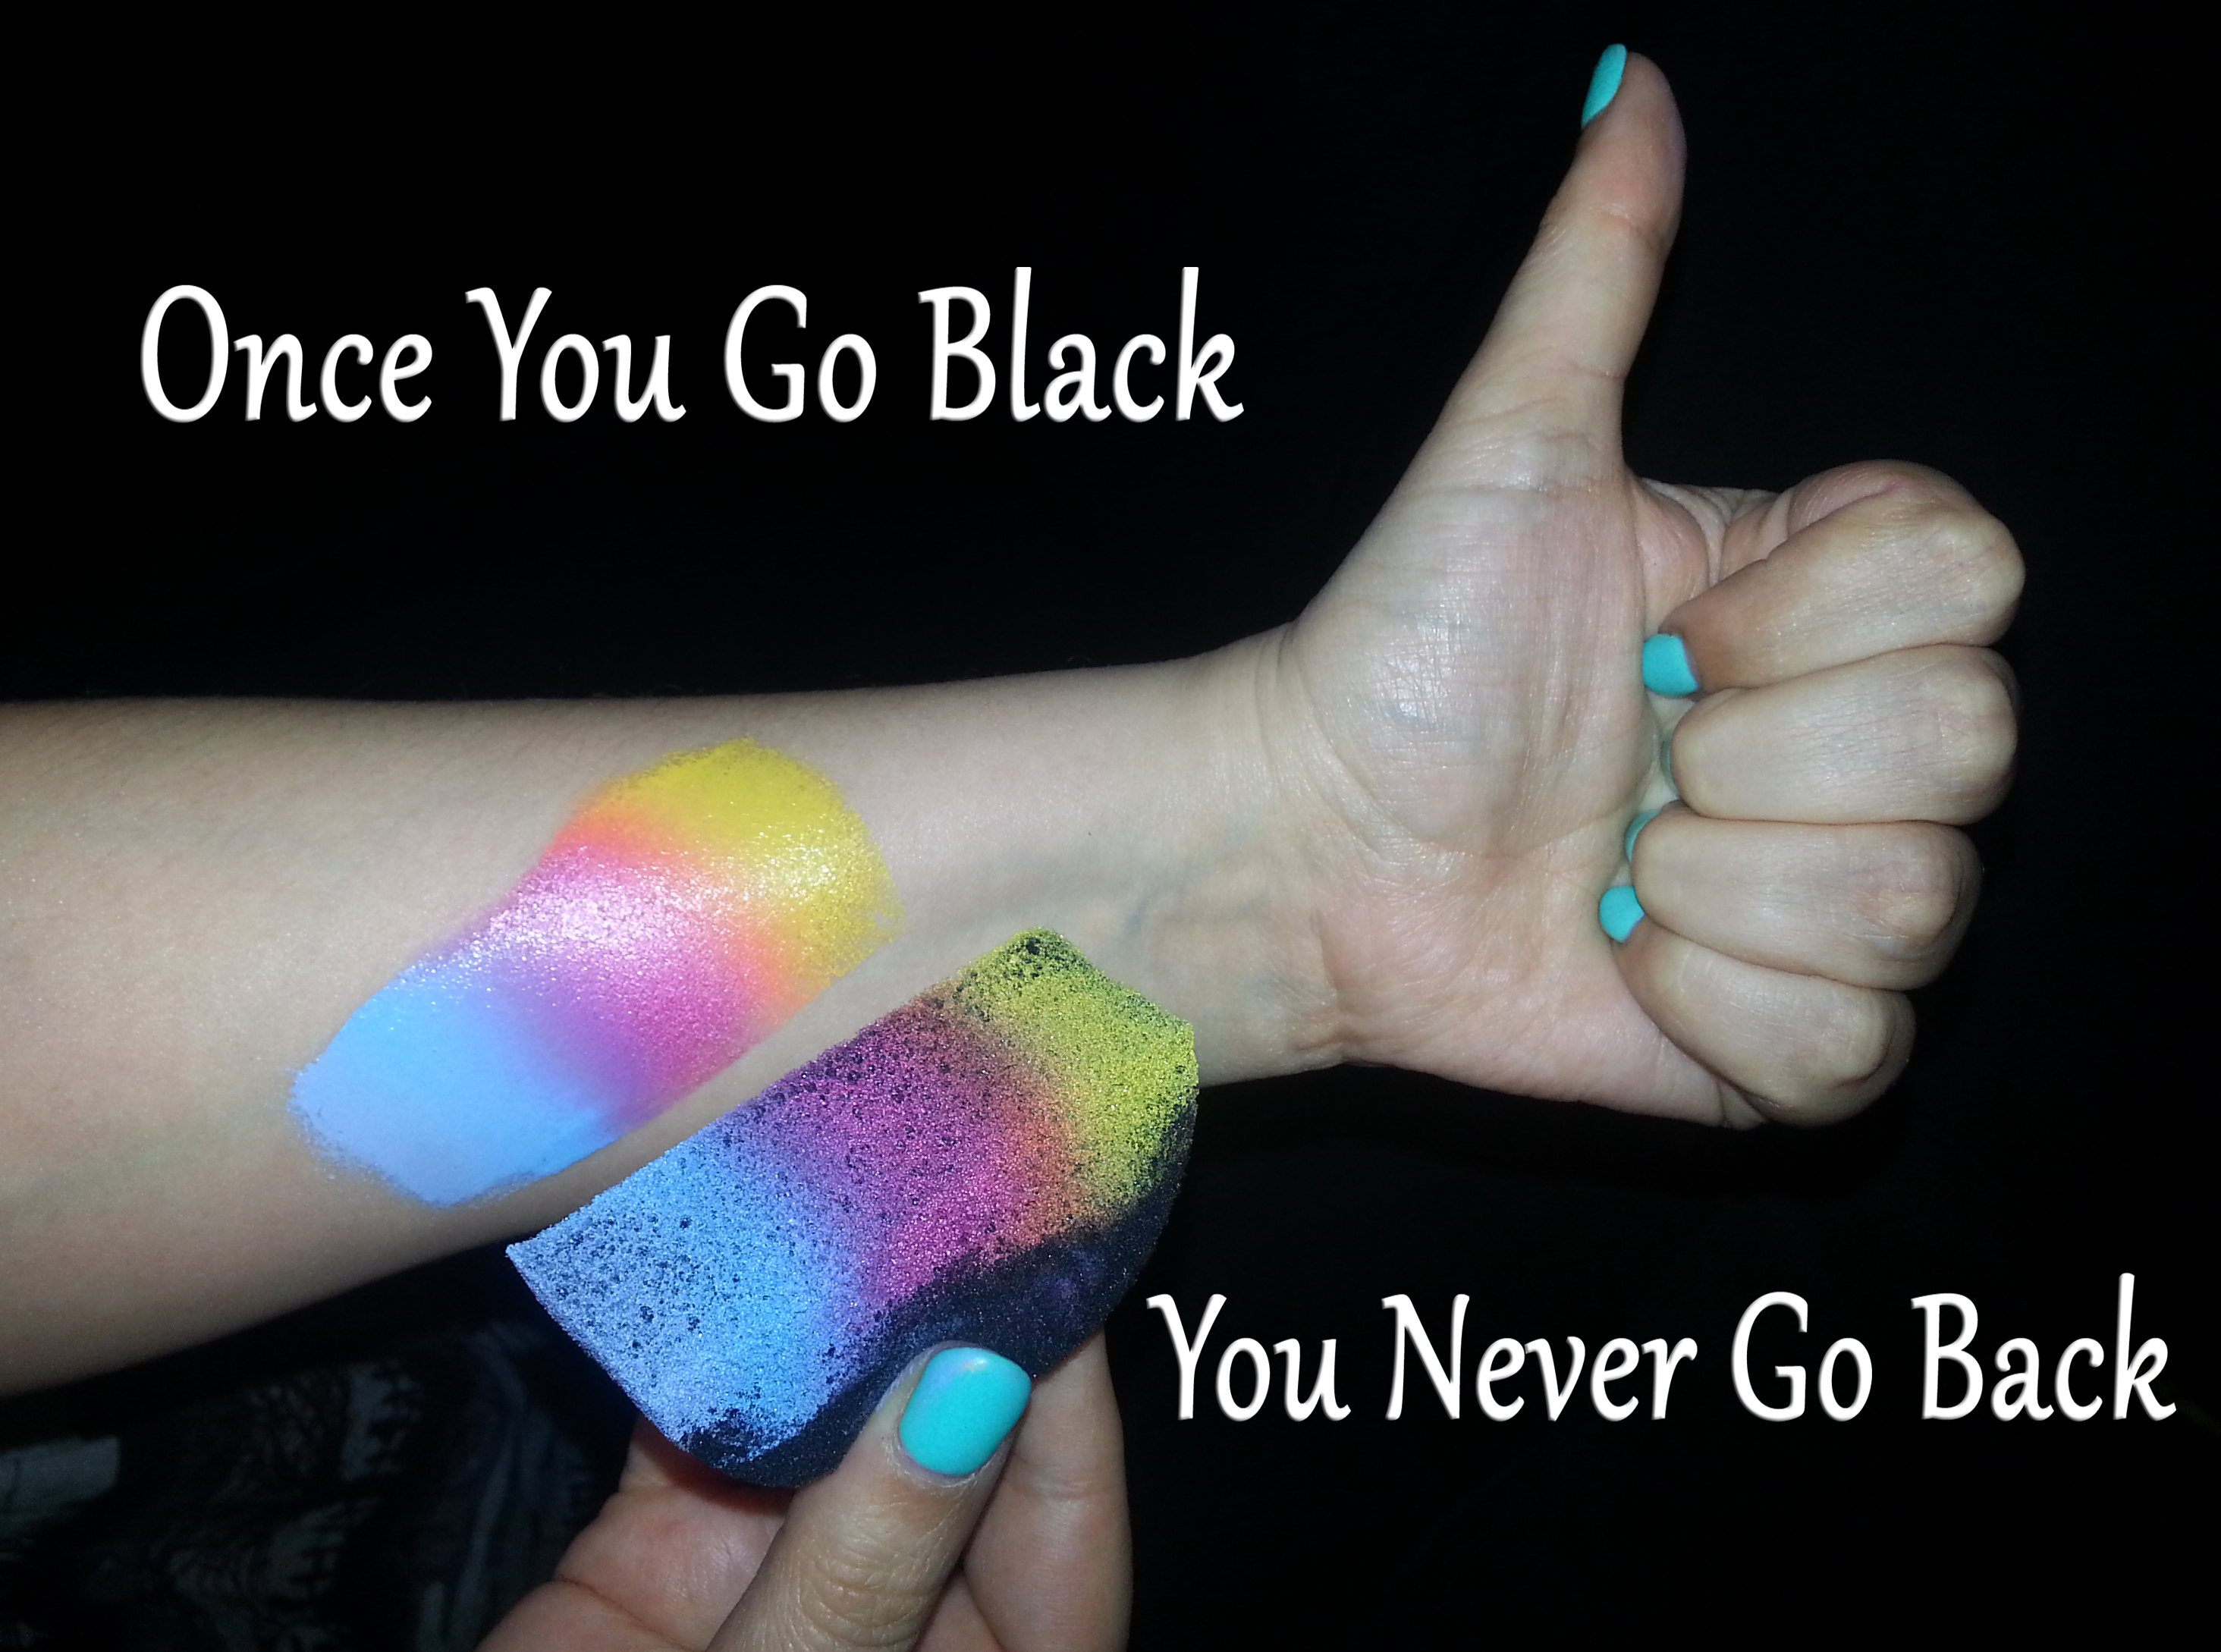
Thanks for reading!
Concerned about safety? Click here for further reading.