by Ashley Arrow
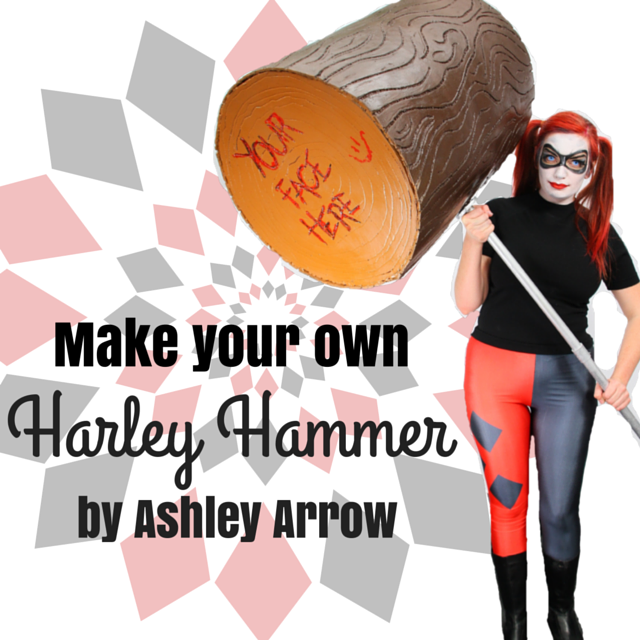
Harley Quinn is one of the most popular characters walking around Cosplay Cons. When it comes to props, the bigger the better, and what’s better then a larger than life Harley Quinn Hammer? Here is my step by step guide to making your own prop out of Eva Foam.
What you will need:
- Eva Foam Puzzle Mats
- Eva Foam Roll Mat
- High Temp Hot Glue Gun and Sticks or Barge glue

Most of these supplies you can buy at your local craft and hardware store! - Barge glue is a lot more expensive, but creates a better hold and less mess than hot glue.
- Heat Gun
- Heating Tool with Attachments
- Wood Glue
- Xacto Knife
- Sand Paper
- PVC Pipe
- Sharpie Marker
- Spray Paint or Acrylic Paint
- Optional: Dremel
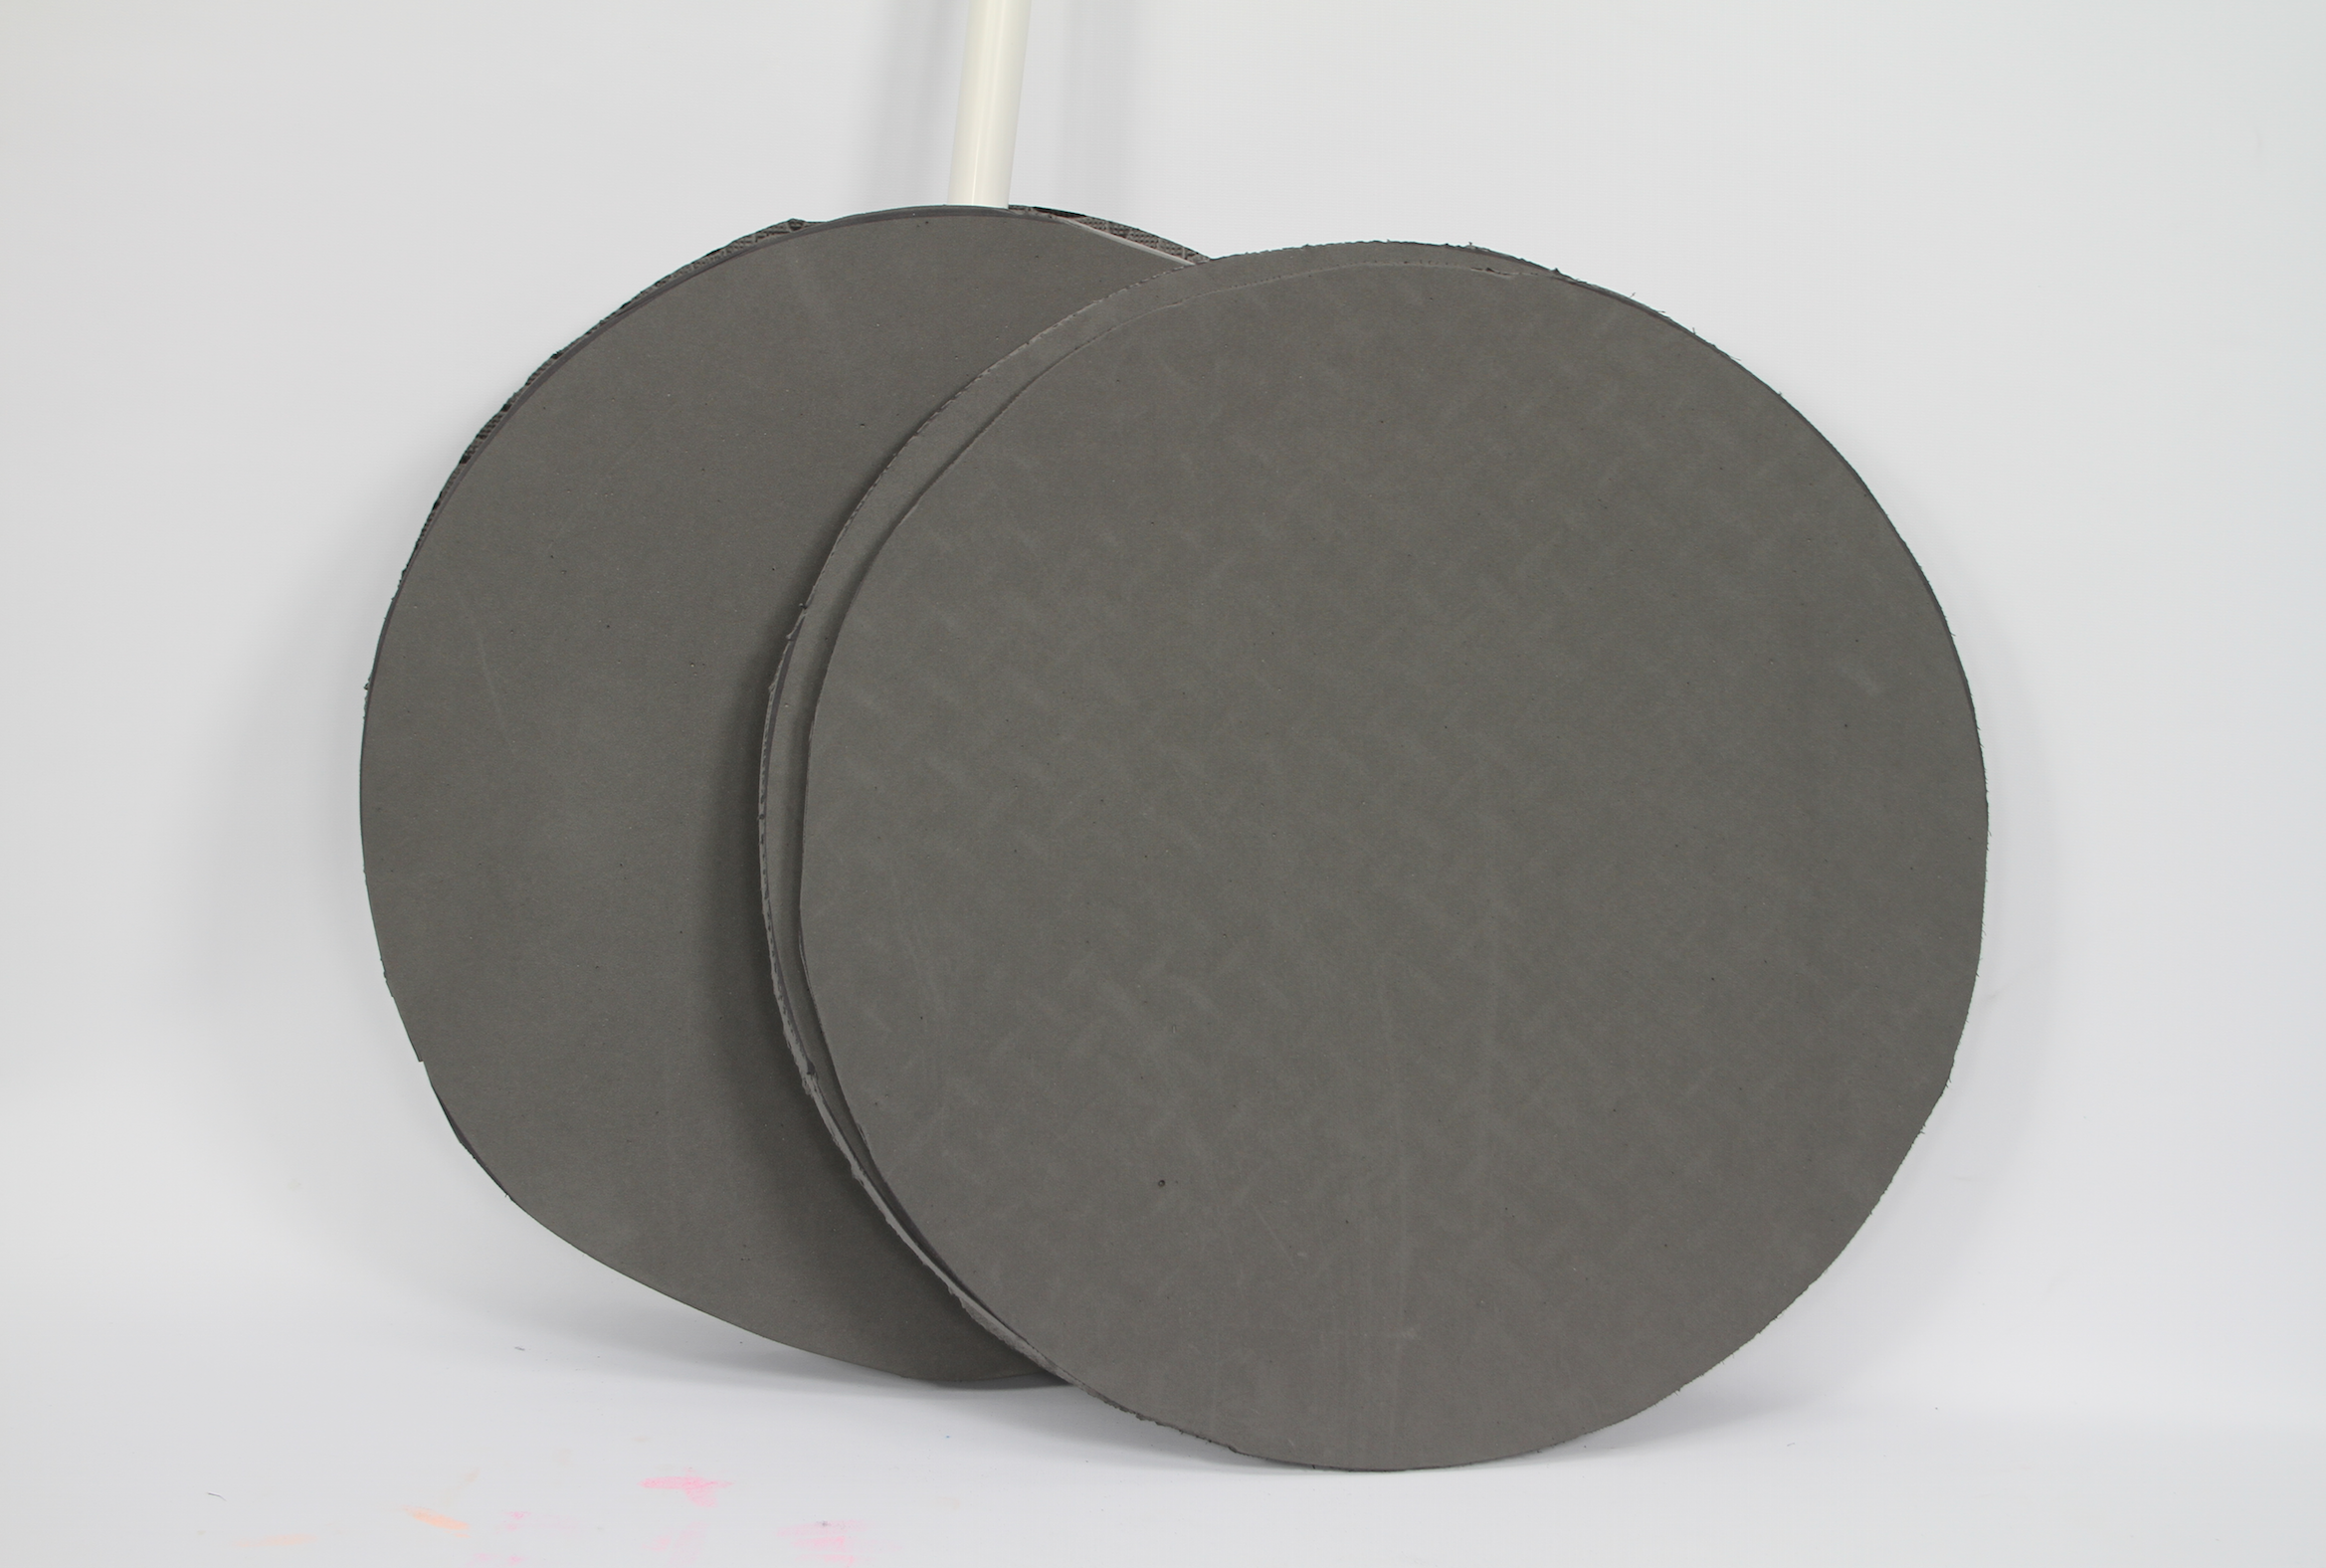
Step 1: Cut your pieces:
Use the foam puzzle piece mats to cut 4 circles exactly the same size. The circle size depends on the size of your hammer. I used the cover of my fan as a stencil to trace for the perfect shape.
To measure the length of your hammer, you will need to calculate the circumference of the circles you made. I know, you haven’t heard these words since high school, I haven’t either…I had to google in order to remember how to do it! Measure the diameter (the length from one end to the other) of your circle. Multiple the diameter by pie (3.14). This will determine the width of your hammer around.
Step 2: Build Your Core
Those useless edges to your puzzle mats will be useless no more! Cut them up in 3-4 inch pieces and glue 3 layers together. You will need about 8 of these clusters depending on the size of your mallet.
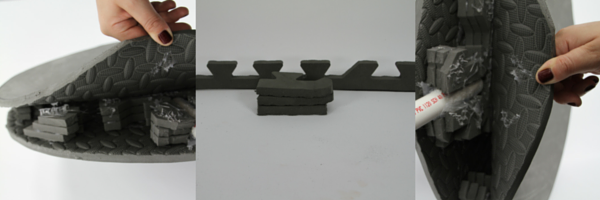
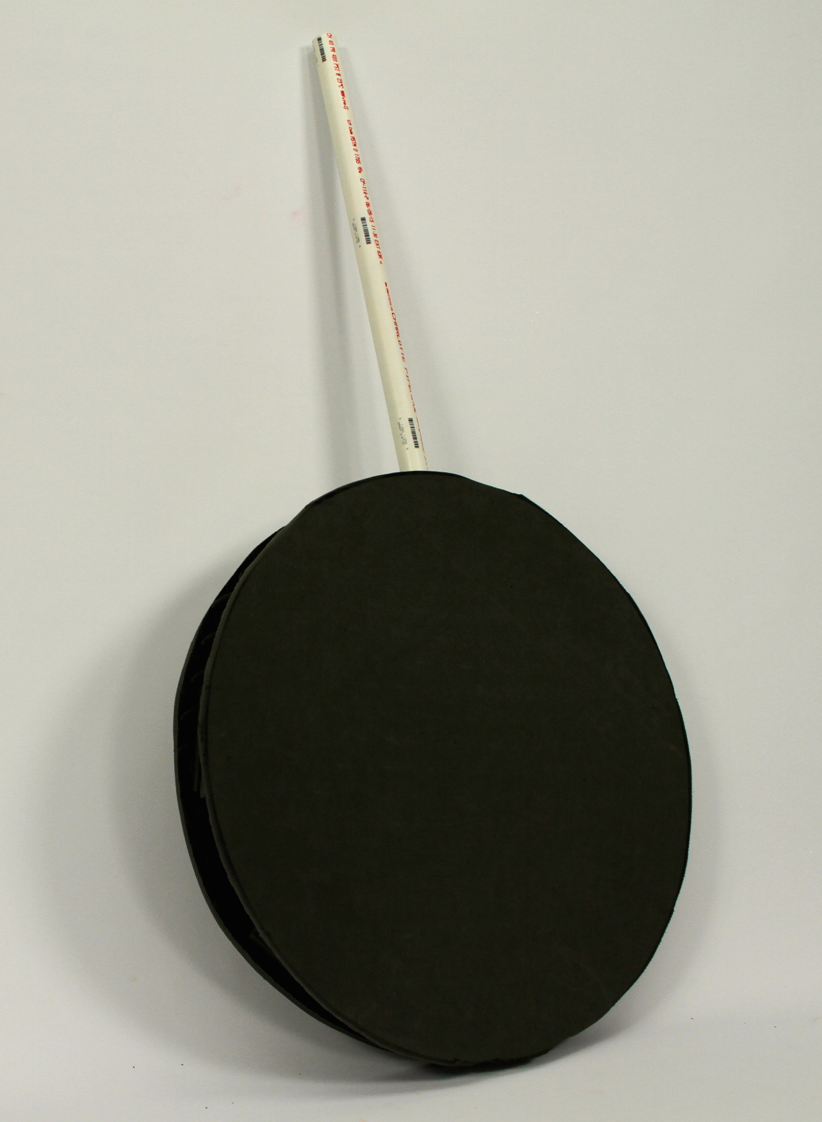
Take your first circle and glue the PVC pipe to the textured side. Border the pipe with some of the clusters you have made. Fill all the gaps with glue to make sure it is sturdy. Along the edge of your circle, place more of these clusters and a couple in the center. Keep in mind the more clusters you add the heavier the hammer. Sandwich these clusters with the second circle using hot glue. At this point you should have what looks like a pendulum.
Step 3: Design:
The design of your hammer can vary from super complicated to really easy with a simple coat of paint. The design I did is a little more time consuming, but it turns out so awesome! I decided to make a wooden log style.
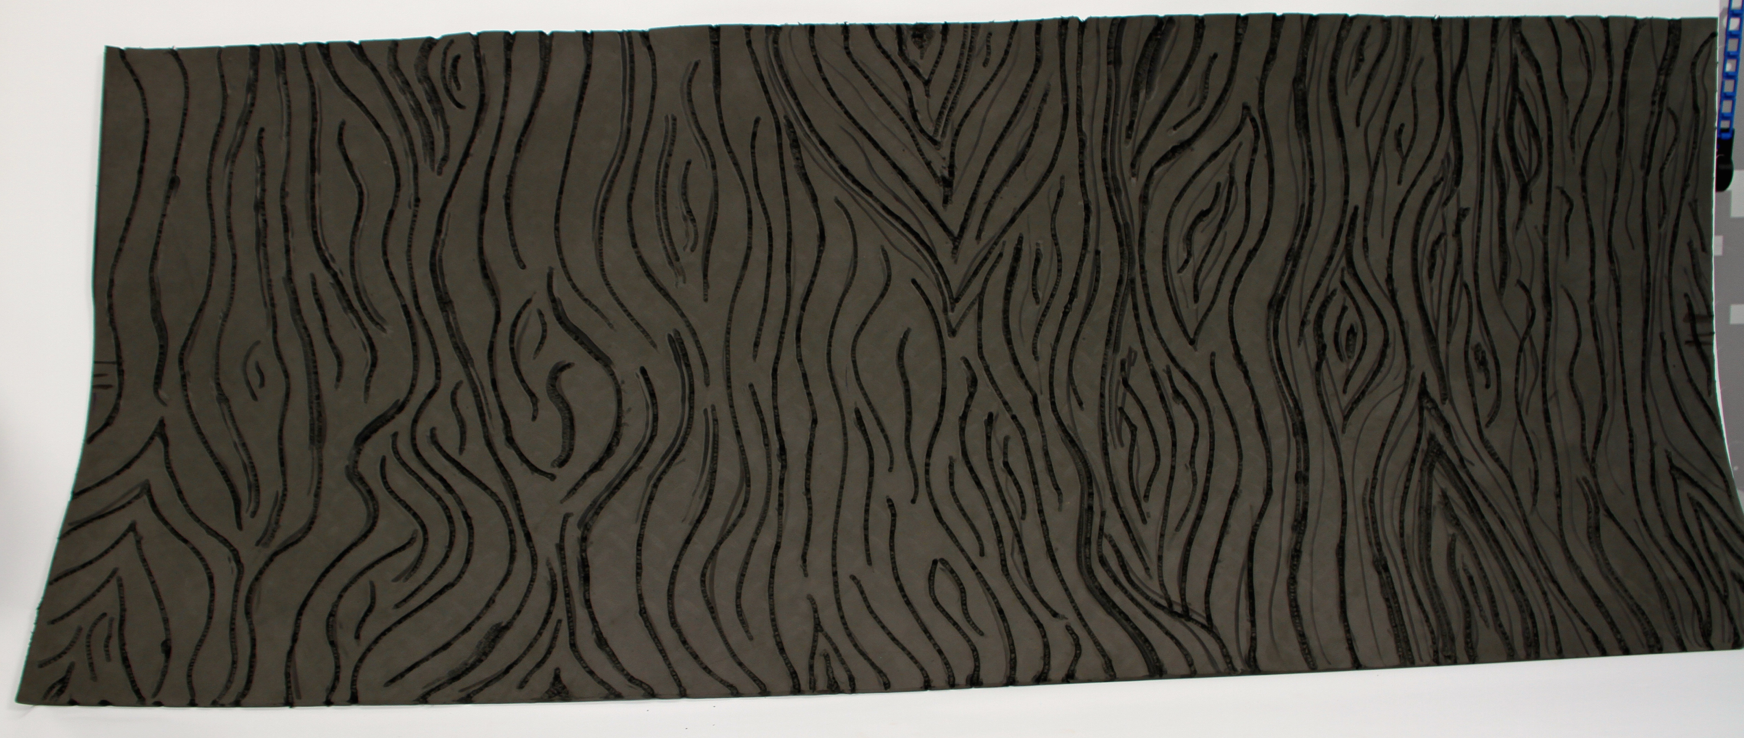
First, draw a bark looking design on the rolled mat. You will need to flatten the mat with the heating gun. Once the design is drawn, use the heating tool on the highest setting to carve into your design. I used the blunt rounded attachment. WARNING: This method smells and the fumes may be harmful to pets. Be careful not to carve all the way through the mat. Once completed, take a broom to it and sweep firmly to get in the little knooks and crannies. This will take out all of the loose particles from the engraving. This can also be done with a dremel, and works a little quicker, but it makes a HUGE mess.

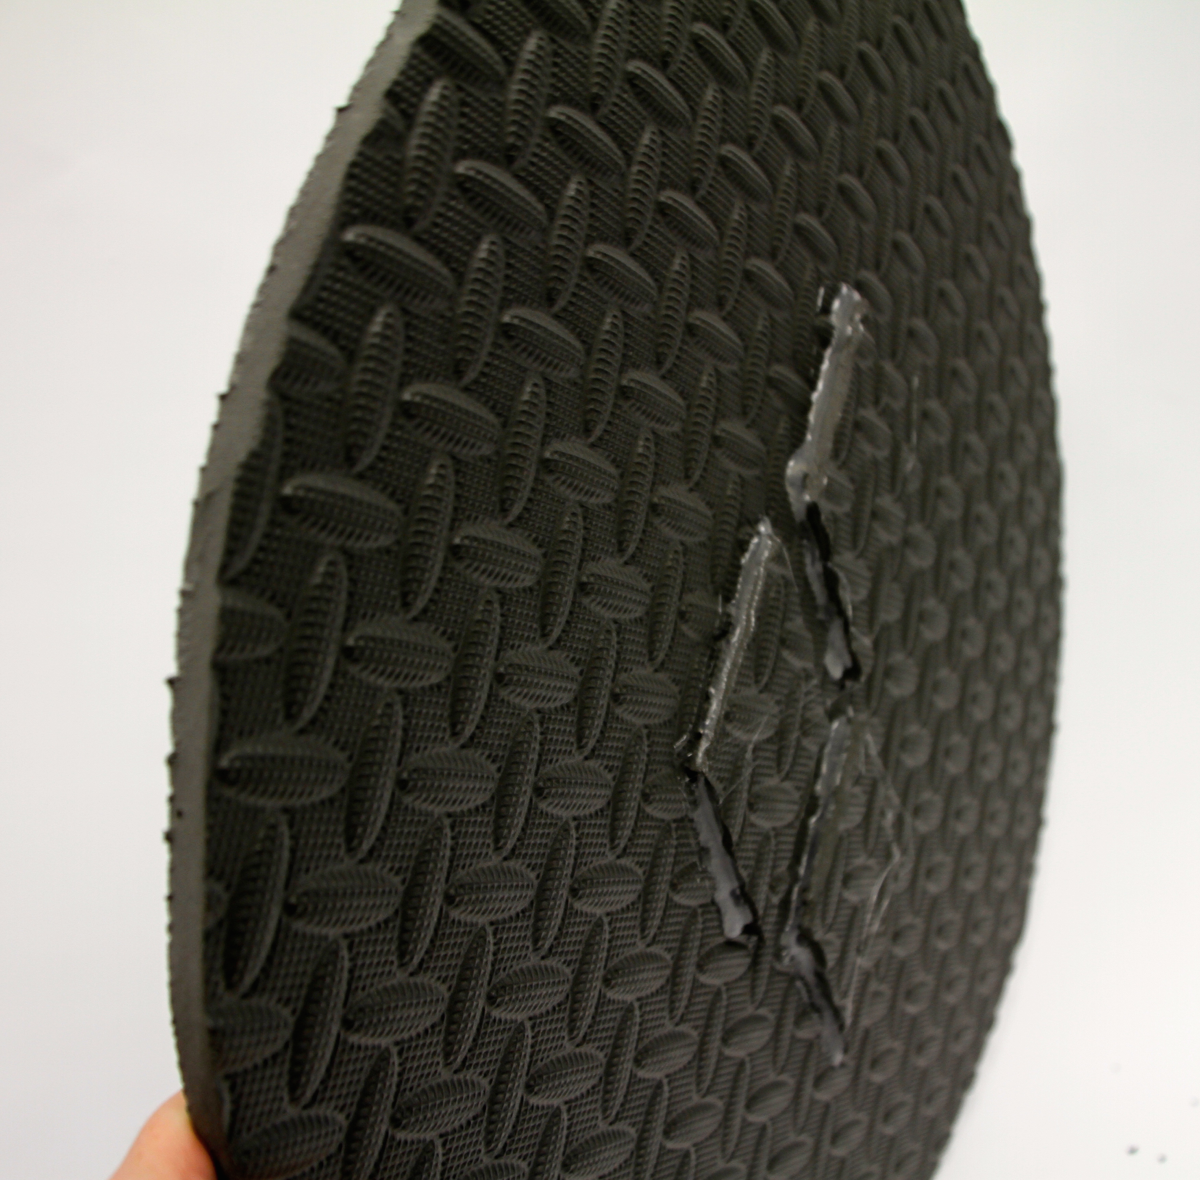 The ends of your hammer:
This is the best part where you can get most creative! I had a hard time deciding what to put on here…I asked myself “What would Harley do?”. To create the engraved tree look I wrote the words I wanted with a sharpie and then carved it with the same blunt heat tool attachment I used for the bark design . It took me a few tries to make sure I liked the lettering. I used rubbing alcohol to remove the lettering I didn’t like from the foam mat. This isn’t necessary as you will be painting over it, but it helps to see the final design. I made the wood grain circles with a fine point attachment using the hot tool to look like the ends of a tree stump. To make the diamonds, I used the hot knife to cut out the diamonds completely out of the foam. I pushed the diamonds toward the back of the mat and glued them in place on the back side of the mat which held them in place.
Step 4: Assembling the Hammer
On one end of long rolled out mat (see pic in step 3) cut out a small piece in the middle of the short edge, the perfect size to fit around your PVC pipe. Glue one edge of the mat to the pipe and begin to roll the mat around the circle core, use a hot glue gun to glue as you go. Take your time on this and allow the glue to cool and hold in place as you go along.
Once you have glued the mat completely around the core, seal the seams of your hammer from the inside. Take the glue again and fill in any gaps and create a really firm hold on core.
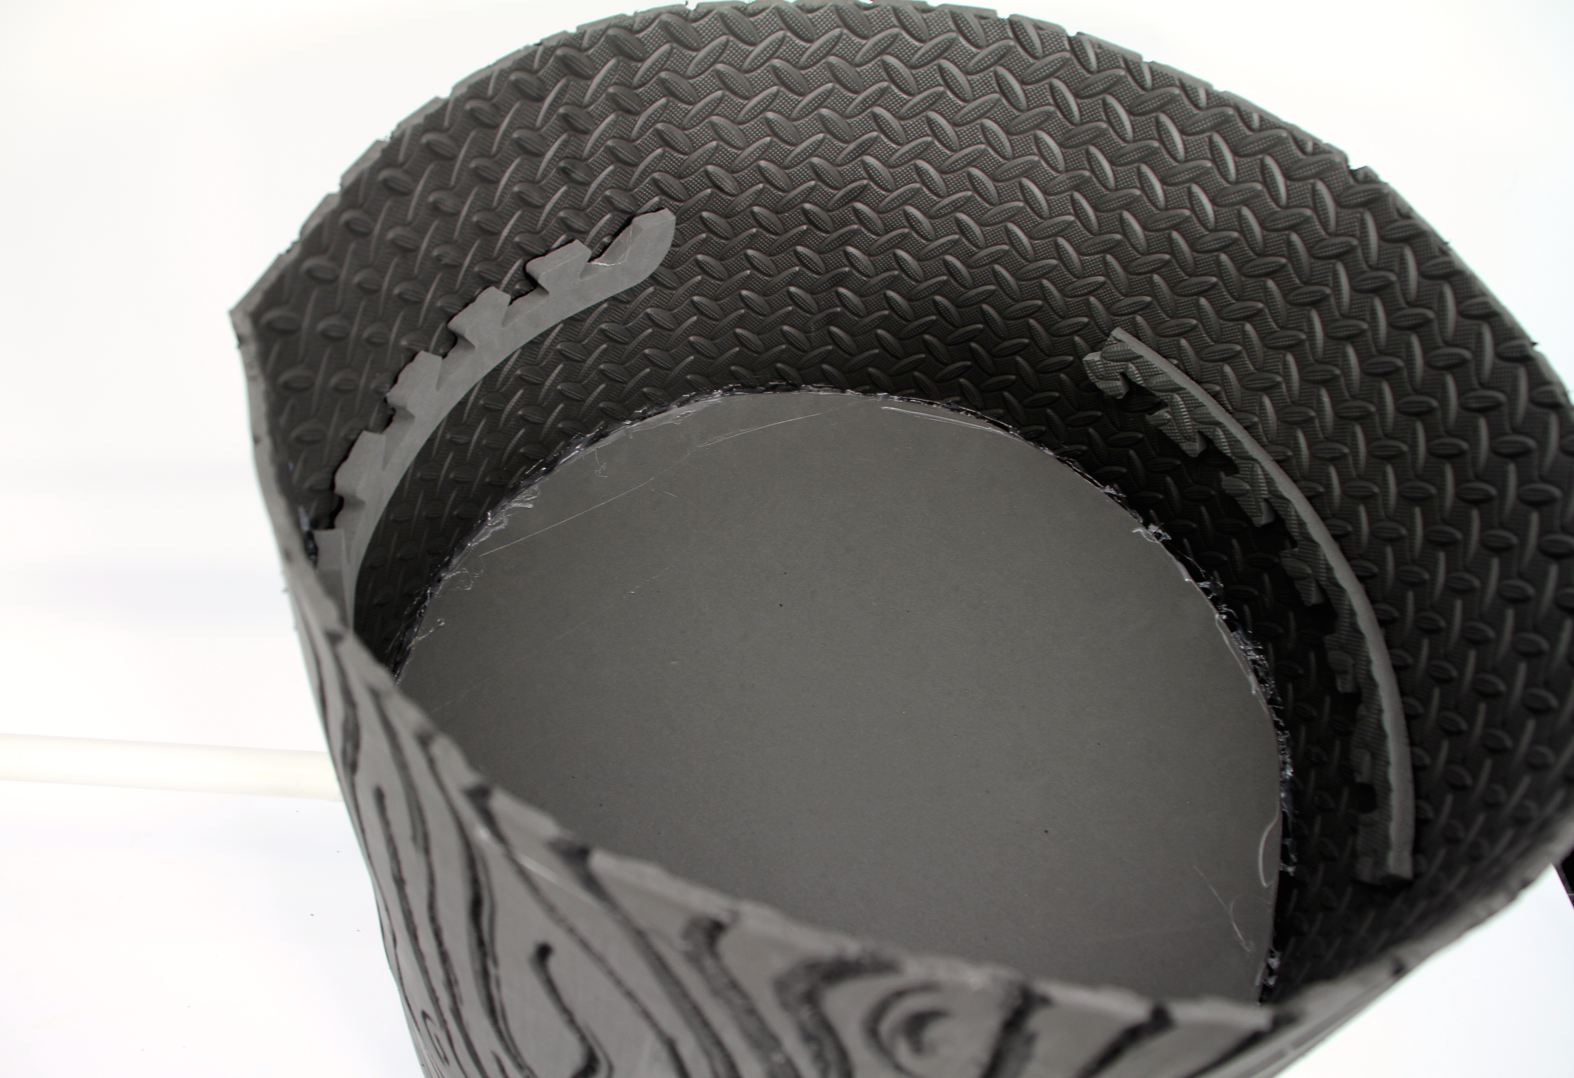
Re-enforcements:
You want to make sure your hammer is sturdy. Use the ends of the puzzle mats to glue around the center of the inside of your hammer. Remember: The more you put into the hammer, the heavier it becomes. Place these pieces strategically and use as little as possible. Also use smaller pieces (the triangle edges of the puzzle pieces) on both ends of the trunk to create a little resting spot for the ends of your hammer so it will not fall through. Glue 4 small foam pieces around the upper inside edge of each side of the hammer. Once your support is dry and firm, carefully glue the 2 circular pieces to each end of the hammer.
You now have an assembled hammer! B)
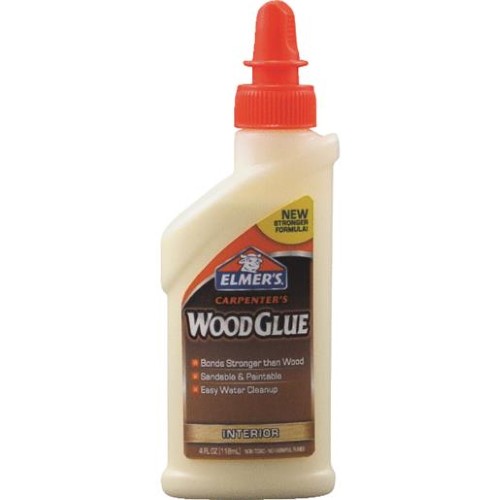 Step 5: Seal the hammer with wood glue
You will want to cover your entire hammer with 3-5 coats of wood glue. This seals your hammer, fills in any pores from the foam, and will create a base layer for the paint. Let it dry for 4 to 5 hours before moving on to the next step.
Step 6: Sanding
Using the dremel will be the easiest way to remove any excess glue that has leaked out. The dremel will sand down some of the big knots of hot glue, but it will also heat up the glue as well. Once sanded and heated again, you can smooth the knot down using an extra piece of foam. Use your sanding block on the entire hammer until it is a smooth surface.
Step 7: Painting!
I suggest using a spray paint that can be used with plastic, which is easy and quick. You can also use acrylic paint- but it does take longer. You can choose any color that you want! Of course Harley’s signature colors are black and red. I used browns for the wooden effect and red for the lettering on the sides.

You are all done! Congratulations, you are officially a prop builder! Now go find B-Man and smash his face in! **Disclaimer…this prop is not to be used as a real life weapon. Sorry for any bursted bubbles 😉
If you would like to learn how to create this Harley Quinn character face check out our new FXCOSPLAY youtube channel 
-Ashley Arrow
