by Heather Green
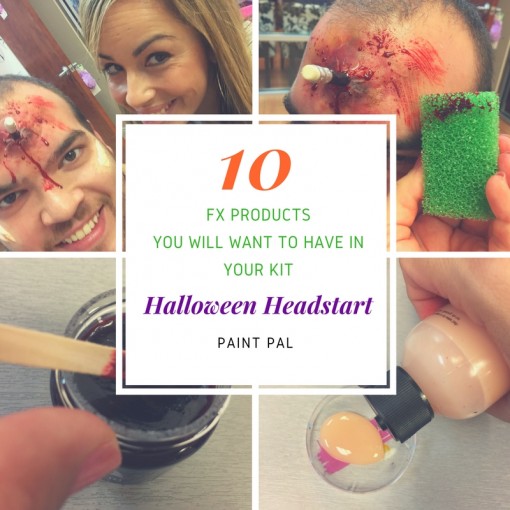
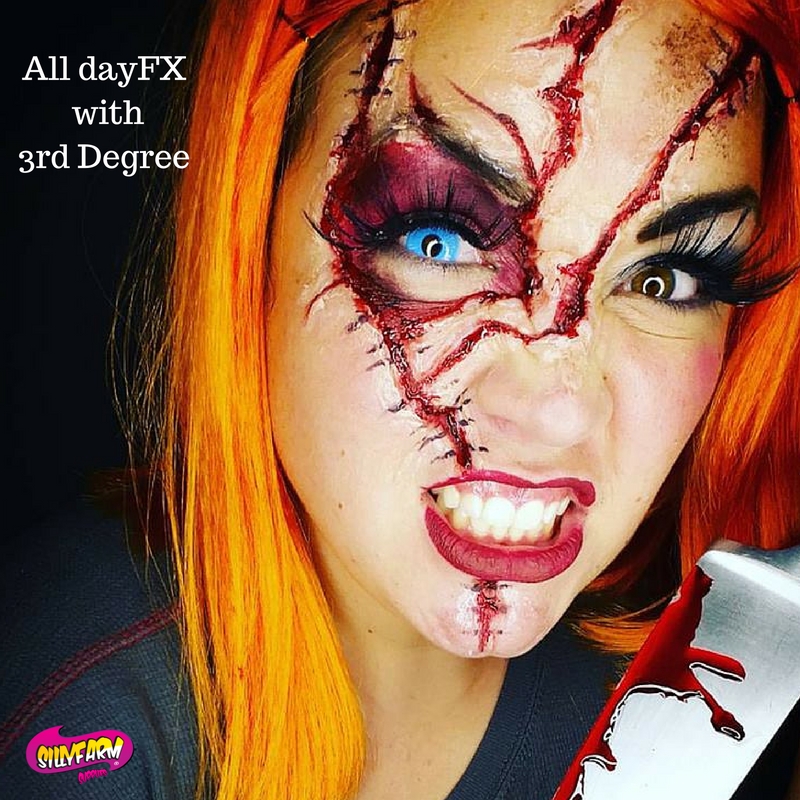
Special effects and Halloween go hand in hand. Starting September 1st our timelines are flooded with ripped skin, nightmare inducing art, blood bath creations, and looks straight off elm street. So if you are totally new to FX or want to play around this Halloween season here’s a few products you might want to consider adding to your kit.
As with all face and body art supplies, you can go crazy. And the truth is that while we WANT everything we don’t necessarily NEED everything. You can get pretty crafty to create FX looks with lots of household items like rice for maggots, toilet paper for ripped flesh and cotton for slit throats. Hopefully this blog will help you get creative this season. And don’t be shy to share you work with us. Nothing makes me happier than being able to help, and then see artists in action. I have always been very fortunate that artists have shared their knowledge with me and I am committed to paying it forward  so please email or tag me in your pics so I can post and share! (Heather@sillyfarm.com)
Last month one of our staff cut his hand moving a desk. He was bleeding all over the floor and I literally almost passed out. But for some reason when I create gore inspired looks, they just don’t look the same without blood. But there are TONS of different types of blood. So which do you need?
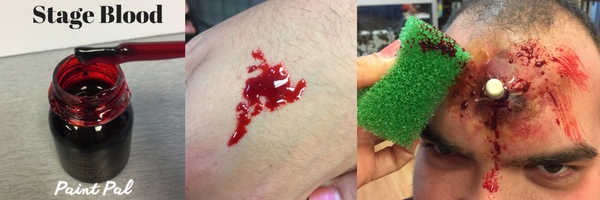
Stage blood: Typically stage blood (regardless of manufacturer) has a syrupy consistence to it. It is usually a brighter red color to appear more like a fresh blood. YES you can make your own blood, but why would you if its so inexpensive? Stage blood ranges from $3-$6 depending on the brand. One word of advice about stage blood, it stains clothing. So use with caution. I made a huge mistake one time and didn’t close the lid tight enough and it leaked all over my angel costume for Halloween. NOT a good look. Also, stage blood tends to be sticky and like syrup it is also prone to leak from the jar so store in a ziplock bag to protect your other supplies. Stage blood removes with soap and water, but can leave a little residue or “staining” on the skin. Don’t worry it does come off.
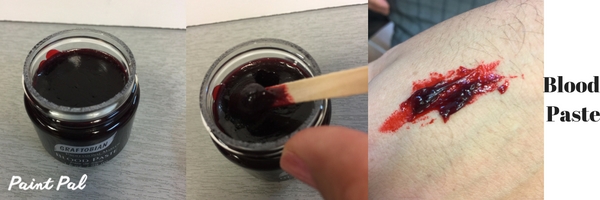
Blood paste/gel: When you want thick blood that wont drip you want blood gel. Blood gel gives the look of seasoned/ older blood. Its usually a darker color great for when you want to create scabs, or a thick chunky blood to stay put. Blood gel also has a tendency to stain clothing and skin so make sure you are careful around garments.
Blood Powder: Blood powder is super cool and great for creating that ewwwwwww affect. It goes on like a powder can be sprinkled and looks like dirt. Then when you mist it with water it turns into drippy blood. Super cool for haunted houses, or when you want to gross out your audience.

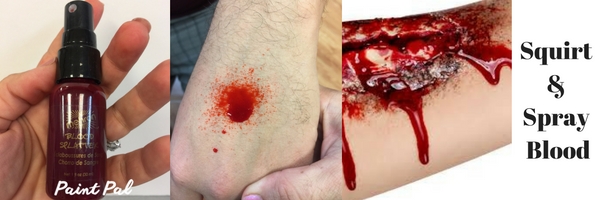
Spray and Squirt blood: Mehron just released a spray blood. Great for blood splatter. It comes in a spray bottle to give a great splat affect. Squirt blood comes in a bottle with a spout tip great for creating the “splashed” blood effect. So if you want to create blood splatter for a flesh eating zombie or add a little splatter blood to a shirt to complete a look squirt blood is available in different colors.
Eye Blood: Kryolan makes an awesome product called Eye blood. Its on of the only product specifically made to use in the eye. I don’t recommend it for continuos wear but for a GROSS effect and for photo shoots it awesome. It is available in blood red and black.

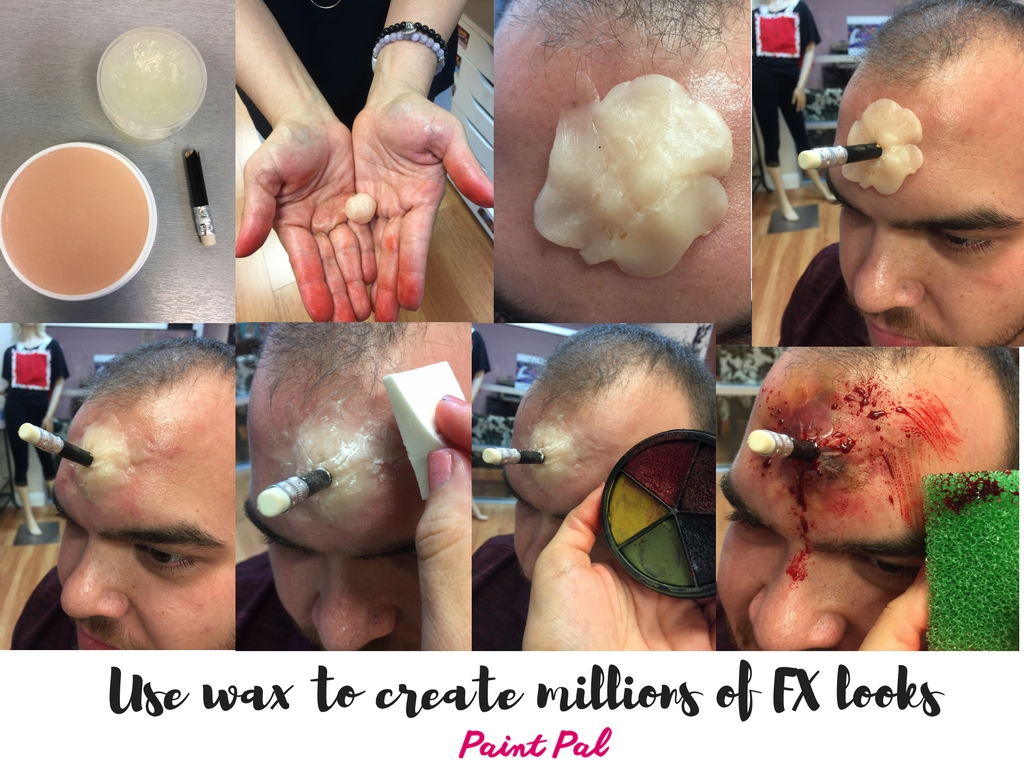
Whether you want to cover eye brows, create gashes, 3D wounds or stick a pencil in the forehead then wax is the most cost effective way to go. If you are a Youtube fan, you will probably see a lot of popular artists using an elmers glue stick to tame down their eyebrows and cover them. While you can use that methods, its better to use products specially made for the skin and wax is a better product. There is even a special wax for the eyebrows called eyebrow wax! The down side to wax is that you have to work it out. Meaning, in its container it will feel hard like a rock and you have to scoop it out and use the heat of your hands to make it pliable. Make sure to coat your hands with Vaseline or else it will stick to everything. Another downside is that wax can get heavy and doesn’t always stand up for super long periods of time. For example wax is molded and shaped by the heat of your hands, so when you apply it to the skin, our body temperature also can cause the wax to loose its firmness. There is a product called wax sealer which helps combat the melting of the wax, but ultimately it is not meant to last for ever. Another thing to consider with wax is gravity. So if you are applying a pencil to the forehead, gravity will prevail as the pencil, wax and angel will cause the wax to eventually fall off. So make sure you apply good adhesive and seal the wax for the longest lasting effect.
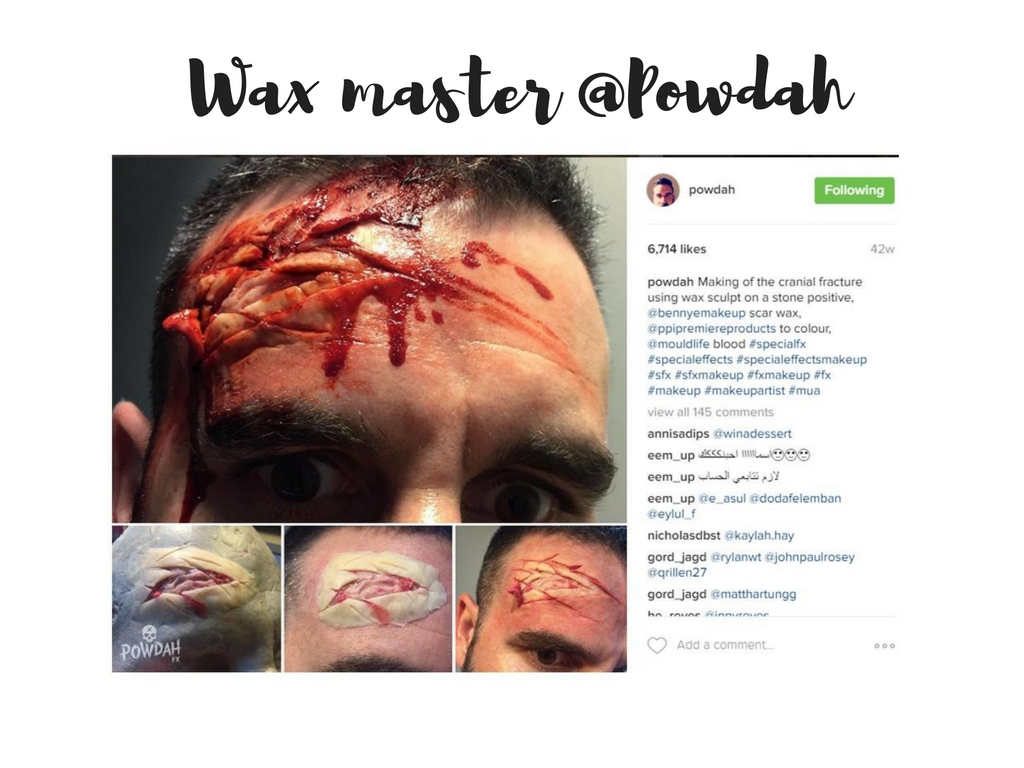
Now the upsides to wax, its economical, its awesome especially if you can sculpt, its easy to work with, and it looks really good.
Tips for using wax: If you are using a thicker piece of wax make sure to lay down an adhesive first before applying to the skin. Coat your hands with Vaseline before using and sculpting wax, and then finish off by applying wax sealer and setting powder to remove the stickiness and make it easier to color and paint on.
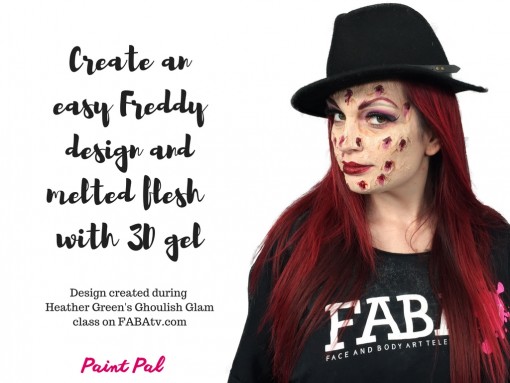
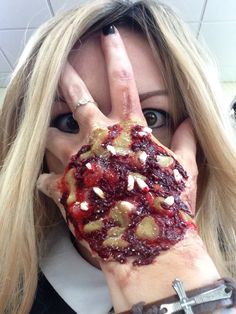
Want to create a fast fabulous Freddy Kruger face? 3D gel or gelatin is a fast super easy way to create the melted skin look, or to create FAST cuts and scars and any other FX design that has a fleshy look to it. The upsides to gelatin is that its very light weight and has a melty look without much work. The down side it that you have to heat up the gelatin and work rather quickly to get the melty look. I use the 3D gel from Mehron a lot and the bottle tells you to submerse it in hot water until it becomes liquefied and not to microwave it. I was in a rush once and popped it in the micro and ended up burning myself. Lesson learned. So if you want to use it on the job you need to have a hot plate or some means to melt it. I personally only use it for private appointments so that I have the proper space to heat it. The upside to using gelatins is that the finished look it super cool and doesn’t require an adhesive. You can apply gel directly to the skin and it sticks. It is also very easy to remove. You simply peel it right off. Definitely worth adding to your kit.
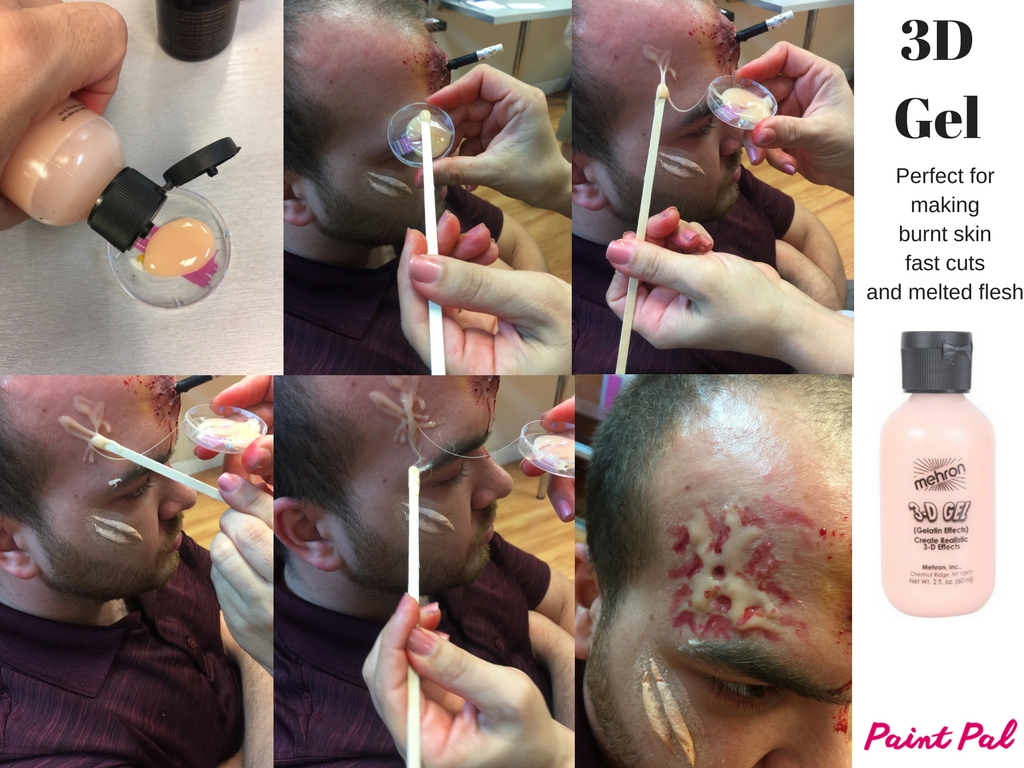
Tips for using gelatin: Once the gel is in a liquidy form apply it to the skin using a Popsicle stick, smear it on like you would cream cheese. You can layer gel easily, once it is dry apply a coat of setting powder to remove the stickiness and to apply paint.
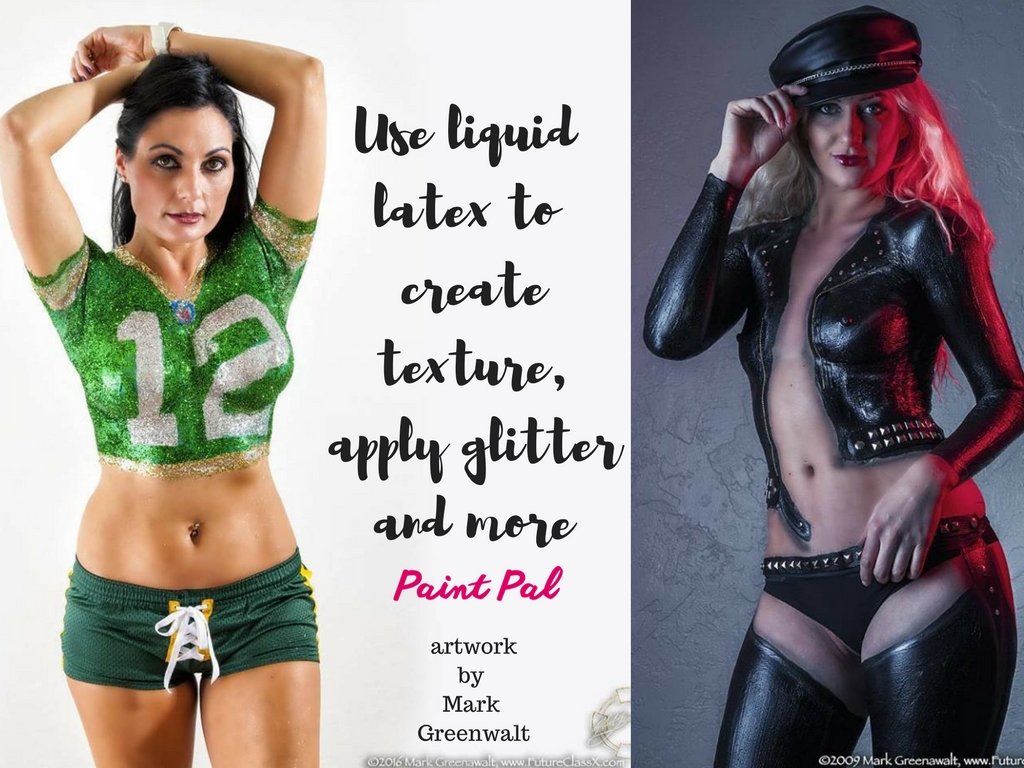
4. Liquid Latex: Liquid latex is the most popular and widely used special effects product. You can use it to create an unlimited number of special effects, some use it for body painting, and even as an adhesive.

Liquid latex is popular for many reason. One because its cost effective, two because its very easy to work with, and three because you can do a lot with it. Whether you want to create ripped flesh, seal down the edges of a bald cap, or apply a faux layer of skin to create body art, then you can use liquid latex. The downside to using latex is that latex allergies are common, so you will want to consult your model before use. Secondly, it is stinky. Think of rotten fish, that’s the smell of liquid latex while its in the liquid form. Once it dries it no longer smells. Thirdly, it can hurt a little remove from the skin especially if you place it over hairy sections. Imagine giving yourself a wax, yup that’s what it feels like. It removes easily, however by rolling and peeling off the skin, so naturally it is going to tug on your hair. The upside, latex is inexpensive, it comes in tons of colors including neon colors, flesh tones, and primary colors. Its very practical, and requires no adhesive, and can be used in a variety of ways. You can use it as an adhesive to add a glitter affect. You can use it on top of cotton and toilet tissue to create slashed skin and rotting flesh, you can create burns, clothing, and add glycerin and other effects to create textures. As of lately, new versions of latex have emerged. Zombie skin is a whipped latex and really awesome to use to smooth edges of pasties, bald caps, and when making pasties. It also comes in a syringe package to make it easy to create edges, lines, and preciseness. Liquid latex is by far the easiest and most effective FX product and a must have for your kit.
Tips for Latex: Latex because it is a liquid or “wet” it needs time to dry. The thicker the paper, tissue or cotton the longer it takes to dry, so its helpful to have a hair dryer on hand to help speed along the process of drying. Also, when removing liquid latex gently peel up an edge and then roll off.
5. Stipple sponge: When you want to create a fast scraped look, a blood splatter, a scruffy beard, or just splotches of color then a stipple sponge will be your go to product. Stipple sponges have large pores and are not good for blending but excellent for creating that blotchy textures. They are typically made of a plastic material so they clean easily and don’t hold on to paint. They are worth having in your kit year round to create Wolverines scruffy beard and a beat up pirate
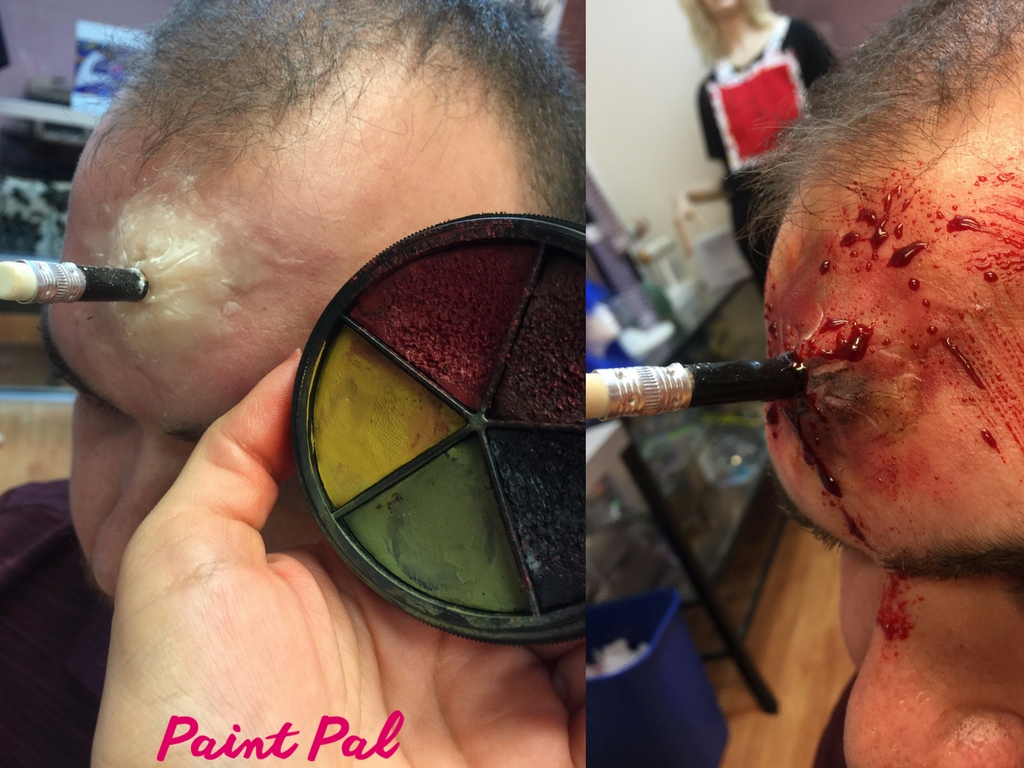
6. Bruise, Burn, and FX Wheels: As a face painter we usually shy away from using grease based make up because its a little harder to remove from a child’s face. But when you are applying FX make up a bruise wheel can be your best friend. The burn and bruise wheels are designed to guide you in the burn, bruise order. For example the Mehron Bruise wheel ( one of my fav’s) starts with a dark navy blue, followed by the lighter bruising stages so that you know the direction and order of a bruise pattern. They are all grease based and excellent for sweat proof, long lasting wear. As with all grease make up they must be set in order for the make up not to smudge or run. Its best to use a neutral setting powder so that you don’t dull the color. Grease make up can be applied directly to the skin, and blended with your finger, a make up wedge, sponge or brush. Its super easy to use and removes with any oil based remover. If you are applying make up over silicone or latex foam prosthetics, you can use grease wheels for an opaque coverage long lasting finish.
7. Adhesives: Whether you are venturing into the world of foam latex prosthetics or just want to make your pencil in the head last a little longer then you will want to keep an adhesive hand. Ilea Wakelin wrote a great blog about the different adhesives. Make sure to check it out. For the strongest hold everyone loves a product called telesis. They are currently changing the product to Telelsis 8 and it should be available soon. Telesis is a medical grade adhesive and known to have the strongest hold. There is also ProsAid which is another medical grade adhesive widely used to apply prothetics, glitter tattoos and anthing else you want to adhere to the skin. The most mild of the adhesives is eyelash glue and spirit gum. Both are great for sensitive skin and when you want to be able to remove it easily. The best way to remove anything from the skin is by massaging baby oil or a oil based remover over the glued area until it is broken down. Please do not pull on the glued down piece because you will rip a prothetic and possibly hurt your skin.
8. Alcohol palettes: If you are using Silicone, want a waterproof look, or painting on top of foam prosthetics, then alcohol palettes are a great alternative to grease and water based make up. Alcohol palettes are the dehydrated version of your alcohol inks and are great when you need a super long lasting make up application. For those of you that do haunt make up, or book private appointments during Halloween but you do not offer airbrush services these palettes are the best. They take a little getting used to in that they require activation to really get a smooth consistency and they must be activated with alcohol instead of water. I also urge caution when using them close to the eyes because the alcohol is not good near the mucus membranes. To remove alcohol based make up you will want to use a oil based remover .
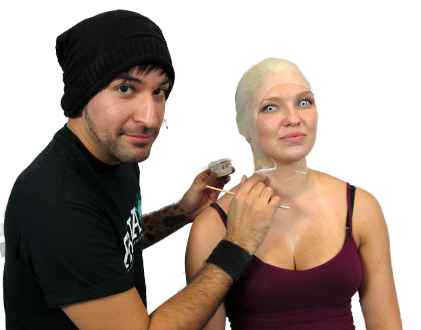
9. Silicone (3rd Degree): So you can use wax, you can use liquid latex, you ca use 3 D gel or you can use silicone. Do you need all of them… NO… but they all have pros and cons and youll need to decide what product works best for your needs. Silicone is light weight, has no smell, rarely are people allergic to it, and is long lasting. The cons… its more expensive than its alternatives, it comes as a 2 part mix and must be mixed on demand and applied quickly or it will dry and go bad and you need a grease make up, flocking color or alcohol make up in order to add color. Silicone is very easy to work with, you can smooth the edges easily, build up layers, and no adhesive is needed. It sticks to the skin really well. To remove simply peel away layers and voila!
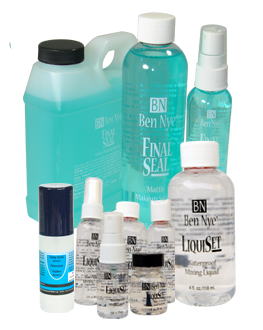
Regardless of where you live and the climate you want your art and creations to last. Using a fixer spray before and after make up application will help the make up last longer &dry up oils that break down the paint. There are several different fixers and sealers. The Ben Nye Final seal has a minty smell and because of the menthol is tingles a little. I recommend applying a layer before you paint and then a slight mist after you finish to seal the design. Ben Nye also makes a fragrance free alternative to Final Seal called Liqui set. You can use it the same way but without the smell. There is an aerosol spray by Kryolan called fixer spray and I love it because it creates a nice coating over the paint and helps keep it from running. The best part about fixer spray is that its not just for Halloween faces, you can use it during hot summer months and when you want your body painting to last.
Now that you have the main supplies covered here’s a few tips and household products you can incorpoate into your SFX kit:
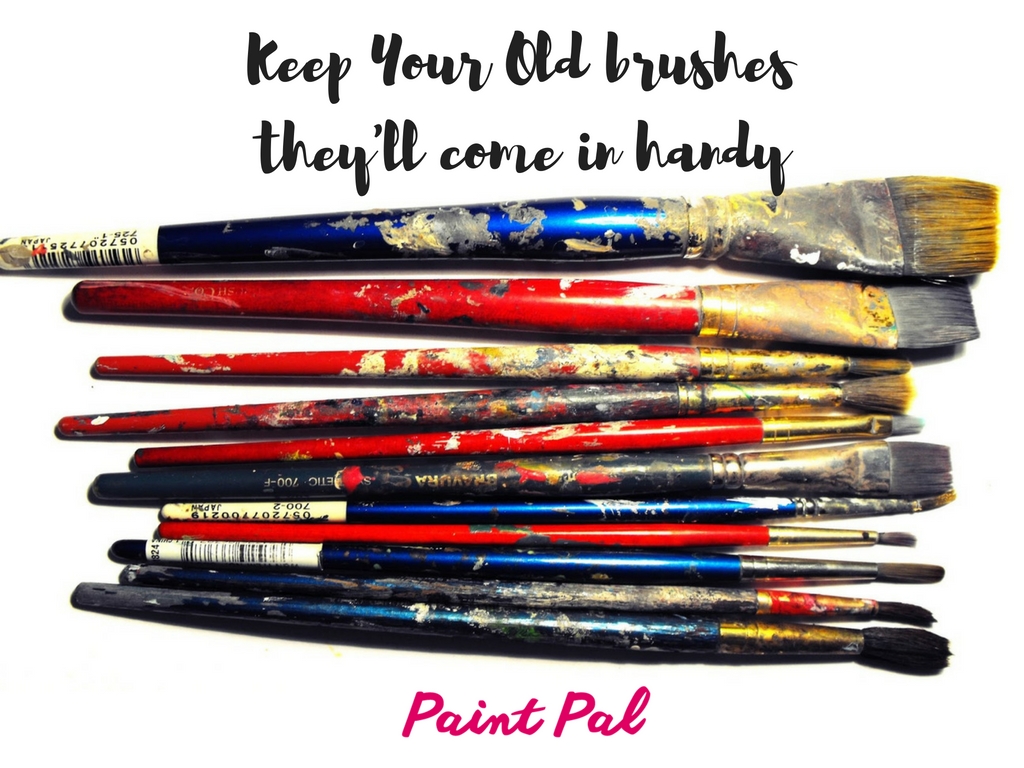
Old brushes: Do you have old brushes that are bent and frayed? Don’t throw them away. Keep the to use with the grease make up, to apply blood, and to use with the alcohol palettes. Save your good brushes for your face paints and recycle your old ones. When using an alcohol palette you are dipping the bristles in alcohol and rubbing them generously over the make up and sometimes it beats them up so sometimes its better to use old brushes.
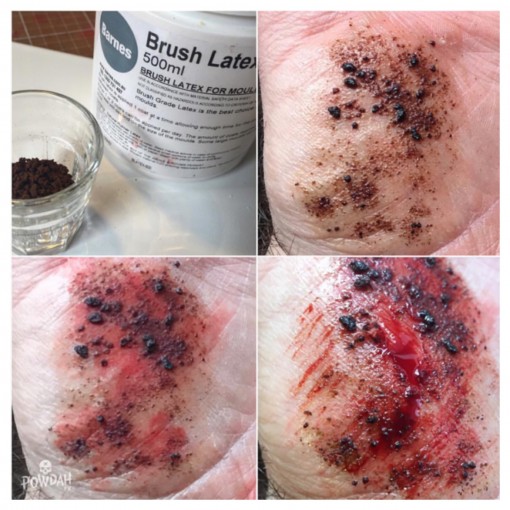
Cornflakes, rice, and coffee grinds
You can use everyday around the house foods to create some really cool effects. You can use cooked rice to create maggots. You can use cornflakes to create fast scabs and coffee grinds to create road rash.
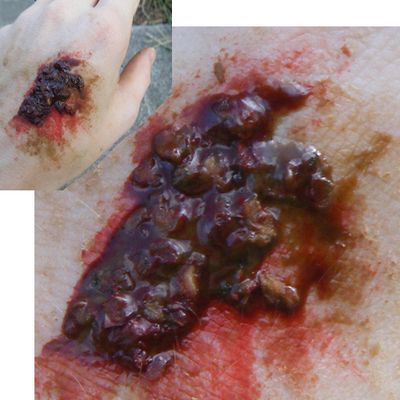
you can use cornflakes to create instant scabs
Cotton balls, thin toilet tissue, and paper towels
Are great for creating rotting flesh and pulled off skin. If you are going to use cotton for slit wrists and throat make sure to roll the cotton this and remember you will need to cover with more layers of liquid latex. Likewise if you are going to use toilet tissue for burns and rotting flesh make sure its thin enough. The thicker the paper the longer the drying time.
Its also good to have in your kit
popsicle sticks
baby oil
baby power or neutral setting powder
a spatula
plastic shot glasses to mix silicone and to our out latex
91% alcohol to activate your palettes and smooth out edges
qtips
baby wipes
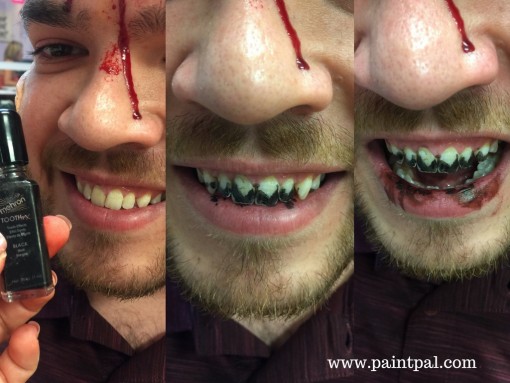
Gross teeth are like glitter to me… the ultimate finishing touch. You can create super easy faux pointy teeth using tooth FX or rotten teeth in a flash.
Here are some of my favorite class and tutorials to help you along your SFX journey:
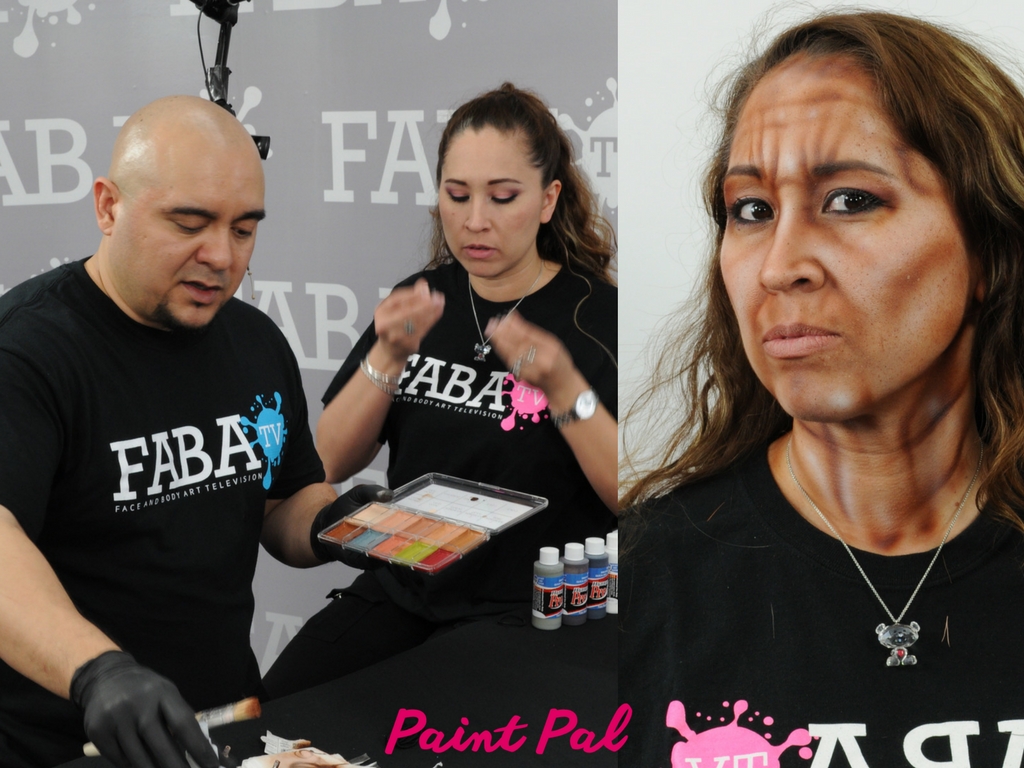
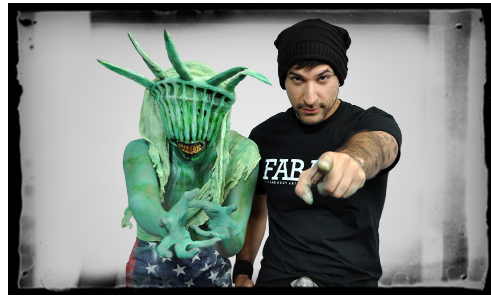
I love all of Matt Valentines class on FABAtv he shows some awesome tricks to apply a bald cap, blend edges, and work with the above mentioned supplies
One of the most watched channels during Sept/Oct is the Ellimacs channels
SOOOOOO many great videos and inspiration

If you want more info on how to use 3rd degree, make fake wounds and so much more Goldie Starling has a great channel too

Athena Zhe is not just beautiful she is awesome with face and body make up she has a beginner prosthetics class on her FABAtv channel sooooo soo helpful
If you follow him on IG then you know his work it out of this world. Might be a little strong for some of your stomachs but his videos are really cool if you want to improve your technique

Mykie is one of the fastest growing Youtube stars. She makes new amazing videos each week and she is total Halloween inspiration

I hope this blog helped you narrow down what you will need to make this Halloween season ghoulishly glam. The price difference between using a glue stick and the good stuff is so minimal. So invest in some good supplies, they will make your artwork look better and ensure that your clients are comfortable.
As always if you have comments, feedback. questions do not hesitate to reach out to me. And don’t forget to tag me in your pics. I LOVE to see your art in action.
Happy painting – Heather

